eCourses provide staff training in a digital, asynchronous format. eCourses can be configured to automate content delivery using self-grading assessments or learning checks. Districts use eCourses to deliver customized content and training using virtual and self-paced methods.
Quick Guide
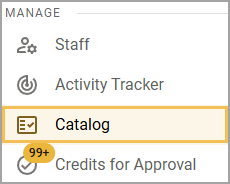
Select Catalog from the main menu.
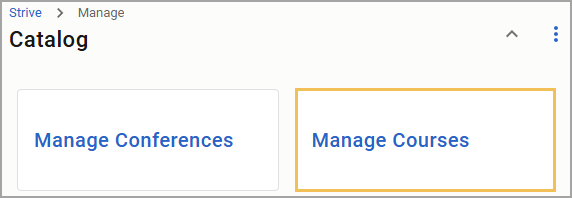
Select Manage Courses.
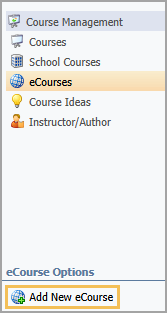
Click on eCourses.
Click on Add a New eCourse to open the New eCourse Wizard.
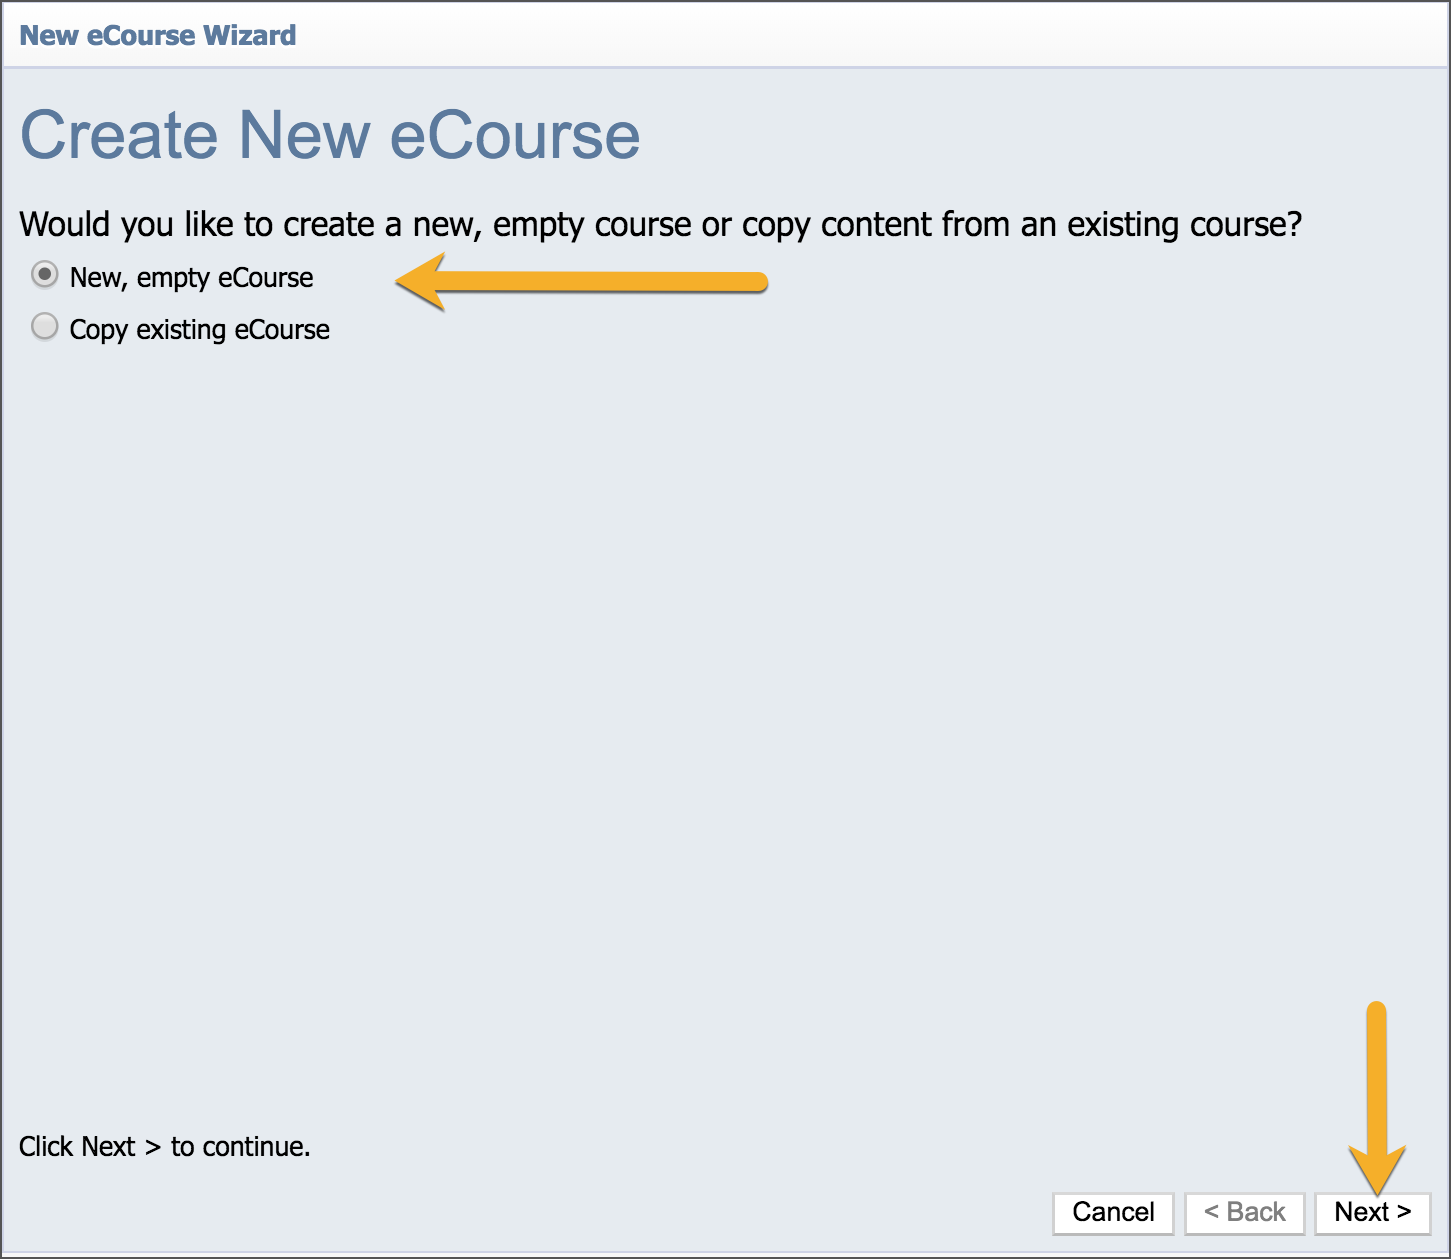
Select New, empty eCourse, and click the Next button to continue.
Enter a Course Title and optional course description. Participants see the course title in the catalog when selecting the course.
Click on the available Frameworks to access drop-down menus and select the dimensions for the course. Click the Next button to continue.
Click the Begin Editing eCourse button to continue setting up the course.
Illustrated Guide
Step 1: Select Catalog from the main menu.
Step 2: Select Manage Courses.
Step 3: On the Courses screen, select eCourses.
Step 4: Click on Add a New eCourse to open the New eCourse Wizard.
Step 5: Select New, empty eCourse, and click the Next button to continue.
Step 6: Enter a Course Title and optional course description. The Course Title is what participants will see in the catalog when selecting the course.
Step 7: Click on the available Frameworks to access drop-down menus and select the dimensions for the course. Click the Next button to continue.
Step 8: Click the Begin Editing eCourse button to continue setting up the course.
Setting up an eCourse
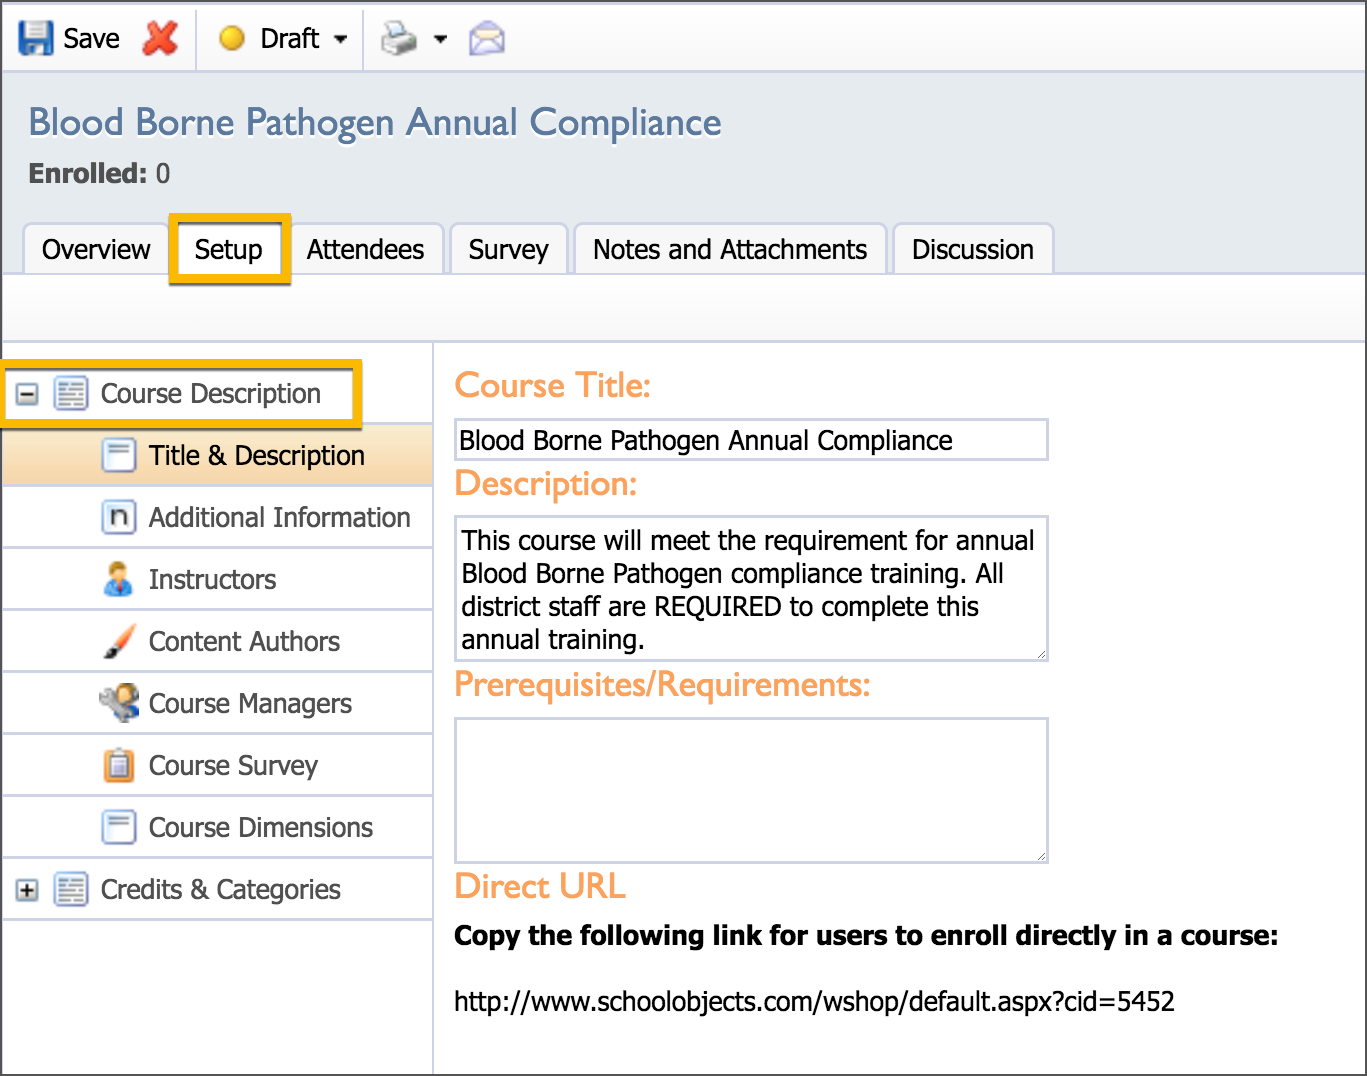
Click on the Setup tab to access the Course Description and Credits & Categories containers. Select the Course Description container to edit course information, assign course roles and rights, and set the course. Select the Credits & Categories container to define course credits, set course categories, and attach course goals.
Course Description Container
Title & Description
Select the Title & Description option to edit information, clarify any prerequisites or requirements, or copy a unique URL to enroll participants directly in the course.
Additional Information
Select the Additional Information option to set course credit.
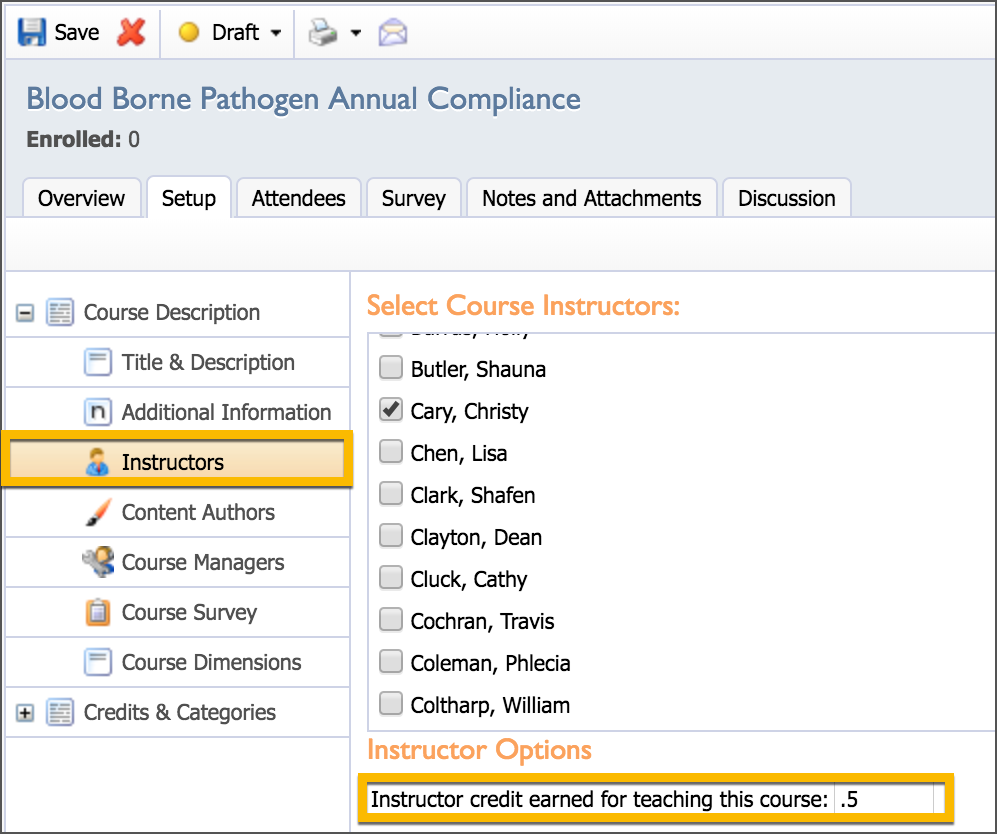
Instructors
Select the Instructors option to assign instructor access. Instructors can create, edit, and manage content and assessments inside the eCourse. If an assessment is set to require instructor approval, instructors can view a list of all participants, access required assessments, and grant/deny credit.
The Instructors option also allows eCourse creators to track teaching credits. Teaching credits are earned separately from other credit types. Districts may set the number of credits earned by instructors for facilitating an eCourse.
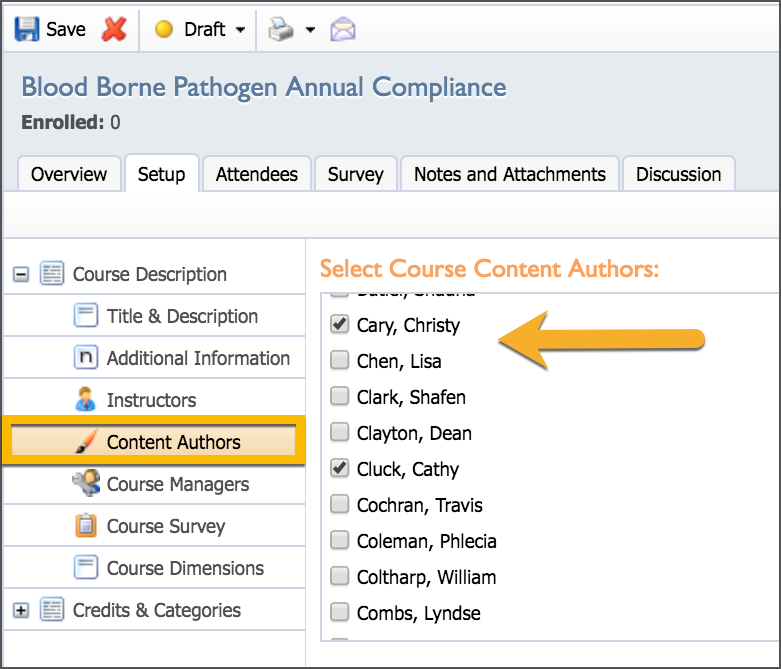
Content Authors
Select the Content Authors option to assign rights to create, edit, and manage eCourse content. Content authors can manage content within a course but cannot interact with participants.
Course Managers
Select the Course Managers option to assign rights to change eCourse setup options. Instructors or course authors must be selected as course managers to access course settings. Course managers can only manage courses they create or are assigned. Course managers have rights to Create Courses but do not have rights to Edit Any Course. 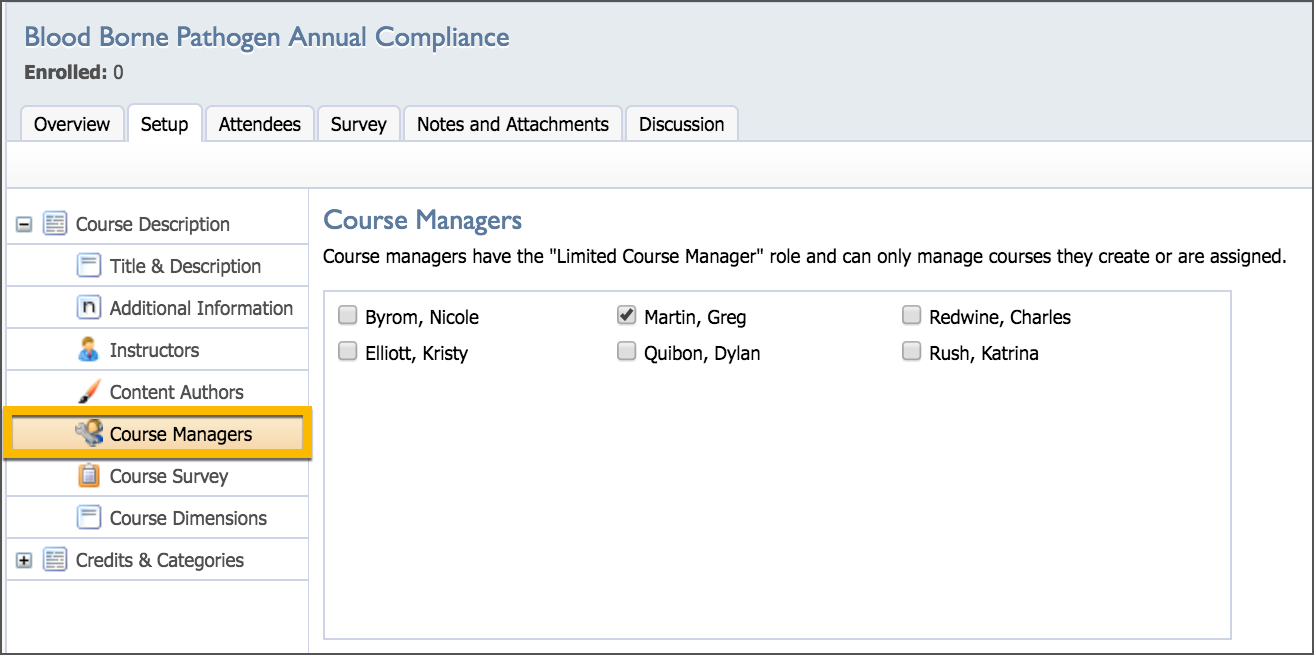
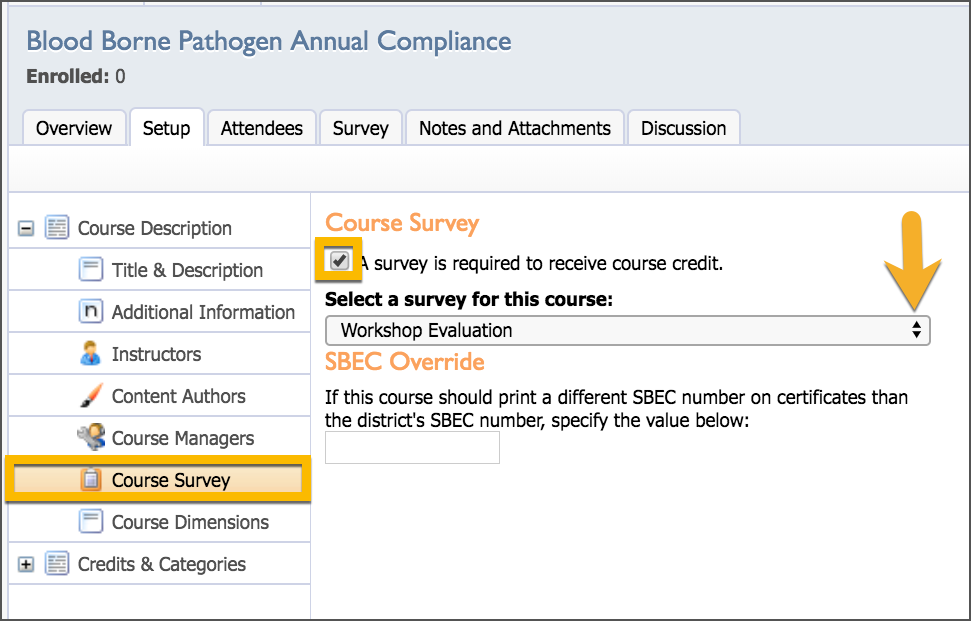
Course Survey
Check the box next to "A survey is required to receive course credit" to access a dropdown menu of pre-created surveys. Select a Course Survey to attach it to the eCourse. Participants must complete the required surveys to receive credit. The SBEC override option allows course creators to attach a different SBEC number to course certificates if necessary.
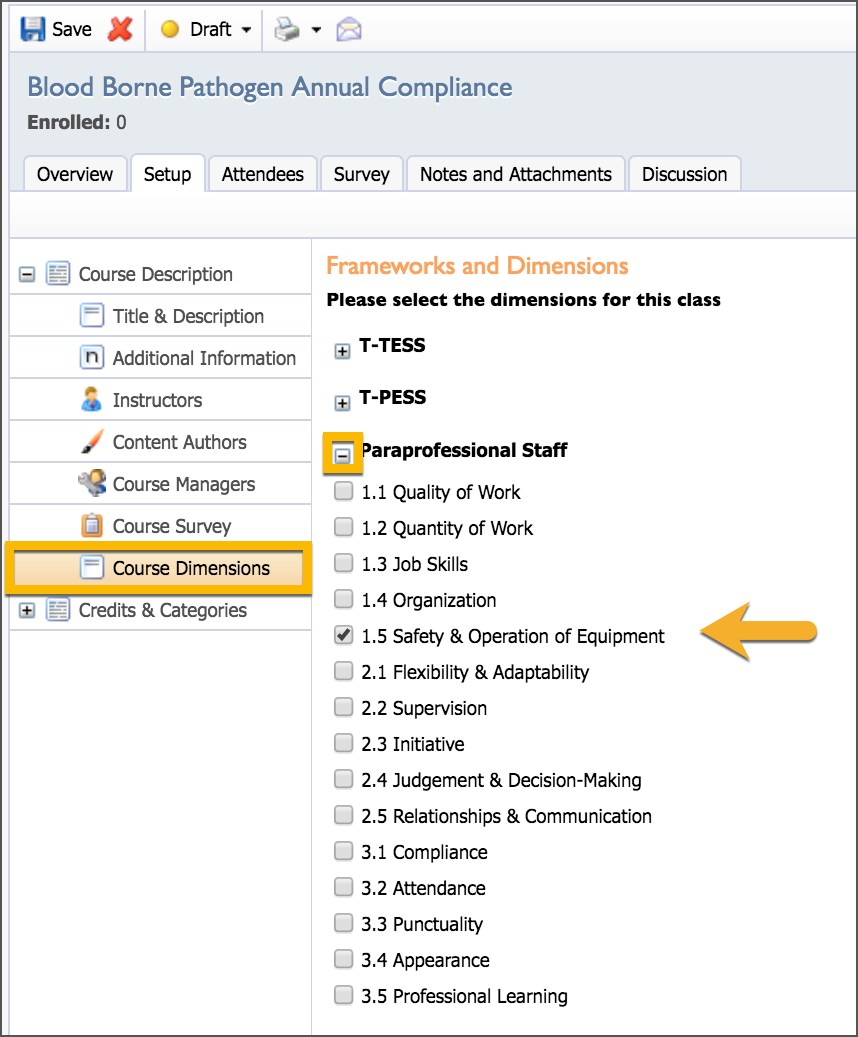
Course Dimensions
Course Dimensions connect professional development frameworks to eCourses. Click on the plus (+) button next to each framework to access the criteria within each framework. Multiple frameworks and dimensions may be selected.
Credits & Categories Container
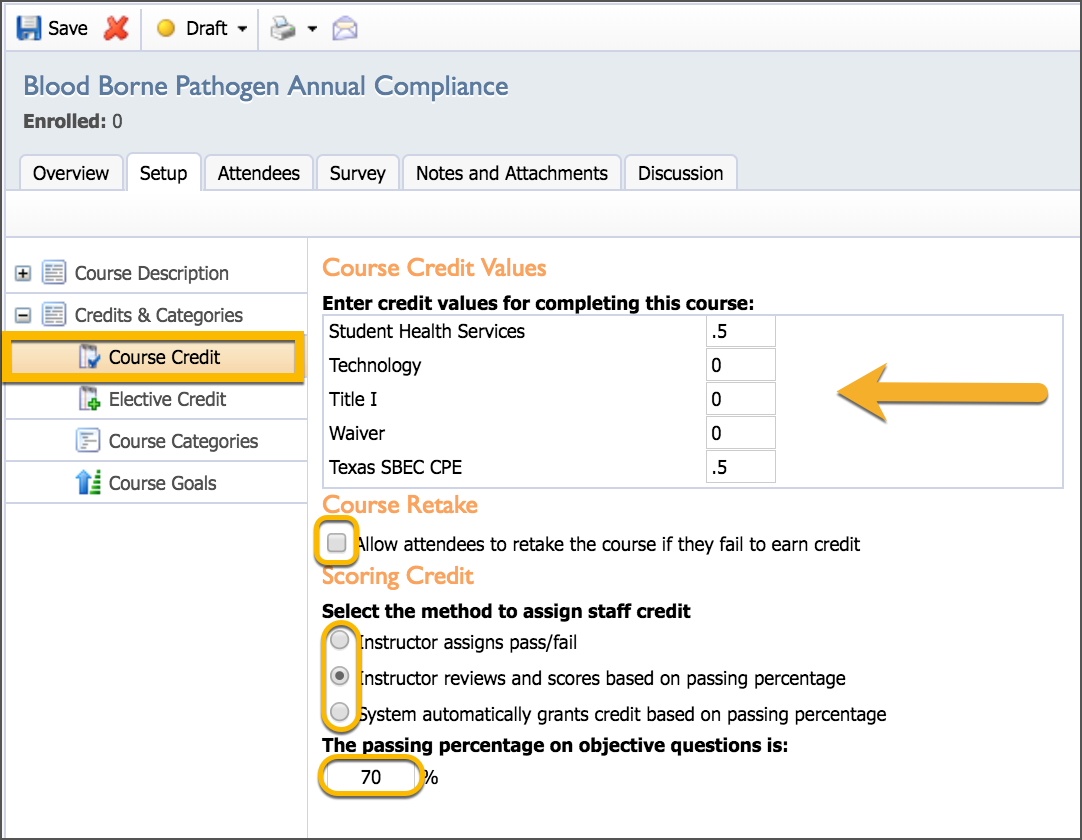
Course Credit
Select the Course Credit option to enter course credit values, allow participants to retake the course if necessary, and set course assessments by pass/fail, instructor-graded percentage, or automatic passing percentage.
The Course Credit Values option allows for multiple credit types at varying amounts. The Course Retake option allows participants who fail an asynchronous eCourse to retake the course without needing to re-register. Scoring Credit provides for the following three scoring options:
The instructor assigns pass/fail.
Instructor reviews and scores based on a passing percentage.
The system automatically grants credit based on a passing percentage.
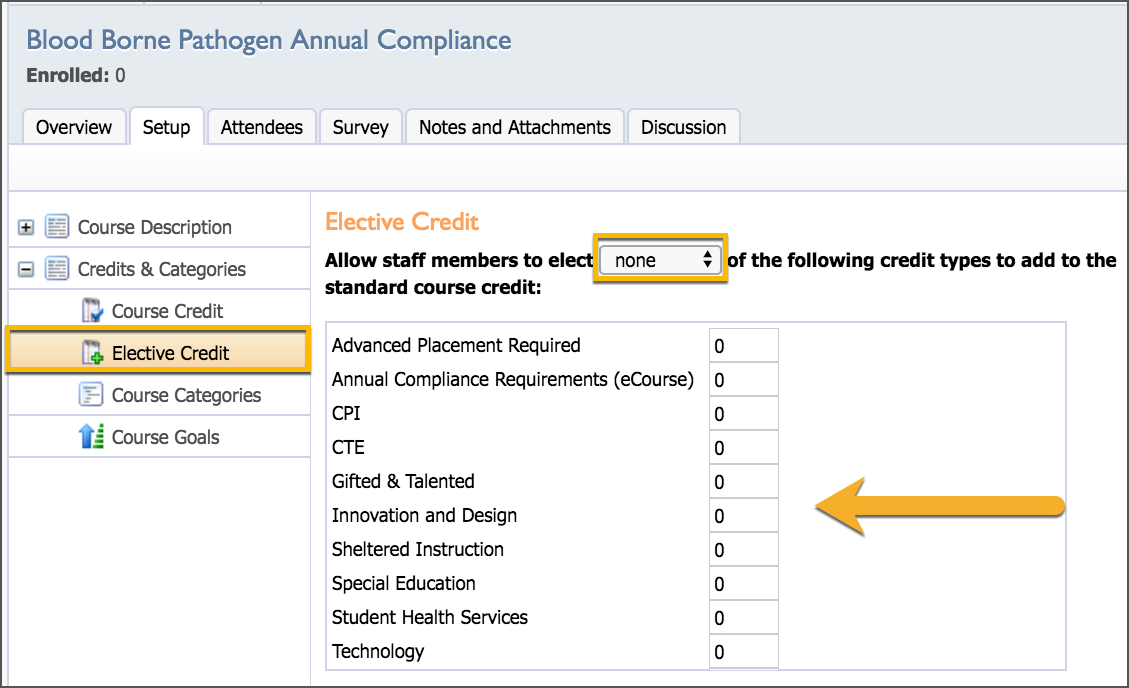
Elective Credit
The Elective Credit option allows participants to apply course credit types they select in addition to the standard course credit.
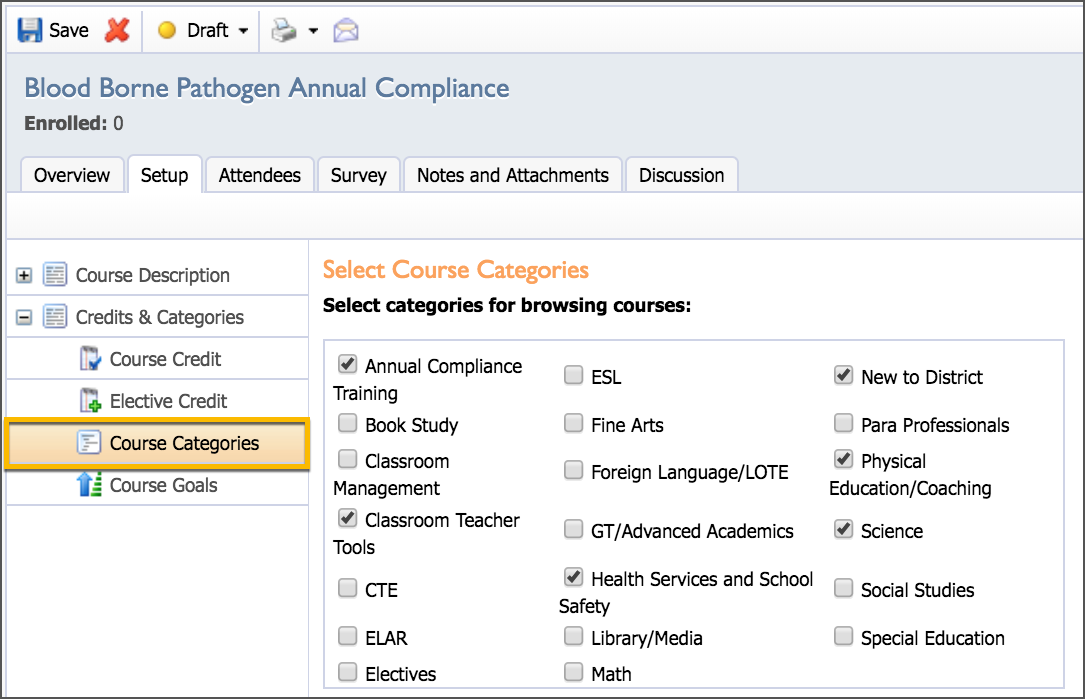
Course Categories
The Course Categories option tags an eCourse to multiple categories so participants can find and select courses by category type.
Course Goals
The Course Goals option tags an eCourse to professional goals so participants can search for courses by goal type.
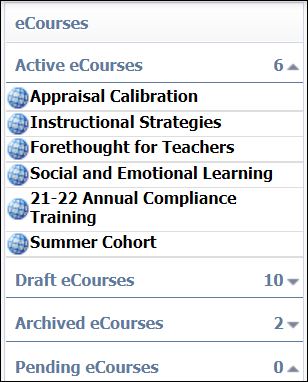
Course Status
An eCourse can be set to Draft, Active, or Archive status.

An eCourse defaults to Draft status when it is first created. Once the course content is complete and all settings are established, set the status to Active, so the eCourse will appear in the Course Catalog.
eCourses do not have an end date. To close out an eCourse, set the status to Archive. This moves the course to the Archive section but does not delete it. Once archived, the eCourse can be copied and set to Active for a new session.
Save
Select the Save button to save all changes. Once updates are saved, instructors, content authors, and course managers can upload and edit eCourse content and assessments.