Eduphoria users can gather data related to student wellness through Aware’s assessment tool. Users can create a test type to collect wellness data with the Create Local Assessment Tests right under Management, allowing them to create wellness checks in Assessments.
Creating the Wellness Test Type
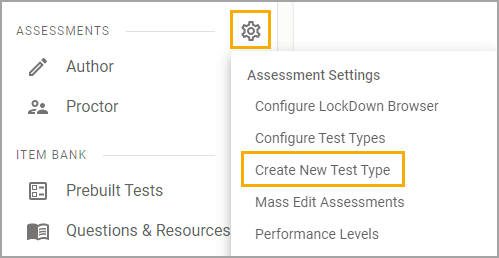
Step 1: Click on the Assessments Settings gear and select Create New Test Type.
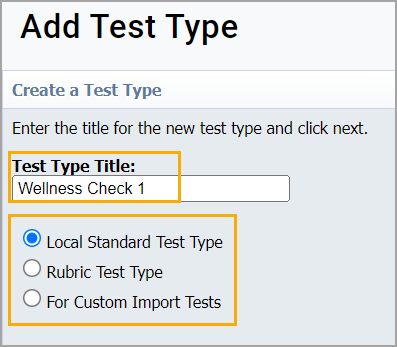
Step 2: Select the test type and add a Title. Click Next and click Finish to edit.
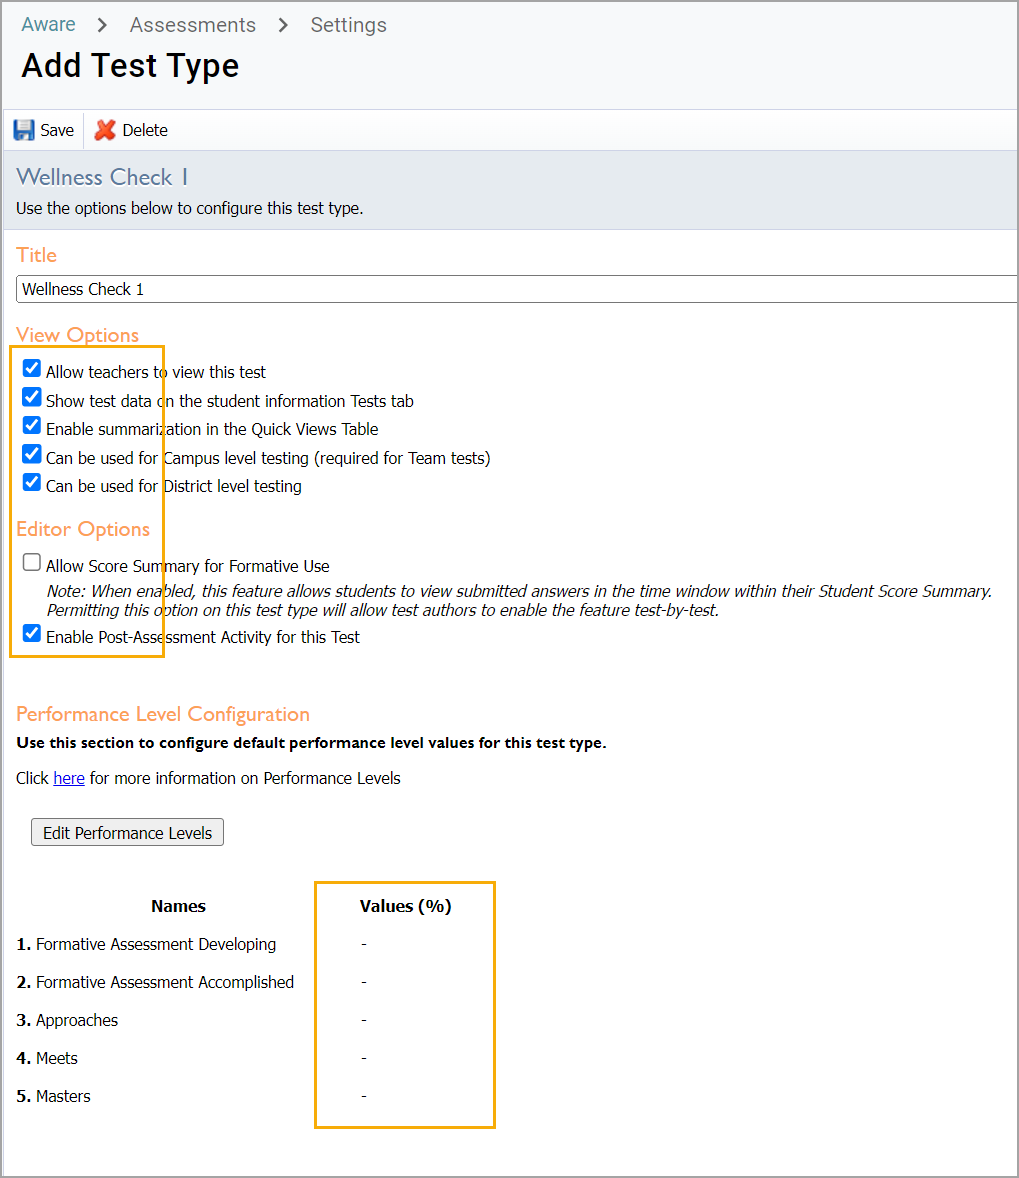
Step 3: Select the View and Editor Options you want. Set all Performance Level Configuration values to null or zero.
Creating the Assessment
After creating a test type, users can create a new blank test or create a new test from a ZIP file. You can access Eduphoria’s sample SEL assessment in this ZIP file.
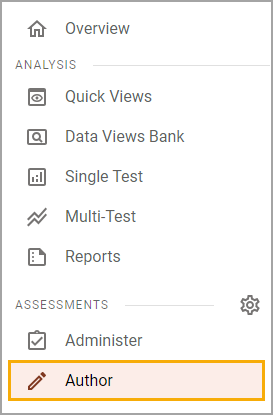
Step 1: Select Author under Assessments.
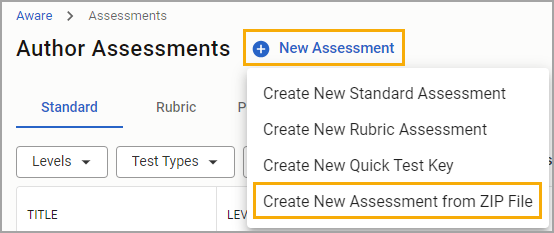
Step 2: Select New Assessment, then select Create New Assessment from ZIP File.
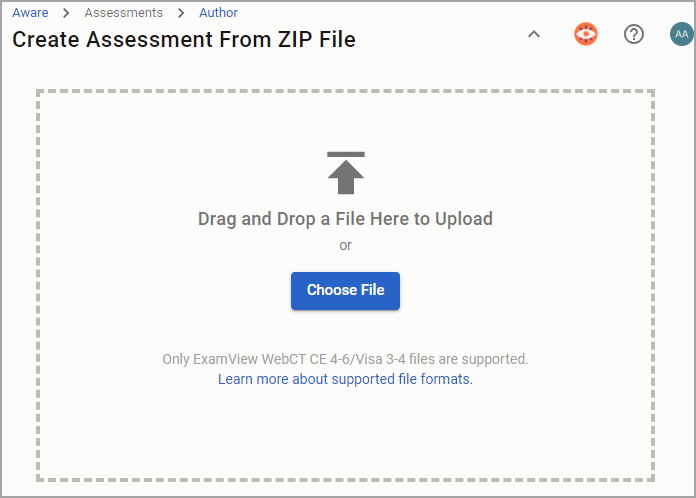
Step 3: Upload the ZIP file linked above.
Step 4: Review the general assessment information gathered from the uploaded ZIP file, as shown below.
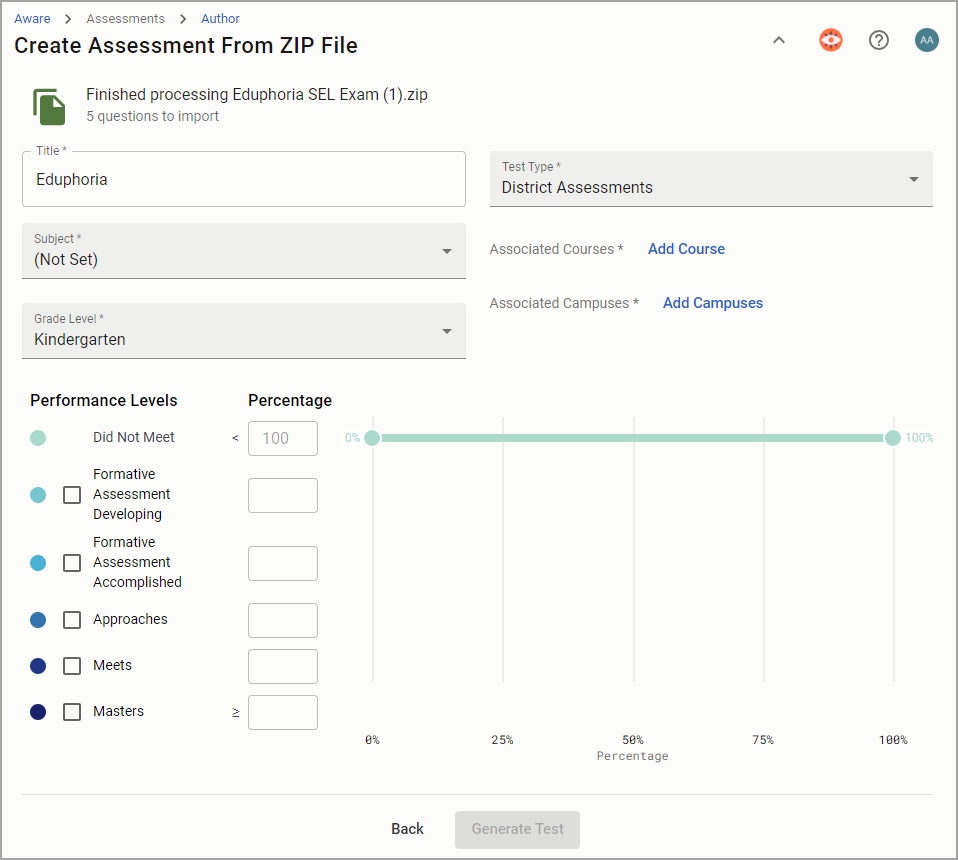
Step 5: Add a subject, grade level, and associated course. If you have district-level access, also add associated campuses. Keep performance levels blank. Here is an example of how a test could be set up.

Select Generate Test.
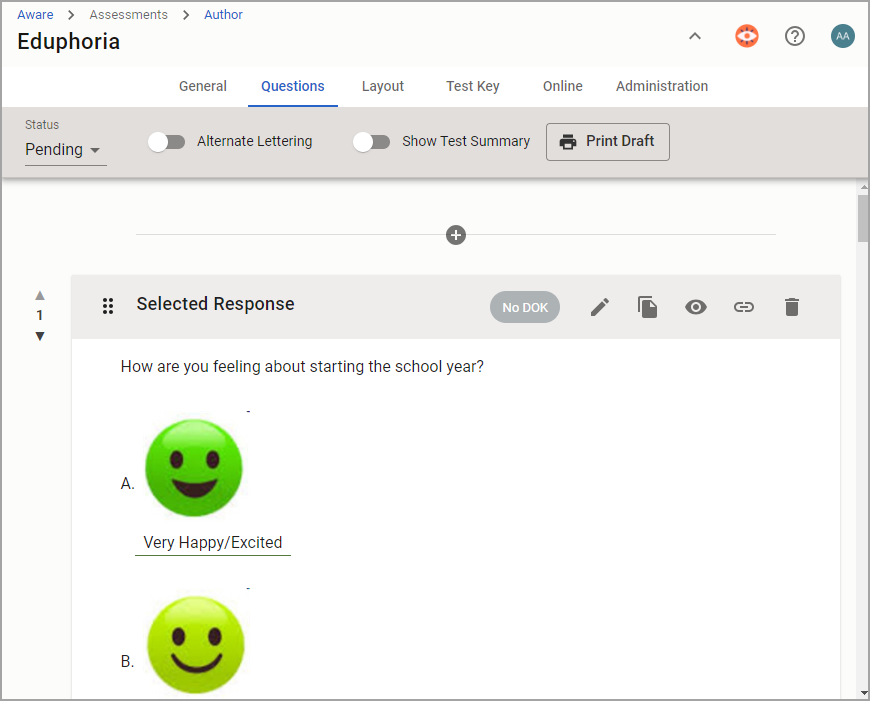
Step 6: Review the test questions and images for the answer choices. You can edit or remove questions.
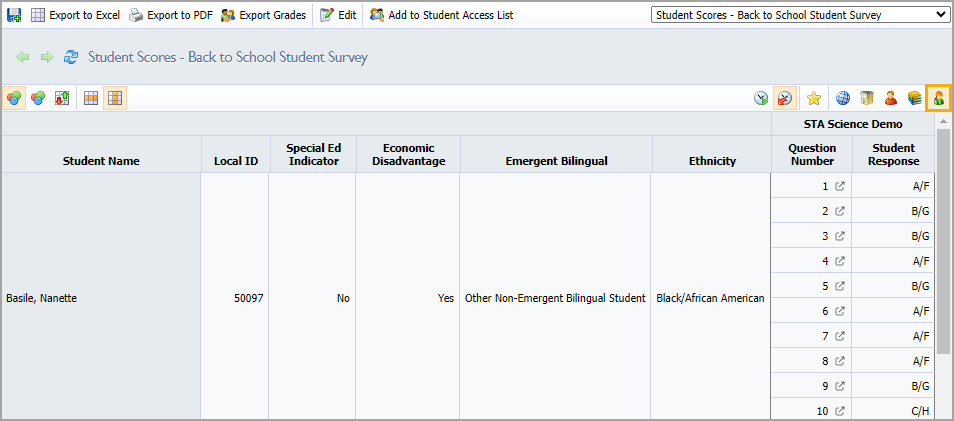
Viewing Responses
To review student responses, users can create a Quick View for the wellness check assessment. In order to create and share the example Quick View below as displayed, the user must be a district data viewer.
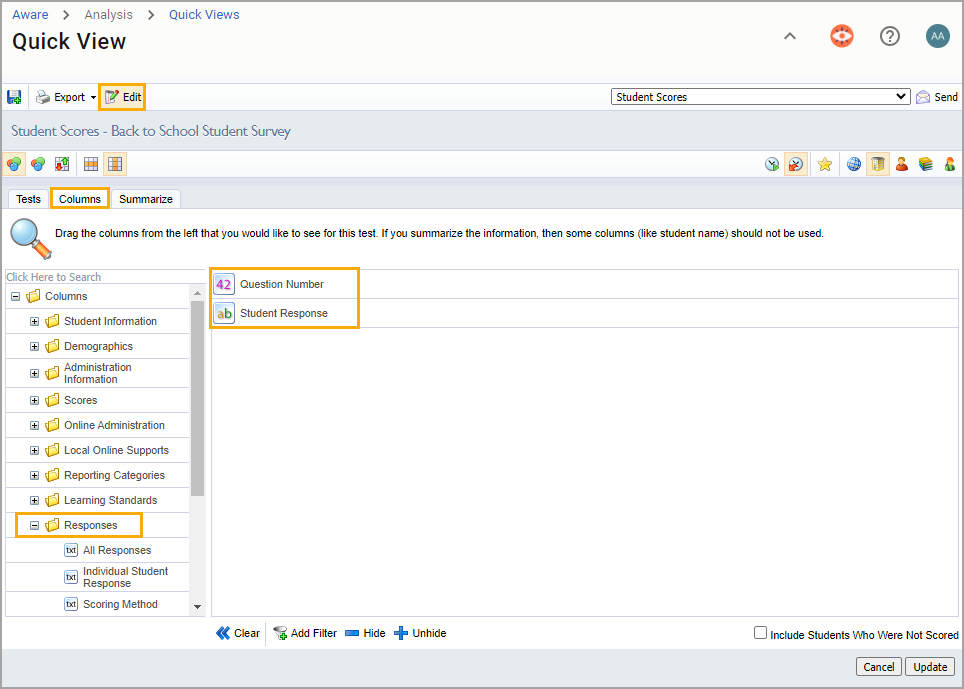
Step 1: After choosing the assessment under Quick Views, edit the view and navigate to the Columns tab. Cear whatever fields are there.
Step 2: Drag and drop Question Number and Student Response from the Responses folder to the data view.
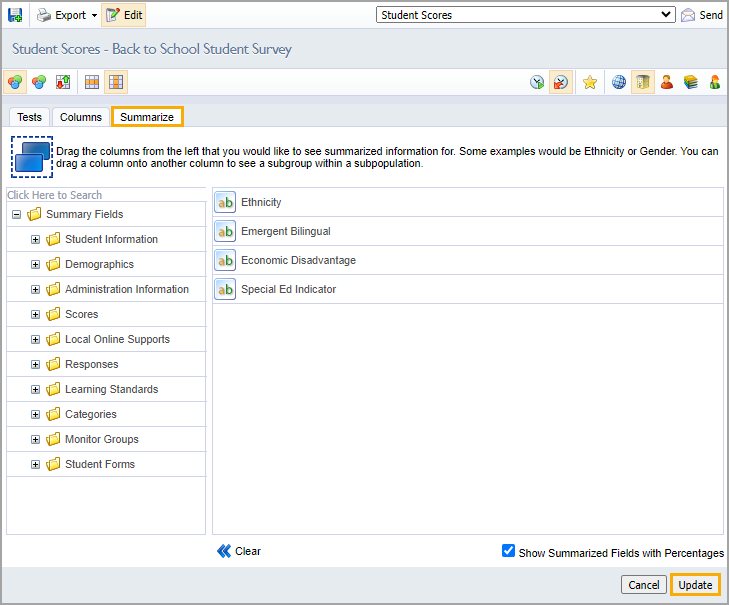
Step 3: The Summarize tab can either be left blank or could have some demographic data fields if desired. Click Update when ready.
Step 4: Choose the default view you want to display to users when they select the Quick View from the following levels:
District Summary
Campus Summary
Teacher Summary
Course/Section Summary
Individual Students
All users can change levels while viewing any Quick View.
Step 5: Click the Save as a New View icon to save the data view.

Step 6: Click Edit to rename the data view and then choose the icon with the word Save to overwrite the original.

Sharing the Wellness Check View
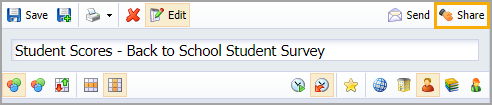
Creators of a Wellness Check view can share the saved view as a Quick View.
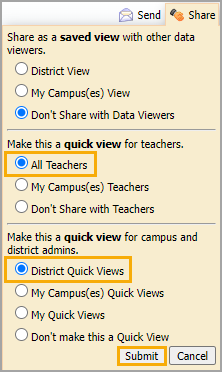
Step 1: Select Share and choose the data viewers with which you want to share the view.
Step 2: To share with the entire district, including both teachers and administrators, select All Teachers under Let teachers use this view and District Quick Views under Make this a Quick View. Click Submit.
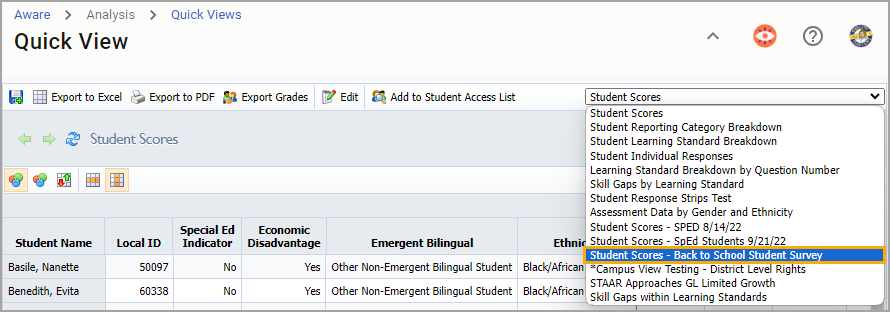
If the view was shared with both teachers and administrators, the view will be located in the drop-down menu where all Quick Views are housed.
Once selected, the data will reflect what percentage of the total number of students in the chosen summary level chose which of the 5 possible answer choices.
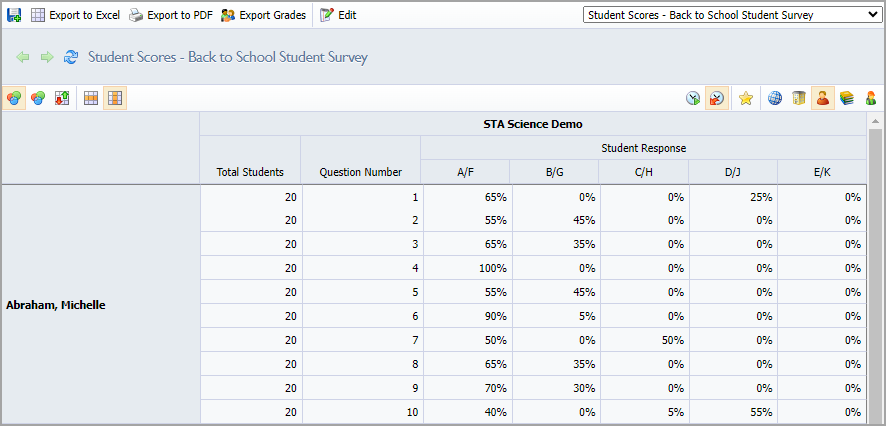
Choosing the Individual Students view level will display each student’s responses.