The Editor is Beacon’s built-in word processor. You can use this handy tool to create documents such as templates, course syllabi, unit outlines, lessons, activities, and so on. This article provides an overview of formatting options in the Editor.
Formatting Text
Use the toolbar to apply a variety of styles and colors.

# | Field | Description |
|---|---|---|
1 | Bold | Applies bold formatting. |
2 | Italic | Applies italic formatting. |
3 | Underline | Underlines the text. |
4 | Link | Opens a window where you can paste a URL to apply to the highlighted text, creating a hyperlink. |
5 | Text Color | Changes the color of the text. |
6 | Highlight | Highlights the text in a selected color. |
7 | Styles | Apply a preset style to the text. Options include: Heading, Subheading, and Body. |
Use headings and subheadings to structure and organize information. Use body text in paragraphs to provide general instruction or information. With all text styles (heading, subheading, and body), you can apply a variety of formatting options, including bold, italic, underline, color, and highlight.
You have a few options when selecting text and highlight colors:
RGB – Enter a number between 0 and 255 to set the amount of red, green, and blue. Example: 0, 191, 255
HSL – Enter a number between 0 to 360 to set the hue. Then, enter percentages to set the saturation and lightness. Example: 195, 100%, 50%.
Hex – Enter the six-digit hex code to select the color. Example: #00bfff
Color Picker - Use the slider and eyedropper tools to select a color.
Adding Non-Text Options
When you start or select a section, two icons appear to the left of the section. Selecting the Plus icon allows you to add non-text options. Use the resulting drop-down menu to perform the following actions:
Start a Bullet List
Start a Numbered List
Insert an Image
Insert a Table
Link Standards
Link a Lesson
Attach a Resource
Add a Template

Moving a Section
When you start or select a section, two icons appear to the left of the section. Selecting the grid sign icon allows you to drag the section to a new location in the Editor. Use this option to change the order of sections in your document.

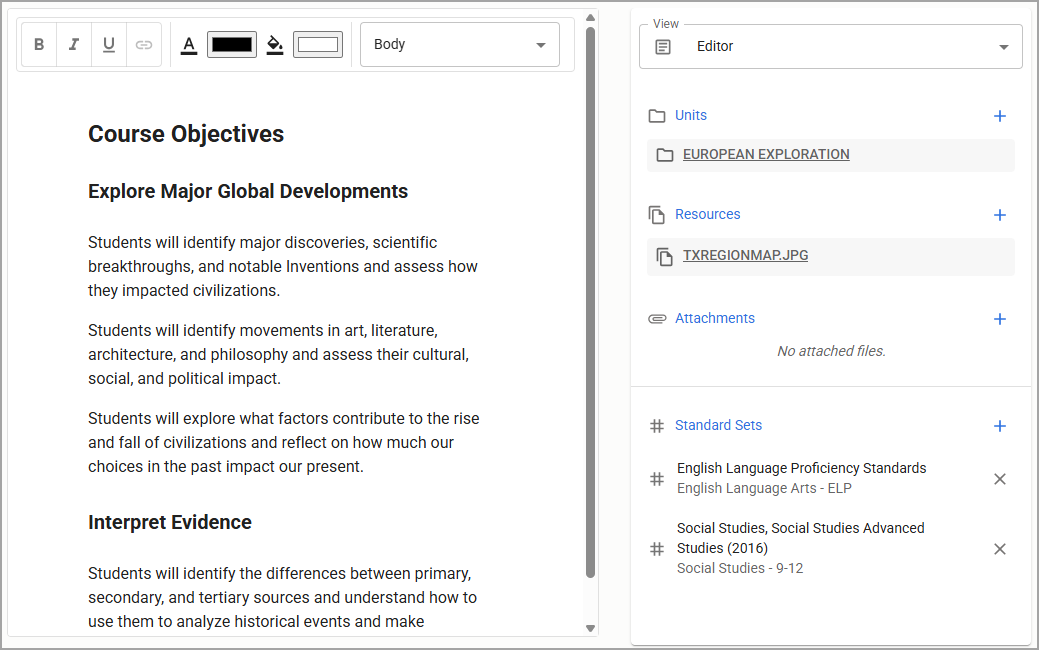
Dragging and Dropping Curriculum Components
The Relationships panel displays all the standards, strategies, lessons, resources, and files linked to the current curriculum component. Different curriculum components list different relationships to other components. For example, a unit can display lessons, whereas a lesson might display strategies.
.png)
You can drag and drop these linked curriculum components into the word processor, so they appear alongside curriculum information. Once dropped into the Editor, the curriculum components in the list change to blue.