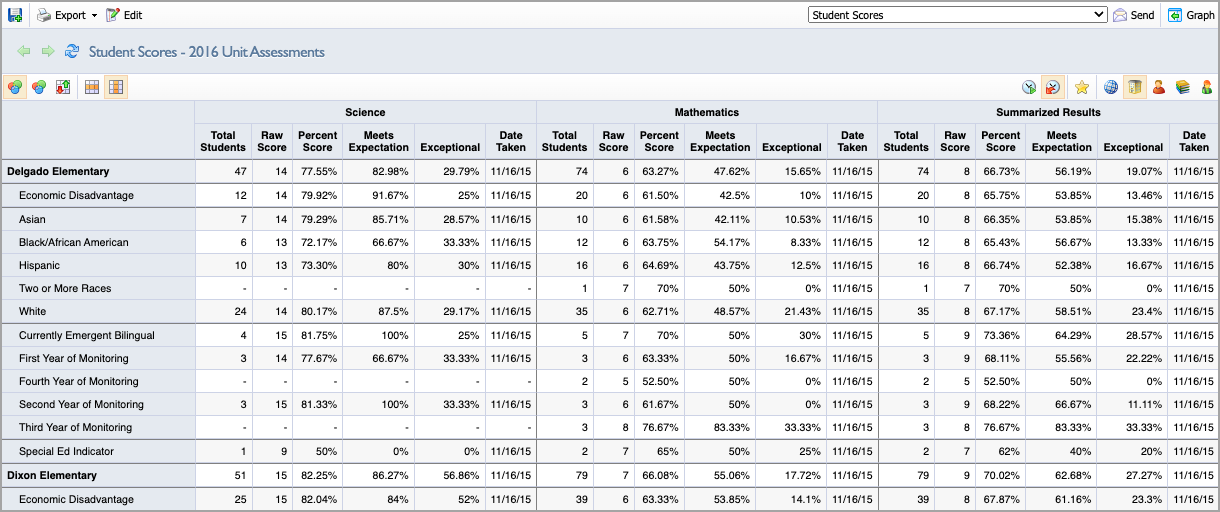
Users can create and manage data views within Aware.
Navigating to Quick Views
Quick Guide
Log in to Aware and select Quick Views.
If desired, use the drop-down menu to configure a data view. Options are rights-specific.
Filter assessments by years, grades, subjects, or test types. Use the search bar to Filter by Title, or Reset Filters at any point.
Choose one assessment or click on multiple assessments.
If desired, apply a template to the selected assessment(s).
Illustrated Guide
Step 1: Log in to Aware and select Quick Views.
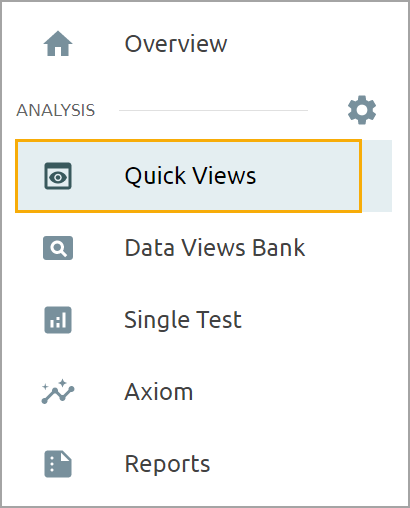
Step 2: If desired, use the drop-down menu to configure a data view. Options are rights-specific.
Campus-level and district-level administrators can select the Analyze Tests option.
Users like department chairs and subject-specific instructional coaches can select the Subject Rights option.
Grade-level chairs, especially those in elementary schools, will have access to the Grade Rights option.
Users who have rostered class periods or approved student access lists can choose All My Students, a specific Class Period, or any approved Student Access List to configure a data view.

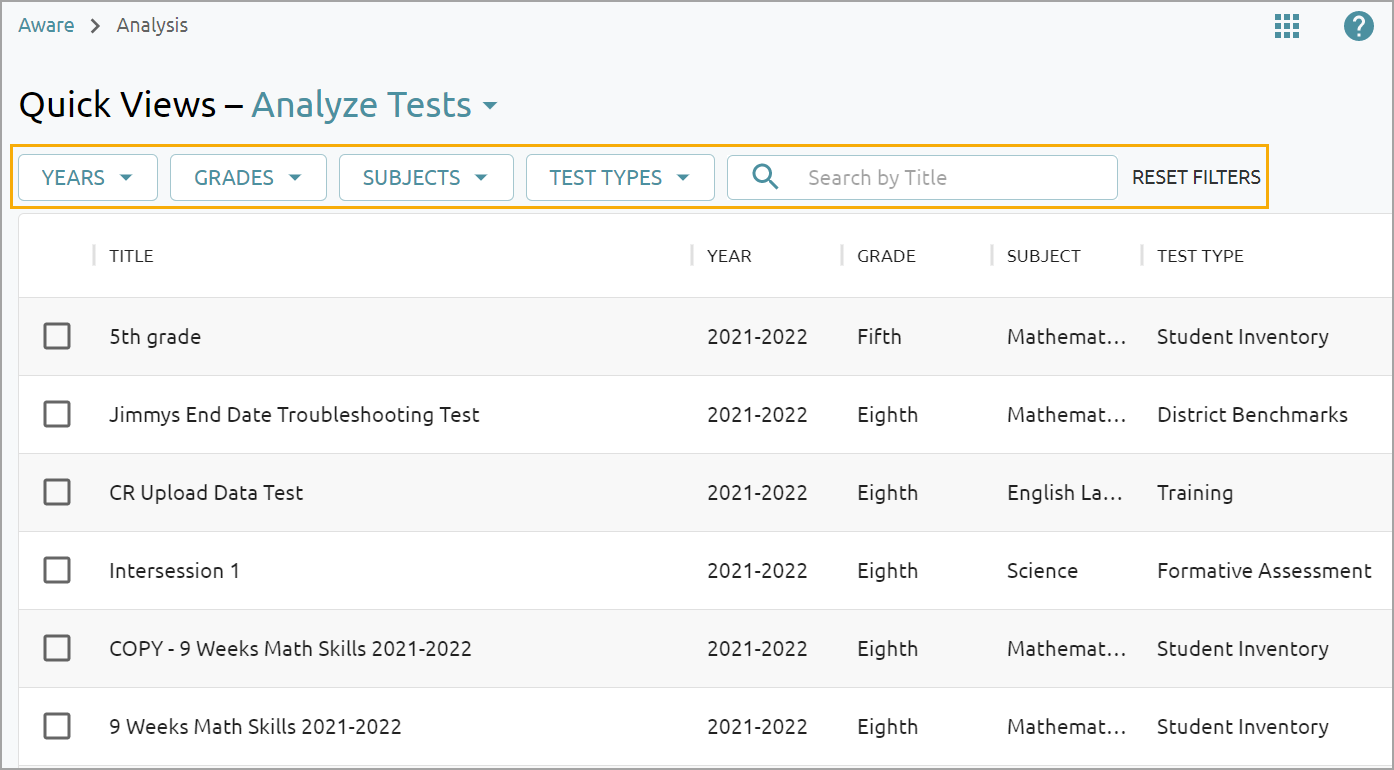
Step 3: Filter assessments with the drop-down menus. The following filters can be applied to search for a specific assessment:
Years
Grades
Subjects
Test Types
Use the search bar to Filter by Title, or Reset Filters at any point.
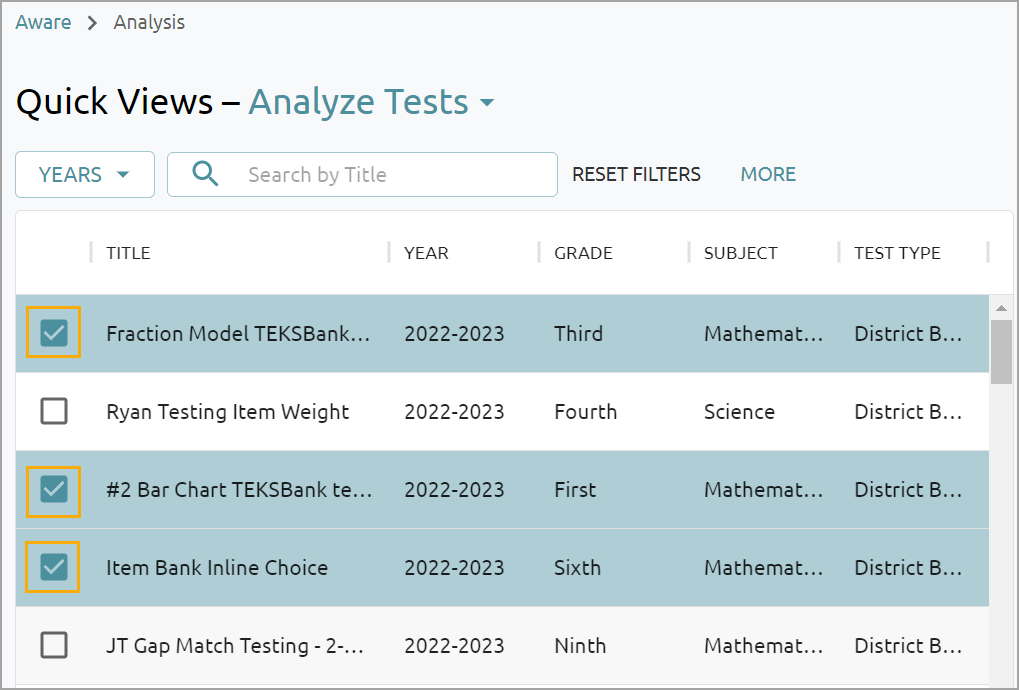
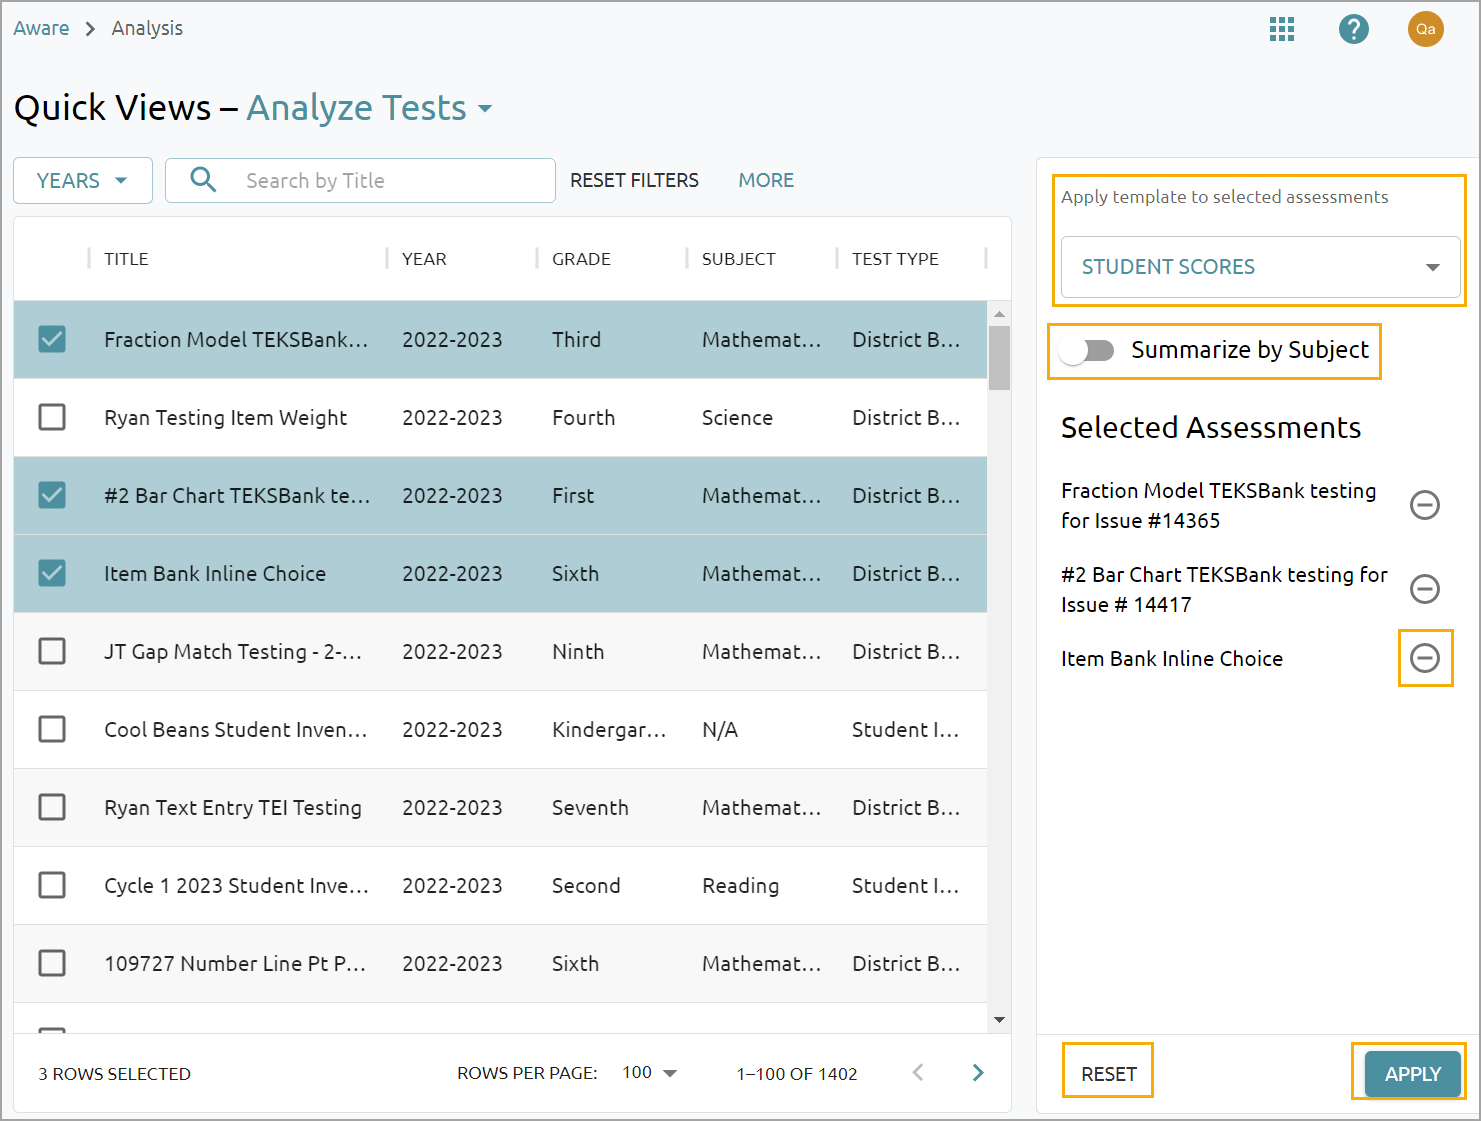
Step 4: Choose one assessment or click on multiple assessments to compare them. You can select up to 20 tests at once. The table will remember which assessments you have selected even as you navigate through different filters.
Step 5: Use the drop-down menu to apply a template. Toggle Summarize by Subject on or off as needed to generate a summarized view across multiple assessments.
Note: The view will work best comparing assessments of the same type due to having similar performance metrics. You can compare assessments of different types, but the results generated may not be the most optimal and may need to be customized further.
Select the Minus sign next to an assessment to remove it, or click Reset to begin again. Select Apply when finished to display the data view.
