This article describes how to set up and use your planner. Let's start with some terminology to help you understand your planner:
Planner - When you begin using Forethought, you gain access to a Planner for developing your own schedule, entries, courses, and lesson plans. Your planner can also include planners shared with you by other teachers or grade-level or department planners.
Schedule - This is a container for the courses you teach. In the old days, teachers used a paper binder for their lesson planner for the course of a year. A schedule is like a binder in that it contains all the courses, dates, and plans that take place over the course of a year.
Entries - Entries describe courses or preps in your schedule. When you create your entries, you are going to be setting up the courses you teach per term.
Quick Guide
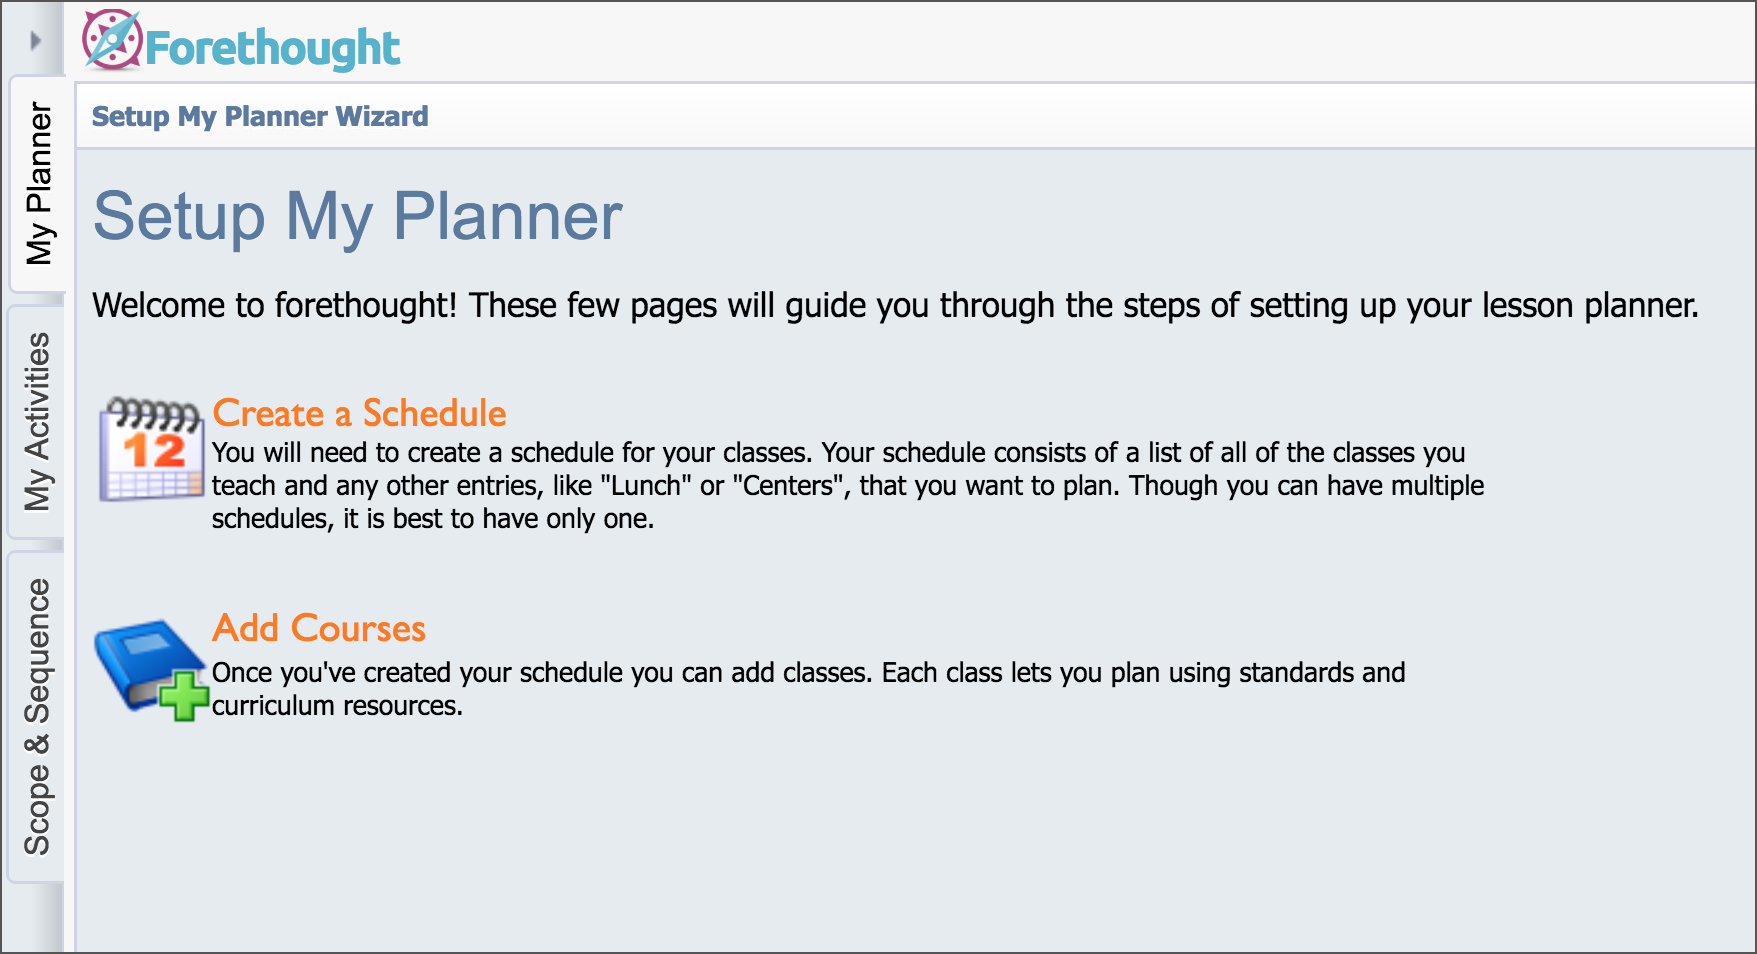
A wizard walks you through setting up your planner for the first time. To start, select Next on the initial screen to Setup Your Planner.
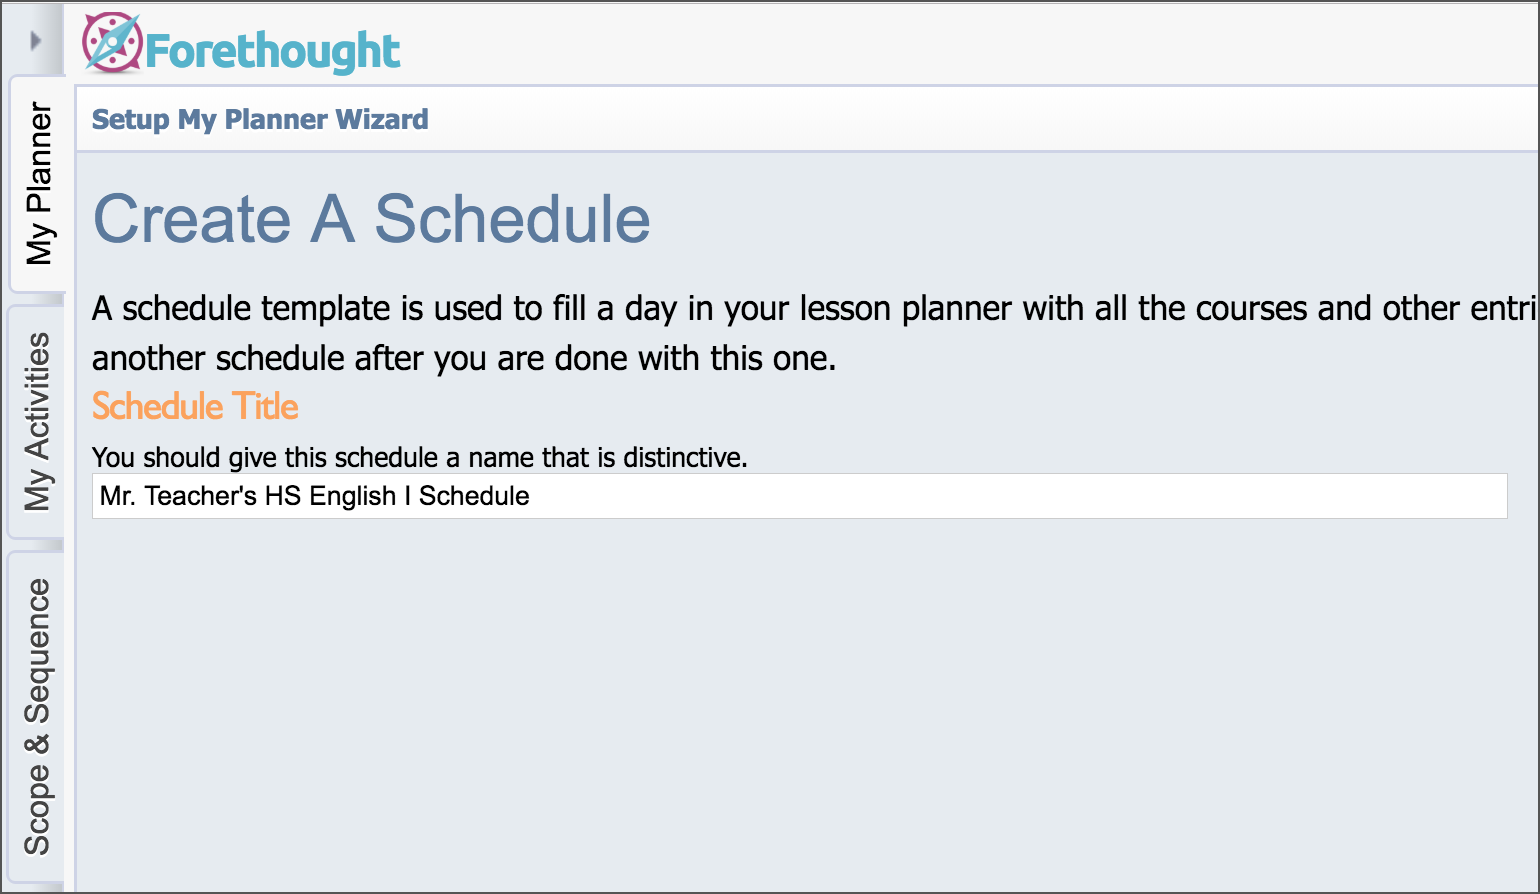
Enter a Name for your schedule. You might include your name in the name of the schedule. (Example: Miss Smith 4th Grade Math). We recommend not entering a year in the name so that you can reuse the schedule year after year. Select Next.
Adding entries to a schedule is where you create courses tied to learning standards. Select Add an Entry.
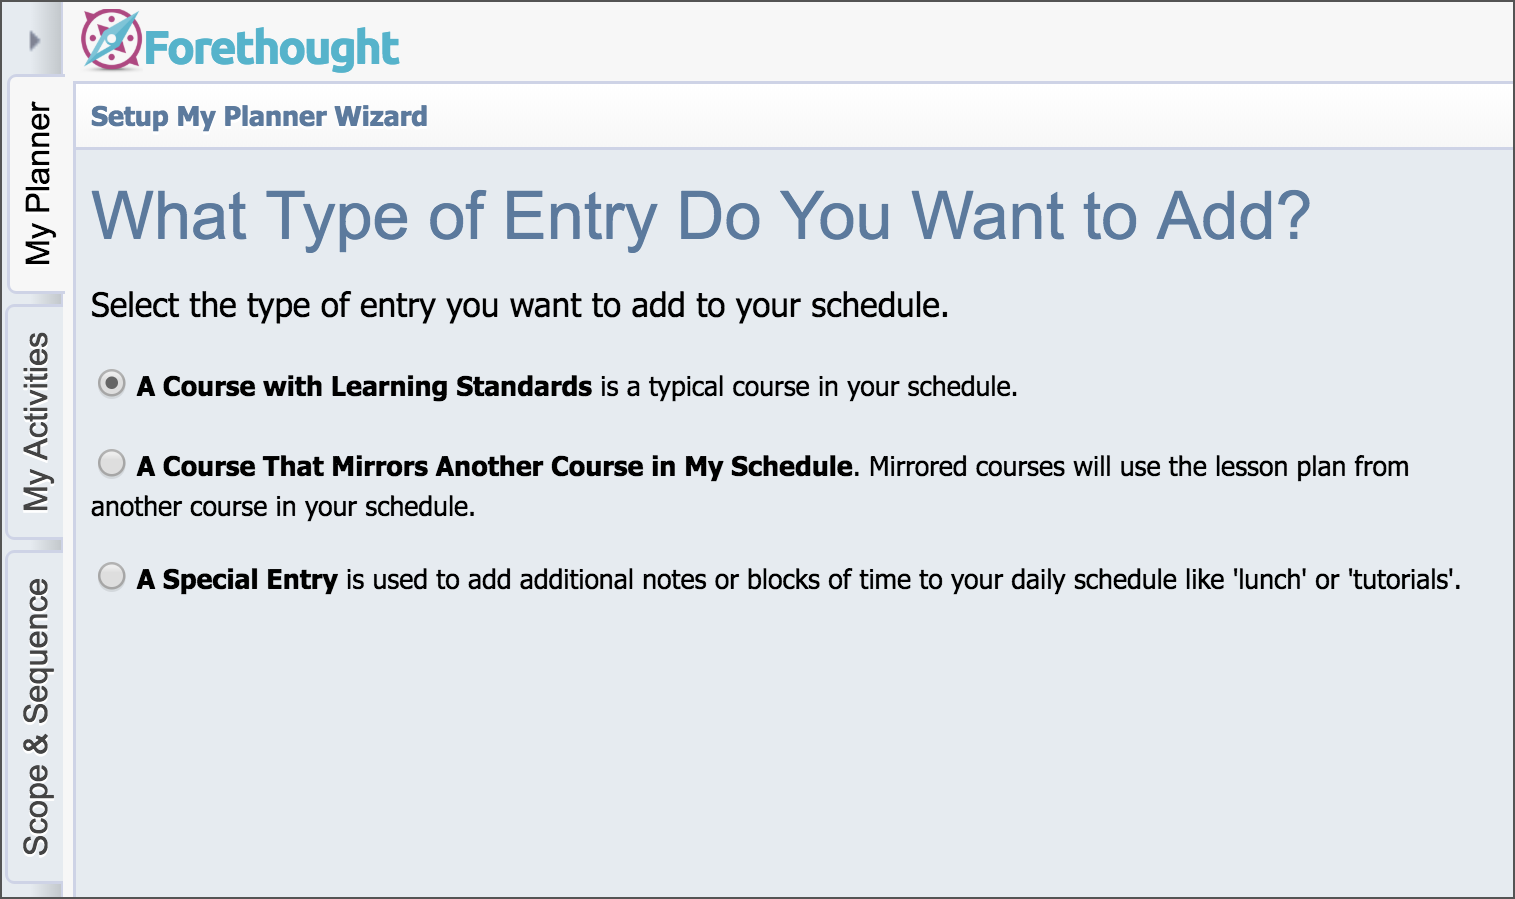
The default option is a Course with Learning Standards. Keep this selected and select Next.
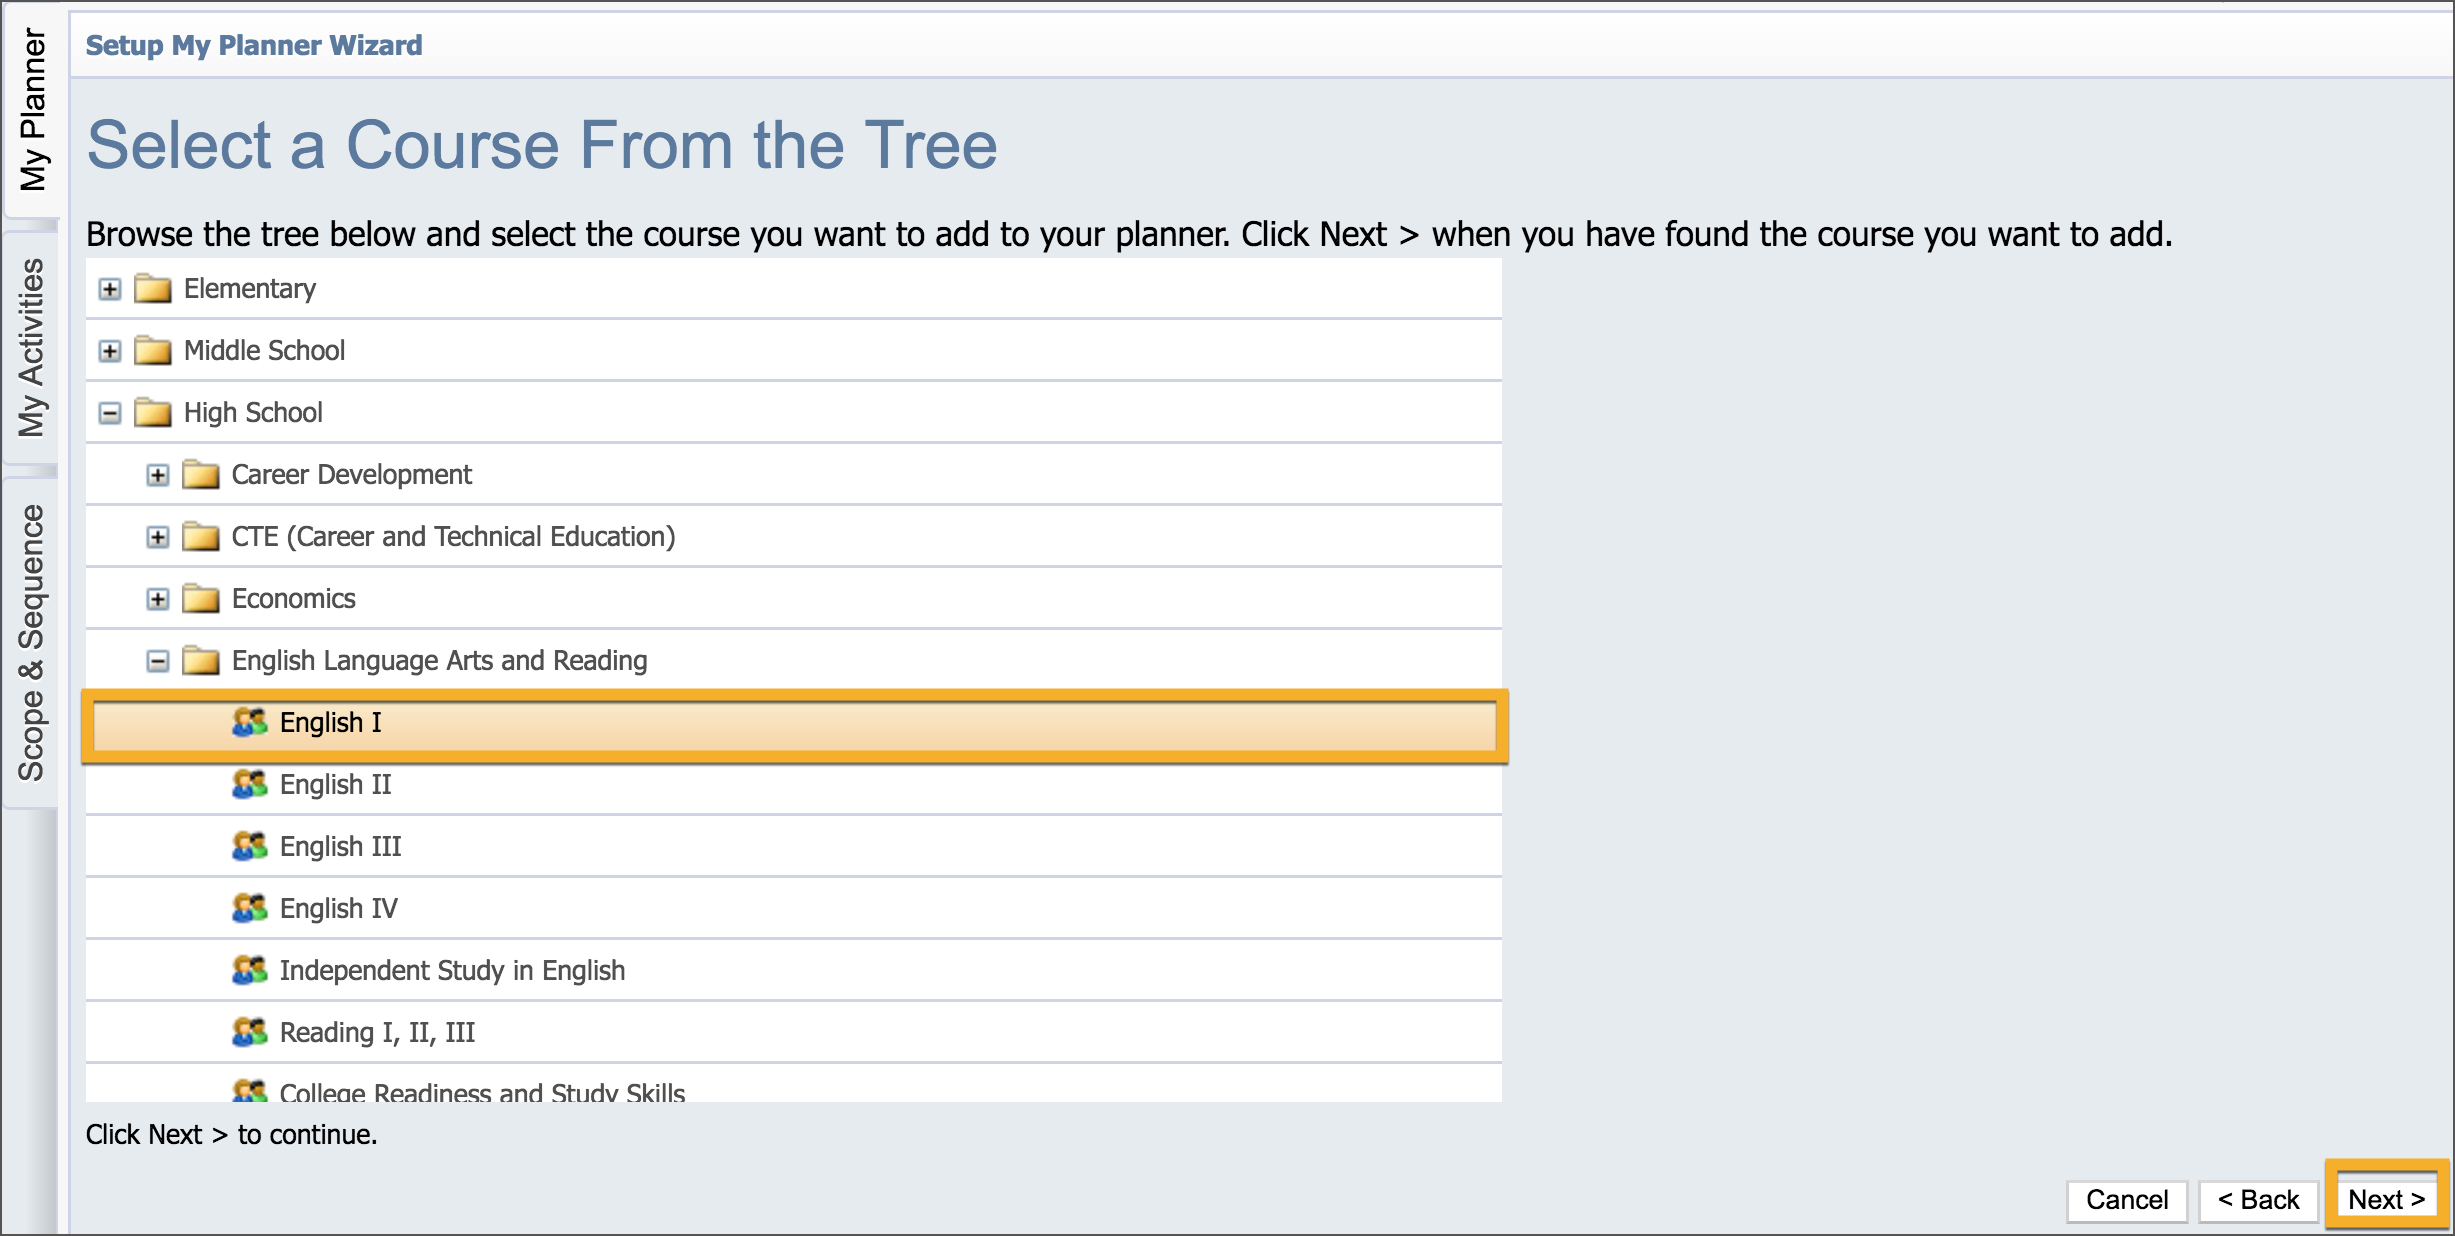
Drill down through the Course Tree to find the course learning standards. Select the standards and then select Next.
Add as many entries as needed for your schedule using the wizard.
Use the Move Up/Move Down options on the Add Entries screen to set the order of your courses in your planner. Select Next to continue through the wizard for setup.
When at the last screen, select the Begin Using Forethought button to complete your lesson planner setup.
Setting up Your Planner
The first time you log into Eduphoria!, the Setup My Planner wizard guides you through setting up your schedule of courses.
Scheduling Strategies
Forethought allows you to create as many course schedules as you need. As a general rule, the fewer schedules you maintain, the simpler the product is to use.
Elementary teachers should almost always select a single day schedule. For example, having Language Arts on two different schedules indicates two different groups of students.
Schedule Entry Types
You can add up to 12 entries in your schedule.
A Course with Learning Standards — This is the typical schedule entry that allows you to enter and track learning standards and add activities.
A Course That Mirrors Another Course in My Schedule — Use this only when repeating preps or courses, allowing for modifications. Mirrored courses allow you to show the same content more than once in your schedule. If something in a class needs to change for a day, you can edit that day's mirrored course, and it will no longer mirror for that day. However, it may be simpler to enter the course once and have special entries to indicate notes for other classes.
Access more information on Schedules with Mirrored Courses.
A Special Entry — A special entry can be any non-academic entry or notes about another class. (It does not connect to any curriculum or standards.) Examples include "Lunch," "Planning Period," or even a general "Notes" section.
Schedule Items to Consider
It is important to remember that you can change your schedule at any time without impacting lessons already in your planner. Schedules in Forethought are not set in stone and should be altered to meet your preferences as you progress through the year.
Do you teach the same subjects several times a day?
If you teach several of the same subjects each day and the classes use the same lesson plan, it might be beneficial to mirror the courses. If a class moves ahead or behind, a mirrored course can be changed for a day to reflect new material.
Another strategy might include adding one lesson entry for the subject and make special entries for the repeating courses, with just small modifications included. That would make your plans smaller on the screen and when you print.
Is it important that your lesson planner reflect each type of day that you may have?
If you have an occasional special day, such as an assembly or campus day, it may be best to just have a single schedule. Unless it dramatically impacts the order of your plans, keeping the number of schedules to a minimum will make planning easier over the year.
Do you have an A/B or other type of block schedule?
If you have different structures for your teaching schedule, setting up schedule days that mirror those days will likely be your best option.
Do you work with a collaborative group of teachers?
You can create numerous teams to meet your group's planning needs. You could make a grade level team, where all courses taught are in the team planner and each teacher focuses on a different subject. You could also create a team for a particular course, either in your building or across the district.
While all lessons may be created in a team planner, it should not be the only source of lesson plans. Teams let you copy content from the team to your personal planner easily. This should be done to allow for differentiation and to ensure storage security.
Do you teach one semester courses?
Your schedule should reflect your current teaching assignment. If you need to alter your schedule at the beginning of second semester, it will not impact the first semester's lessons.
Learning standard coverage and history is tracked based on the instructional year. For semester courses, it is recommended that you delete and create the same course in order to restart the standard history tracking. No lessons from the previous semester will be lost, but now you can start the next semester with a clean slate.
Creating a Schedule
Enter the name of the schedule. Typical examples include:
Normal Day
A Day
B Day
Special Campus Day
Note: It is recommended that you only have one schedule if possible.
Add Entries to the Schedule
This screen allows you to add, edit and organize the entries in your schedule.
Add an Entry — Create a course with learning standards, mirrored course, or special entry.
Edit Entry — Modify information about a selected entry.
Move Up/Move Down — Change the order of a selected entry in your schedule.
Remove Entry — Removes a course from your schedule.
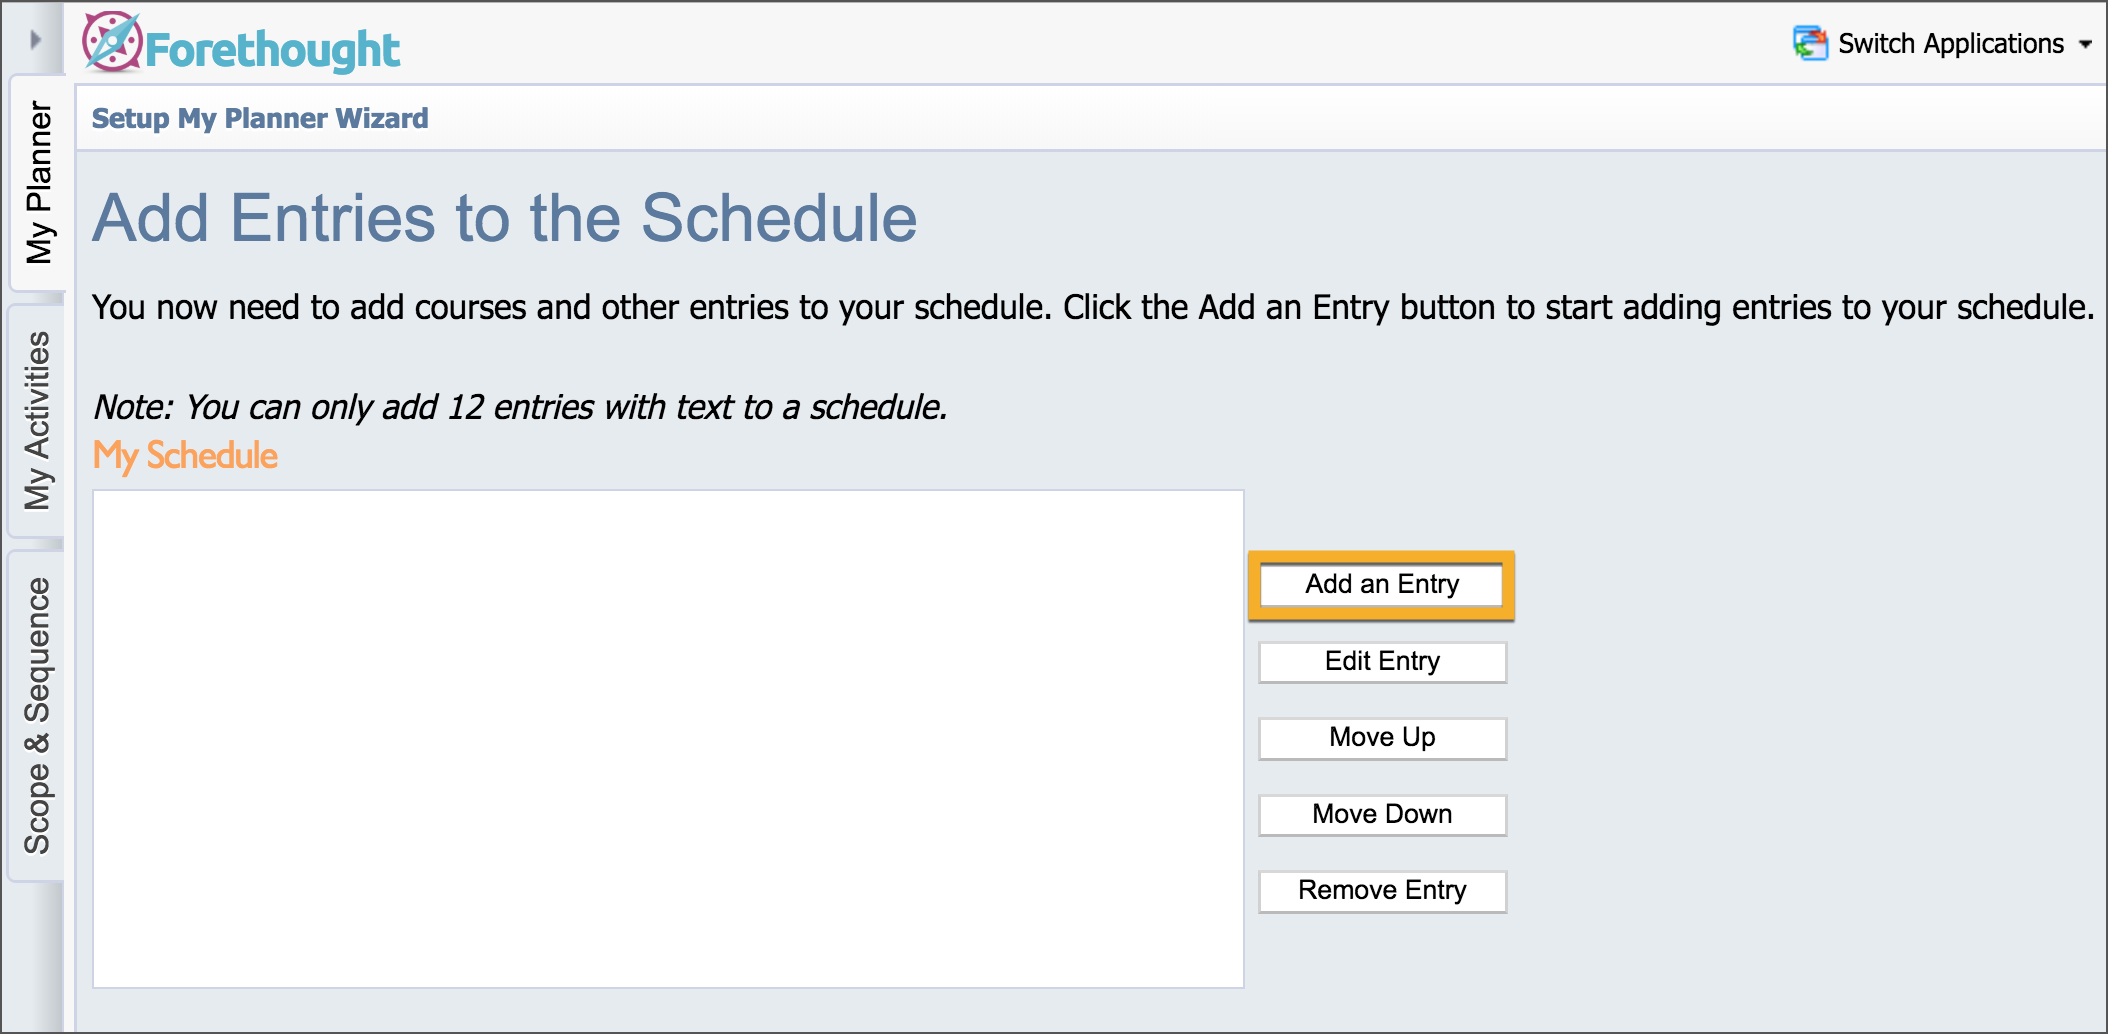
Note: Removing an entry from your schedule does not erase or modify information already in your lesson planner. So deleting English I at the end of a semester will not wipe out your lesson plans for that semester.
Add a schedule entry
Click the Add an Entry button.
Select one of the entry types listed above.
Expand the course tree and select a course (if appropriate).
Click the Next button.
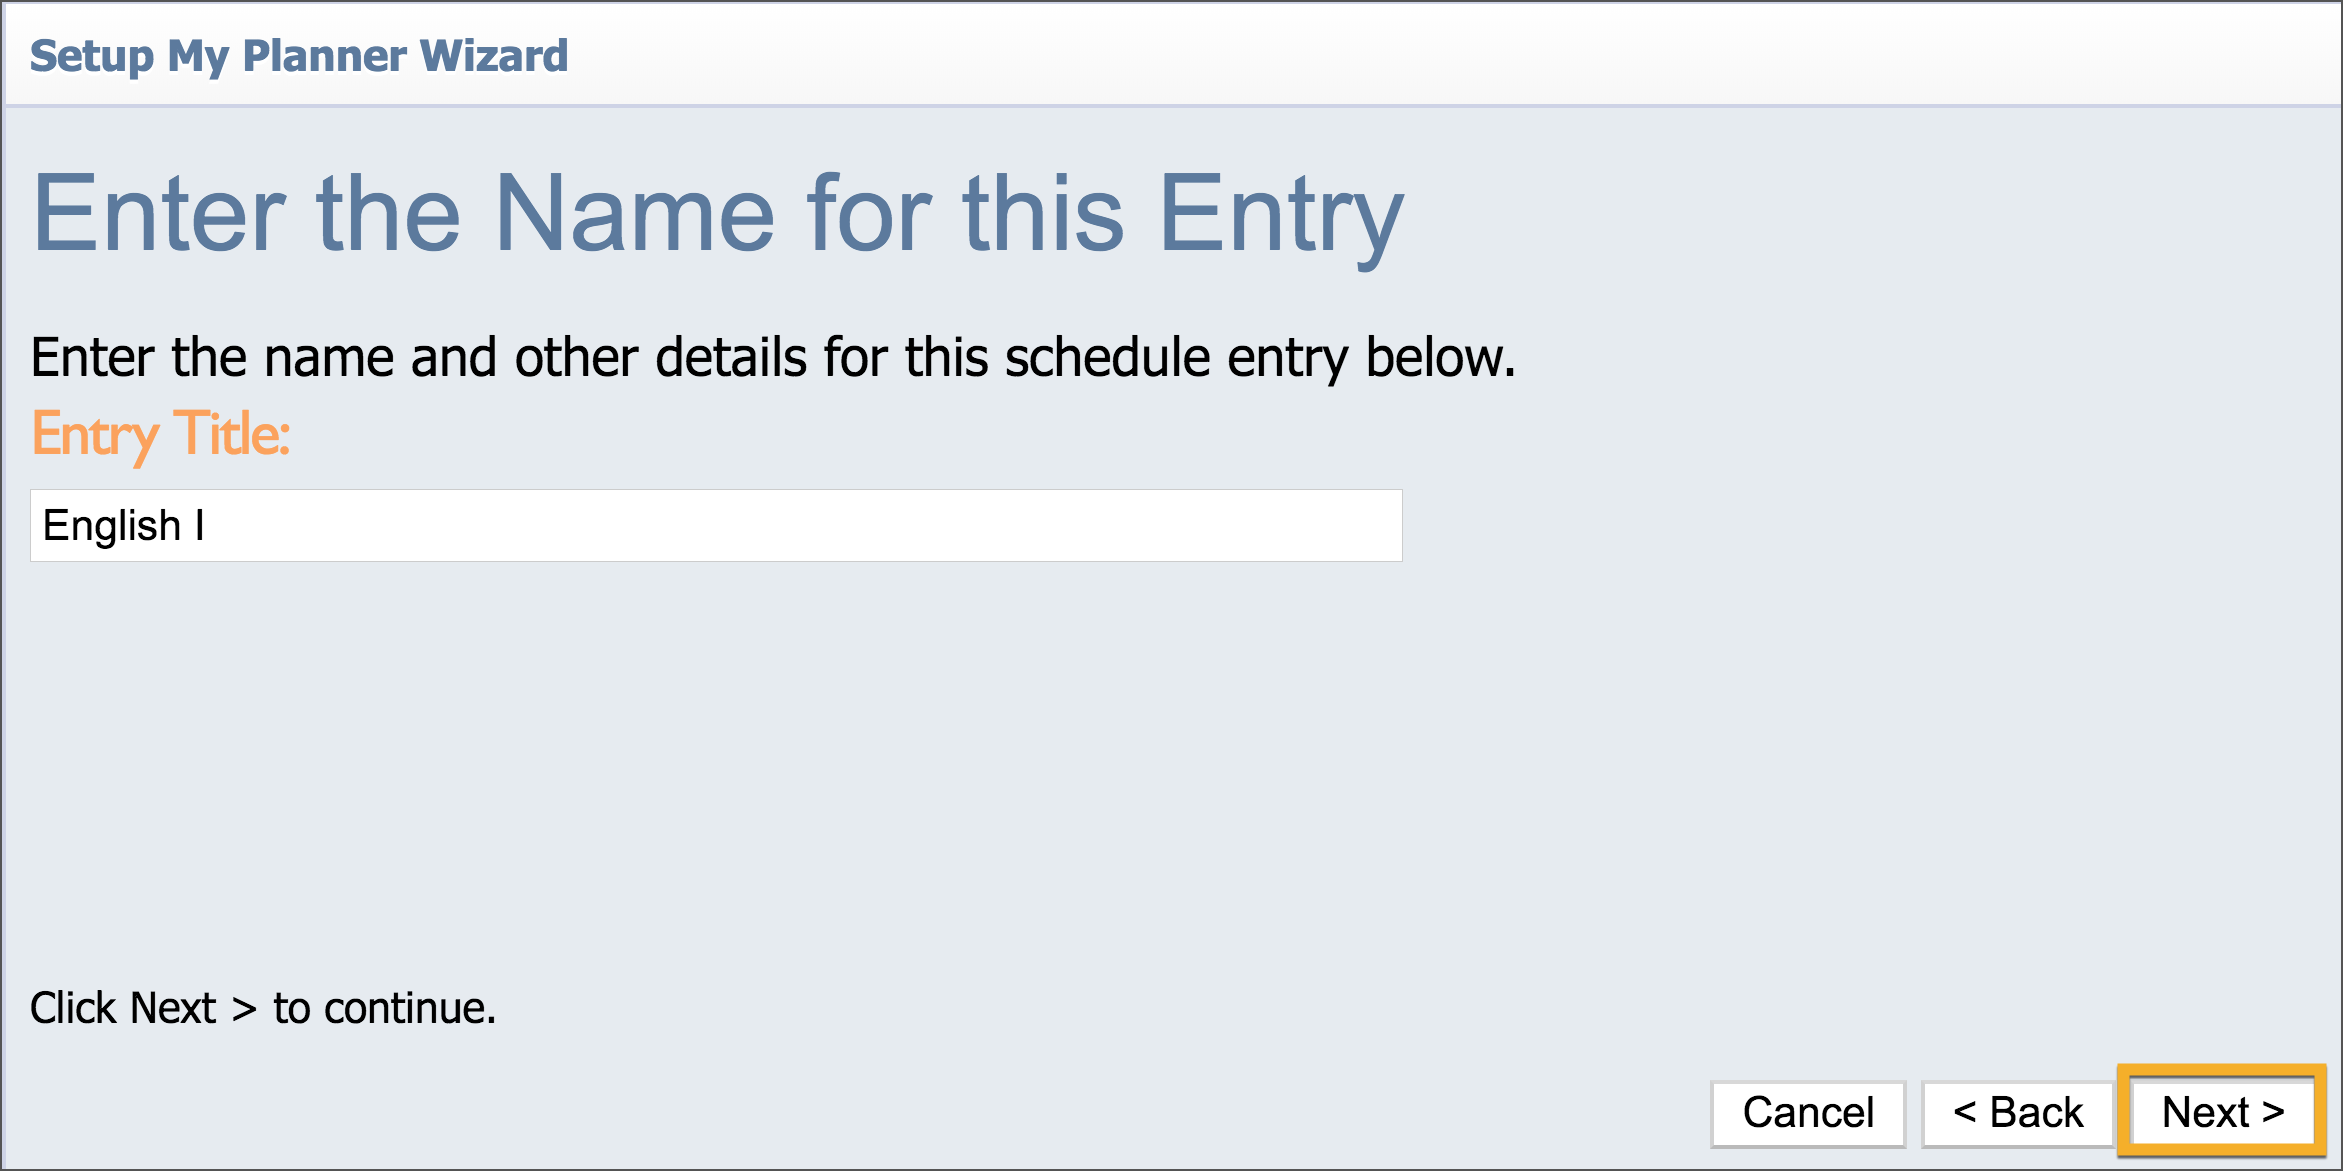
Change the name of the course to suit your needs which could also include class time and class period if desired.
Repeat this process until your schedule is complete.

When selecting the option to add A Course with Learning Standards, you will be directed to match the learning standards to your course. Navigate through the folders to select the standards for your course. Click on the standard and then click Next.
Enter the name for the Entry Title and click Next. Repeat the process as needed for adding entries.
Changing Your Settings
Once you have created your planner, you can change any information entered in the setup wizard by clicking Change My Settings > My Schedules button at the bottom of your planner. This allows you to easily go back and change anything in any schedule at any time. All future days planned will make use of those changes.

For Aware Customers Only
If your district is using the Aware application, you will be able to tie your class roster schedule in with your planner. On the screen to edit the name of the entry, your class roster schedule will appear. You can connect your course entry to your group of students.
To link multiple class sections to one course entry, you can check more than one. For example, if you teach three classes of Algebra, you can check all three of your student sections.
Complete and exit the Setup My Planner Wizard by clicking the Begin Using Forethought button.