Eduphoria users can upload student pictures in Management to display on the student’s profile in Aware. Users should label each picture only with the student’s Local ID number and store them within a ZIP file in PNG, JPEG, or BMP formats.
Step 1: Log in to Eduphoria and select Management.
.png)
Step 2: From the main menu, select the Roster Settings gear icon.
.png)
Step 3: From the resulting drop-down menu, select Upload Student Pictures.
.png)
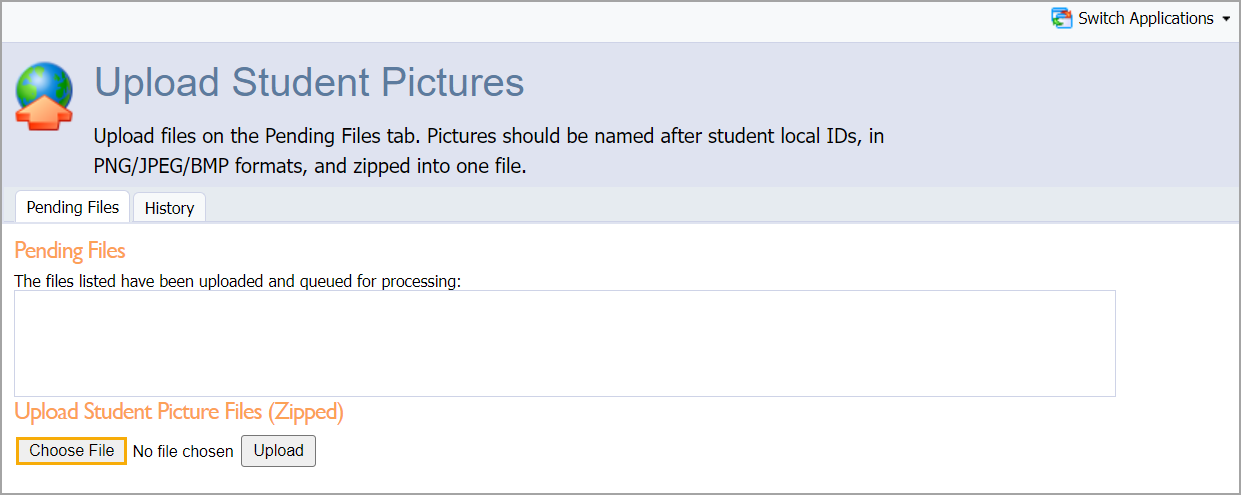
Step 4: Select Choose File.
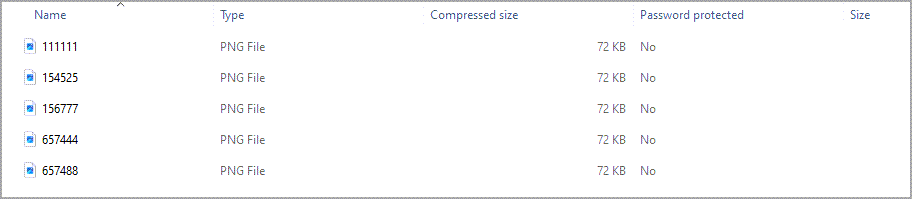
Step 5: Locate the ZIP file containing the pictures you want to upload. Remember to label each image with the relevant student’s Local ID number.
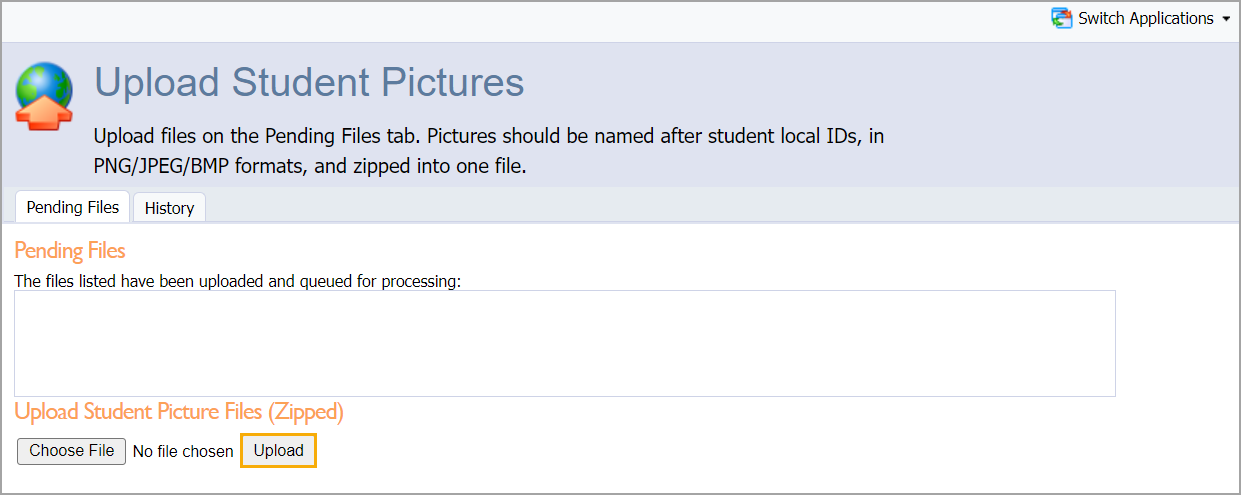
Step 6: Select Upload when you have chosen the file.
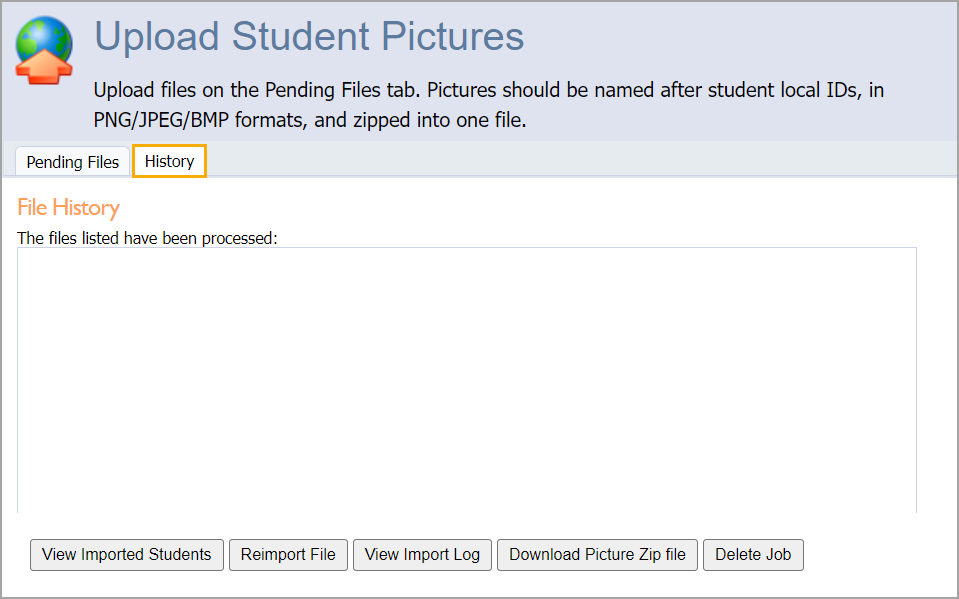
The system runs the upload in the background. You can check on the progress of the upload in the History tab.
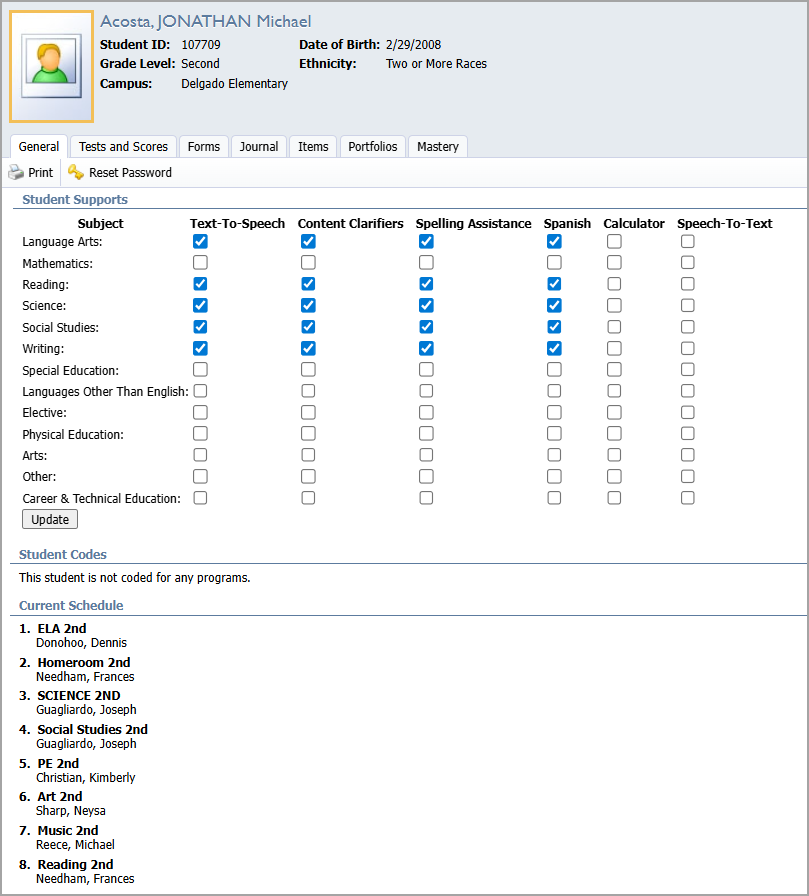
Successfully uploaded pictures appear on the student’s profile in Aware.