Assessment data can be imported from another system as long as it is properly formatted as a CSV file. This feature allows districts to import scores from other systems to provide valuable test history for a student.
The student ID should be the first column, followed by students’ responses to each question with no header row.
Note: Clicking the Rescore button will not change imported test scores.
Step 1: Create a new blank assessment with the same subject and test details as the import.
Step 2: Generate the same number and type of questions as the import. Include correct answers and associated standards.
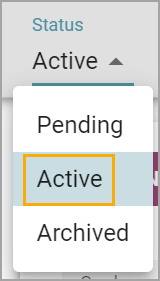
Step 3: Set the test status to Active.
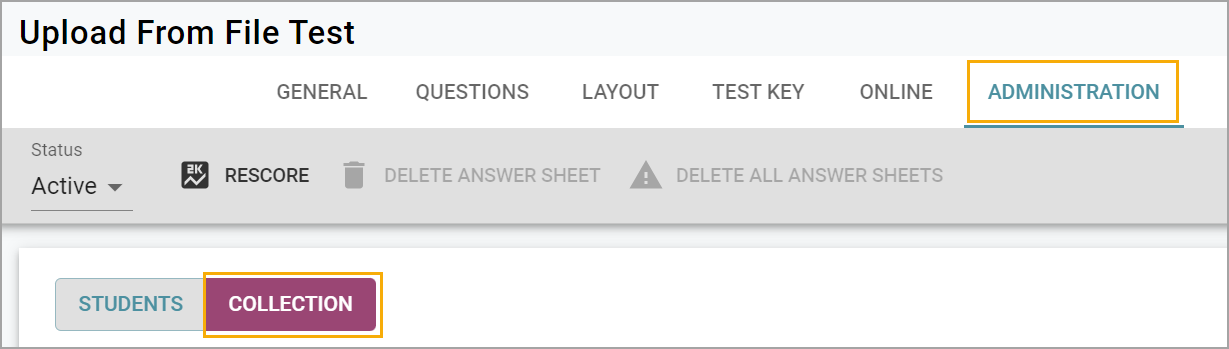
Step 4: Under the Administration tab, click the Students button. Select the appropriate information to match the information of the import. This may include grade level, schools, courses, subjects, programs, forms, or Monitor Groups.

Step 5: Under the Administration tab, click the Collection button.
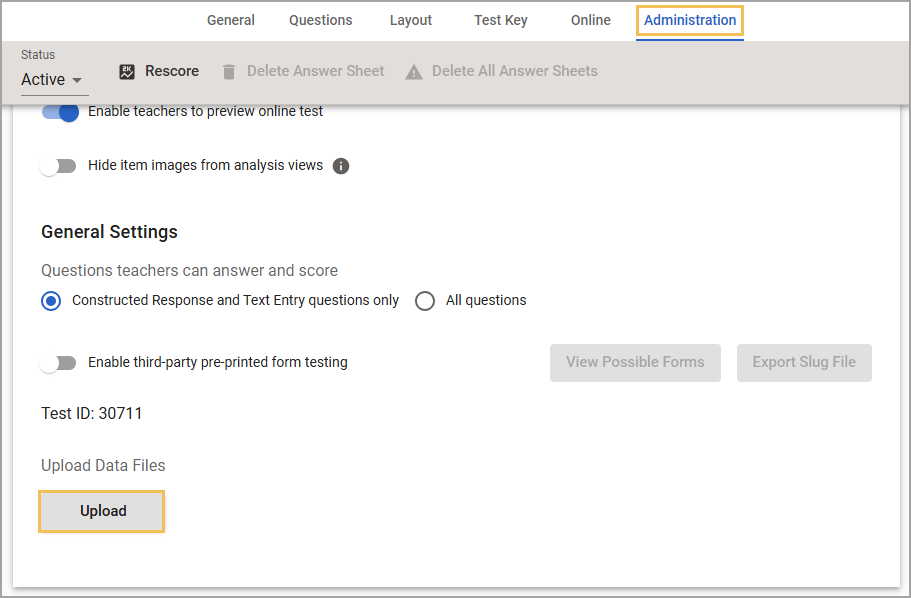
Step 6: Scroll down to General Settings to Upload Data Files. Click the Upload button.
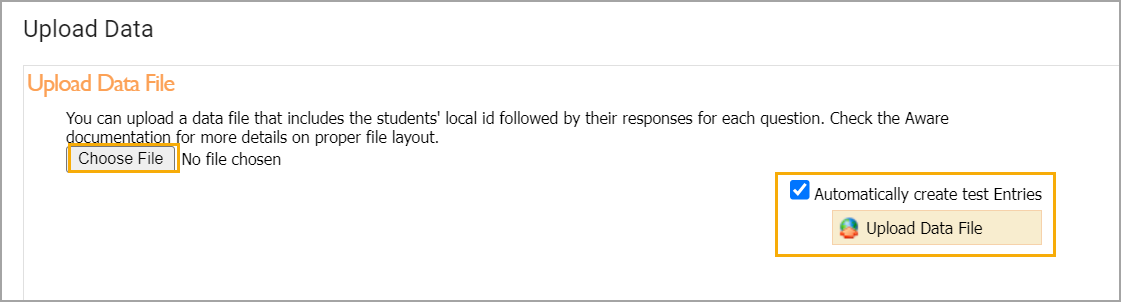
Step 7: Select Choose File. Click Automatically create test Entries, then click Upload Data File.
You can find imported assessment results using Quick Views or the Data Views Bank.