Forethought Options
Forethought Options can be found on the Manage tab.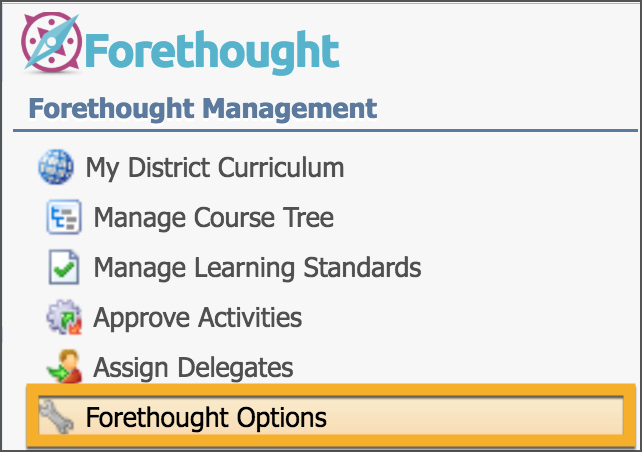
Planner Options Tab
Open the Planner Options tab to define the Lesson Plan Default Template for your district. Use the simple text editor to enter the template text as you want it to appear in all district lesson planners. Select Save when the planner is set. This template will appear in all planners for courses with standards across the district. The template can be used and customized by teachers in their individual lesson planners. 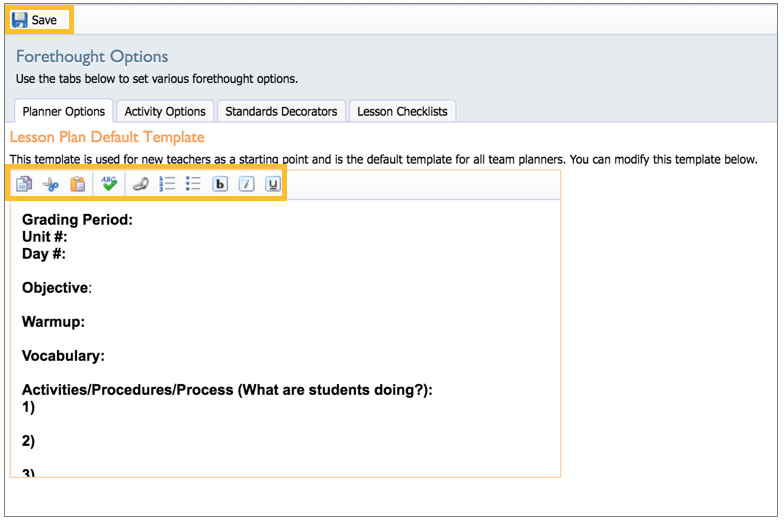
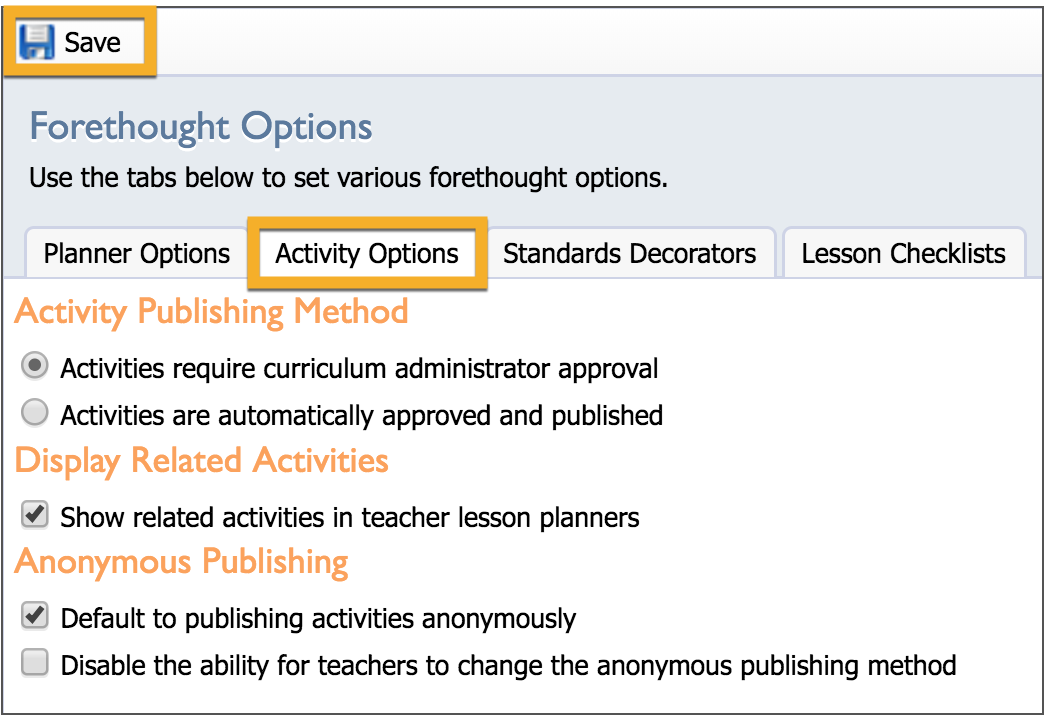
Activity Options Tab
Activity Publishing Method — Choose whether activities require curriculum administrator approval or can be automatically approved and published to the district scope and sequence.
Display Related Activities — Select the checkbox to display all activities and standard clarifications connected to a learning standard. If selected, when a standard clarification is connected to a state standard in one group folder, the clarification also appears for the same state standard in another group folder.
Anonymous Publishing — Choose whether activities should be published anonymously. If not, teachers' names appear at the top of the activities they create.
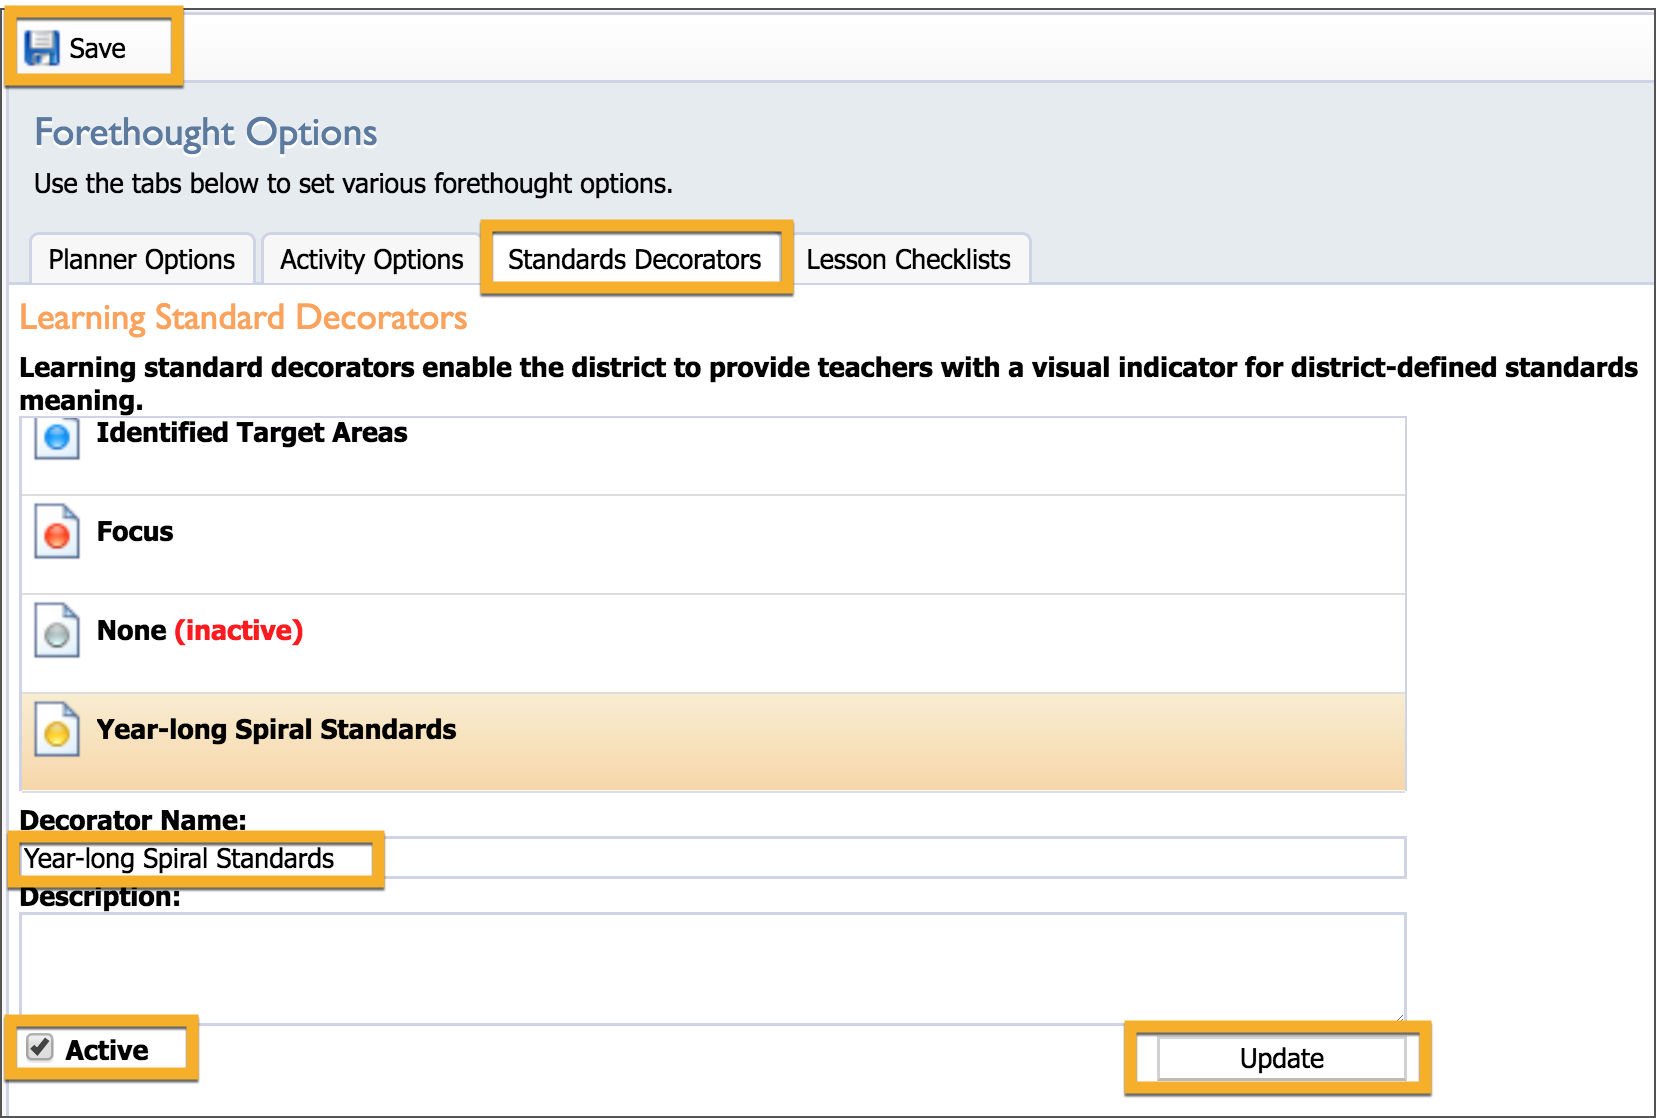
Standard Decorators Tab
Learning standard decorators allows you to attach a visual indicator to district-defined standards. There are five colors (green, blue, red, gray, and yellow) that can be applied to a learning standard. These decorators are district-wide and can be used in all courses. To enable a decorator, select the color choice then select the Active checkbox. Give the decorator a name and a description. The name and description appear when teachers hover over the decorator in their lesson plans.
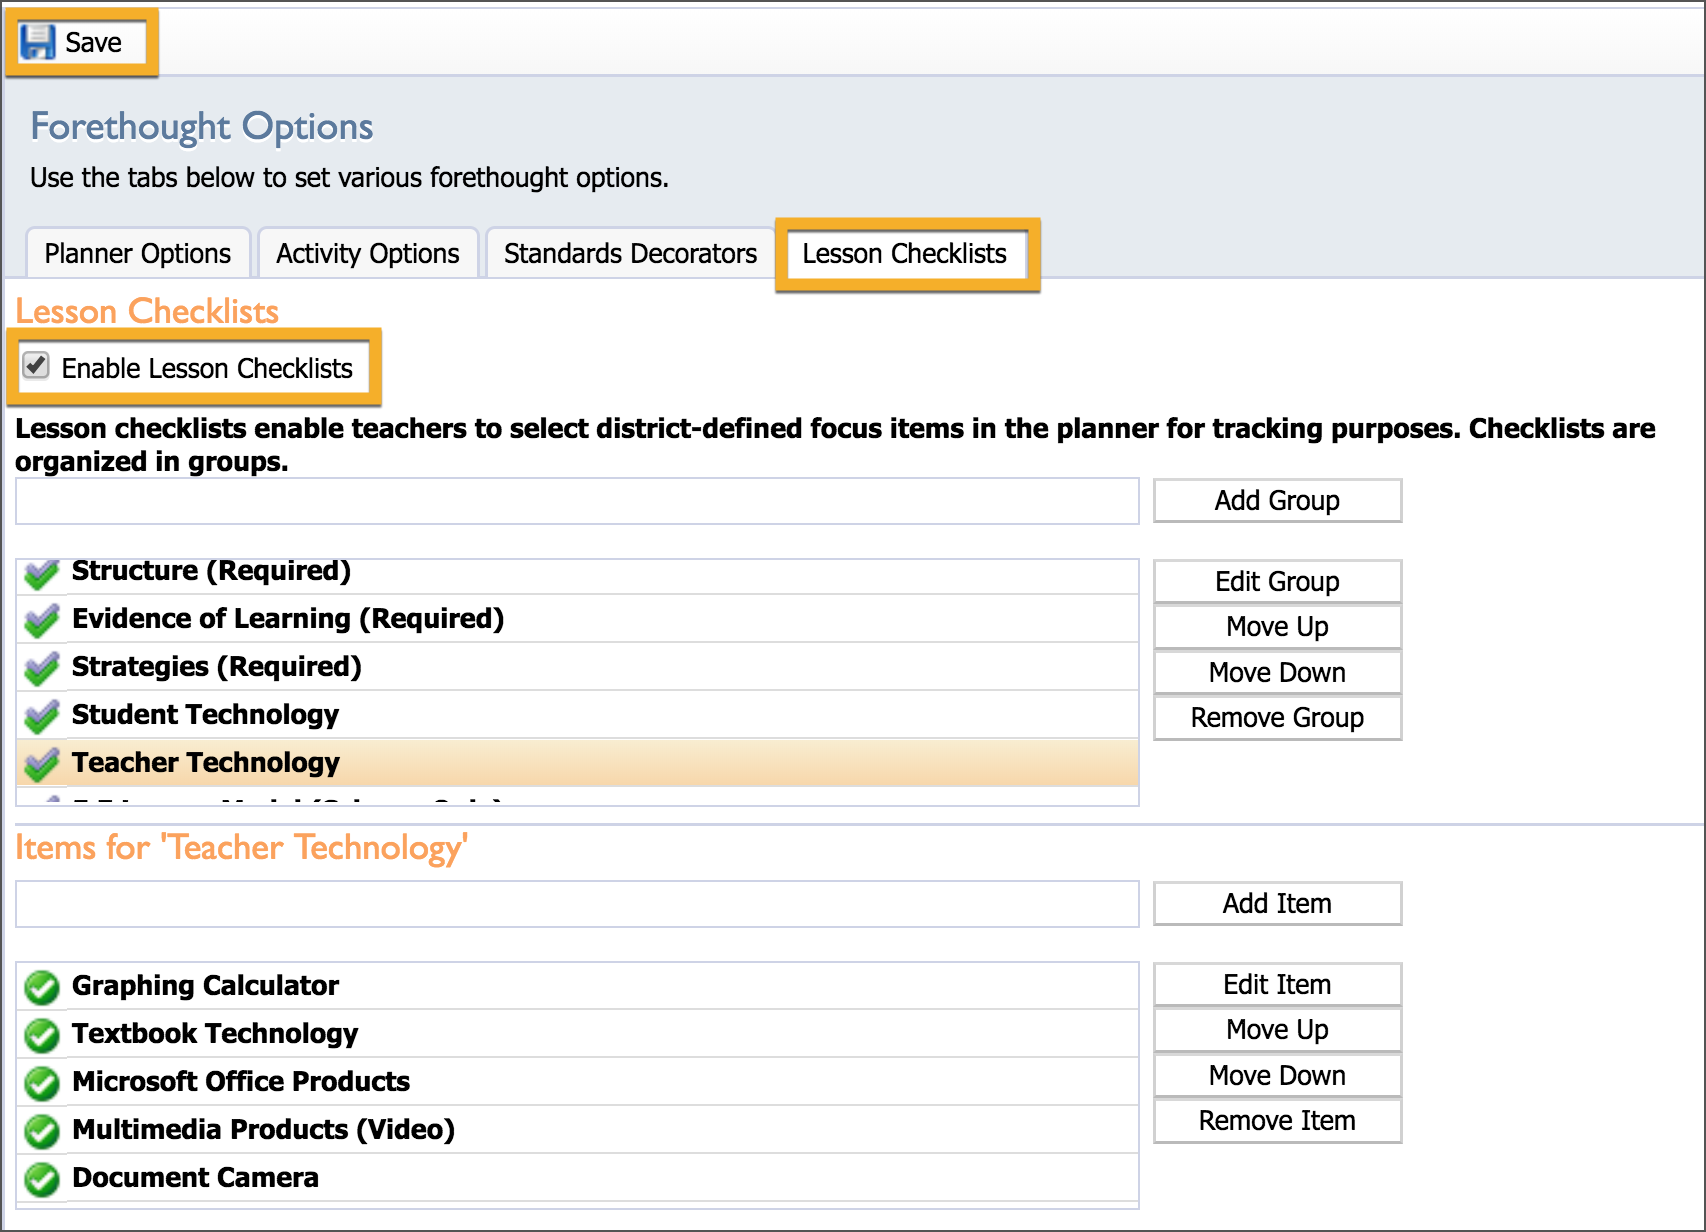
Lesson Checklists Tab
Checklists provide a list of trackable items for teachers to check off when creating lessons. Both teachers and administrators can run reports on these checklists to determine what is being used often, what is being overlooked, and so on.
To manage checklists, go to the Forethought Options interface. Select Enable Lesson Checklists to activate the feature.
Create Checklist Groups
Type in the name of the desired group in the top text box.
Click the Add Group button.
Use the Edit Group button to change the name of an existing group.
Move Up and Move Down to reorganize existing groups.
Click Remove Group to remove unwanted groups.
Create Checklist Items
Select a checklist group.
Type in the new item in the text box below.
Click Add Item.
Repeat the process for additional items.
As with groups, you can use Edit Item, Move Up, Move Down, and Remove Item to manage the list of items.
Items are immediately available to teachers upon creation. No extra publishing is required. 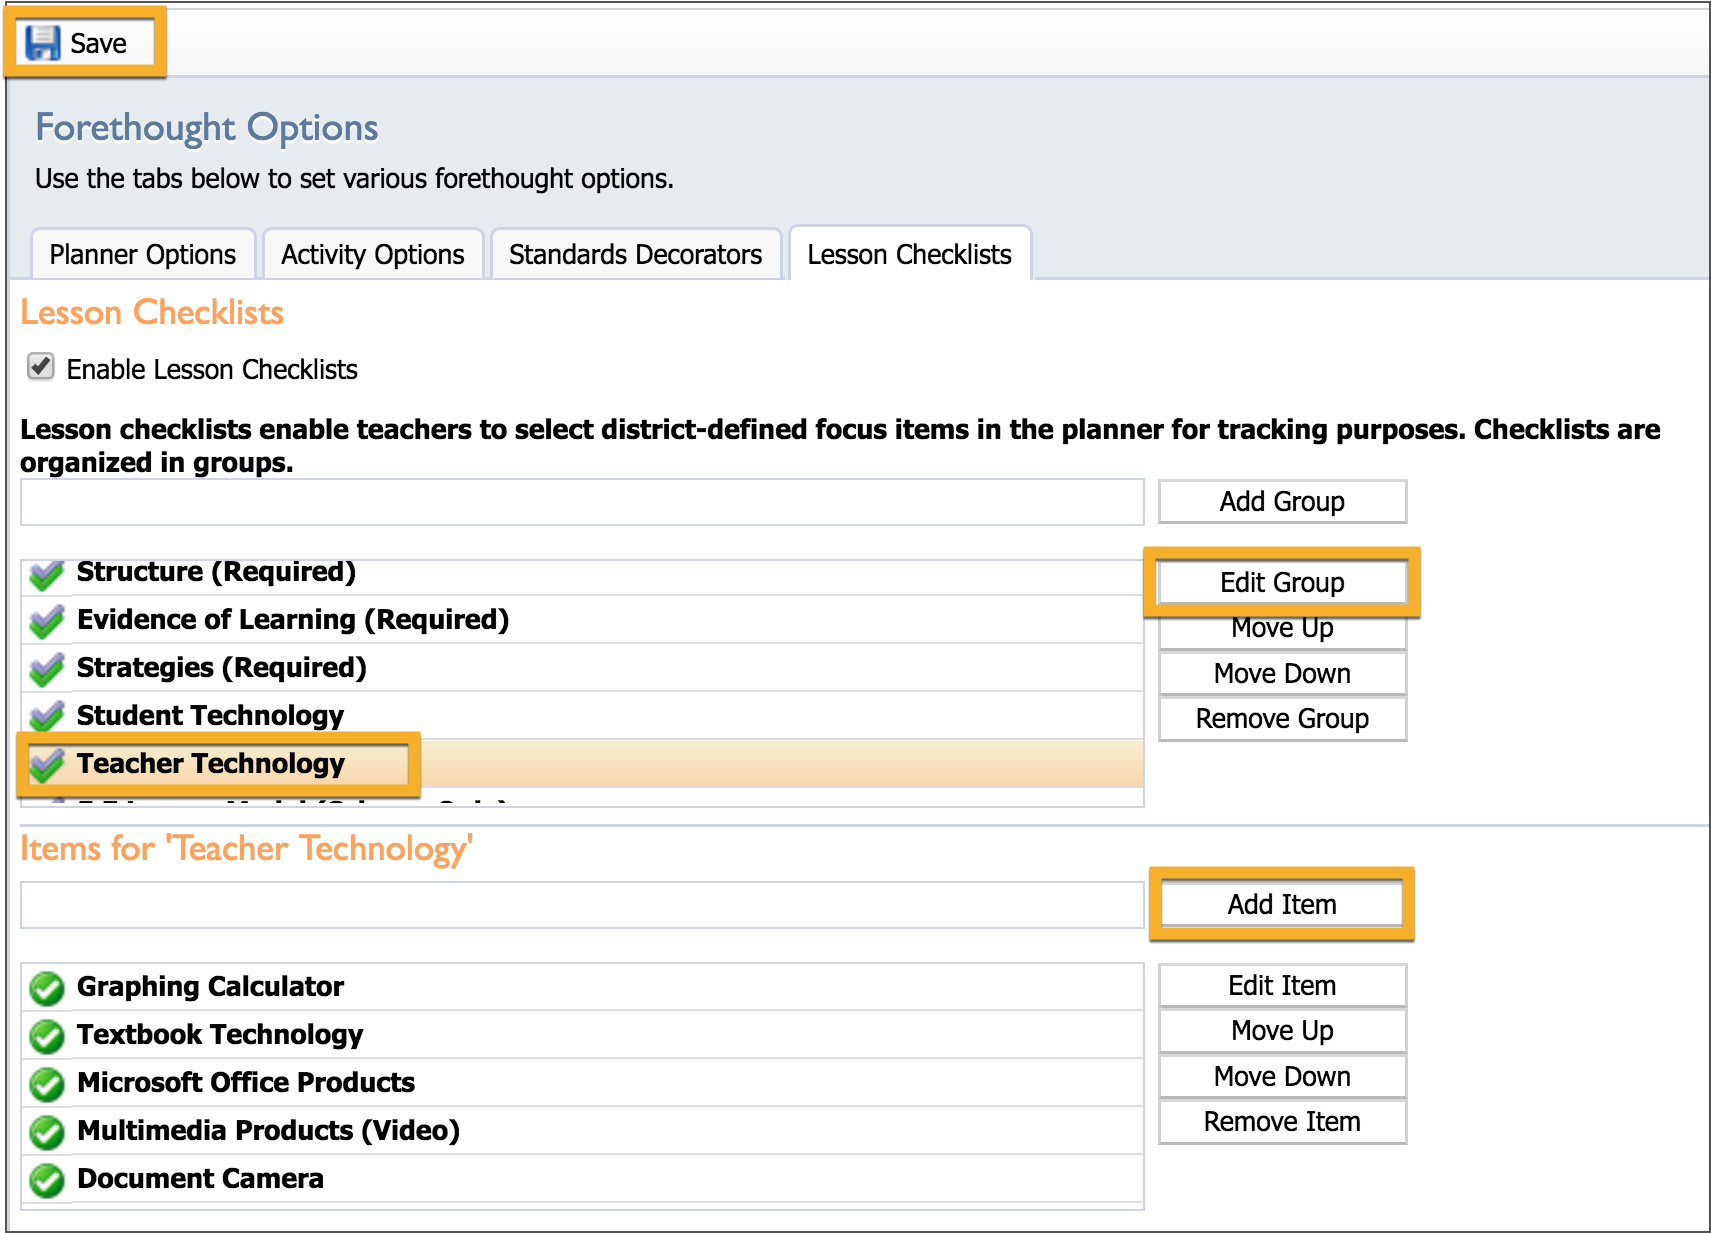
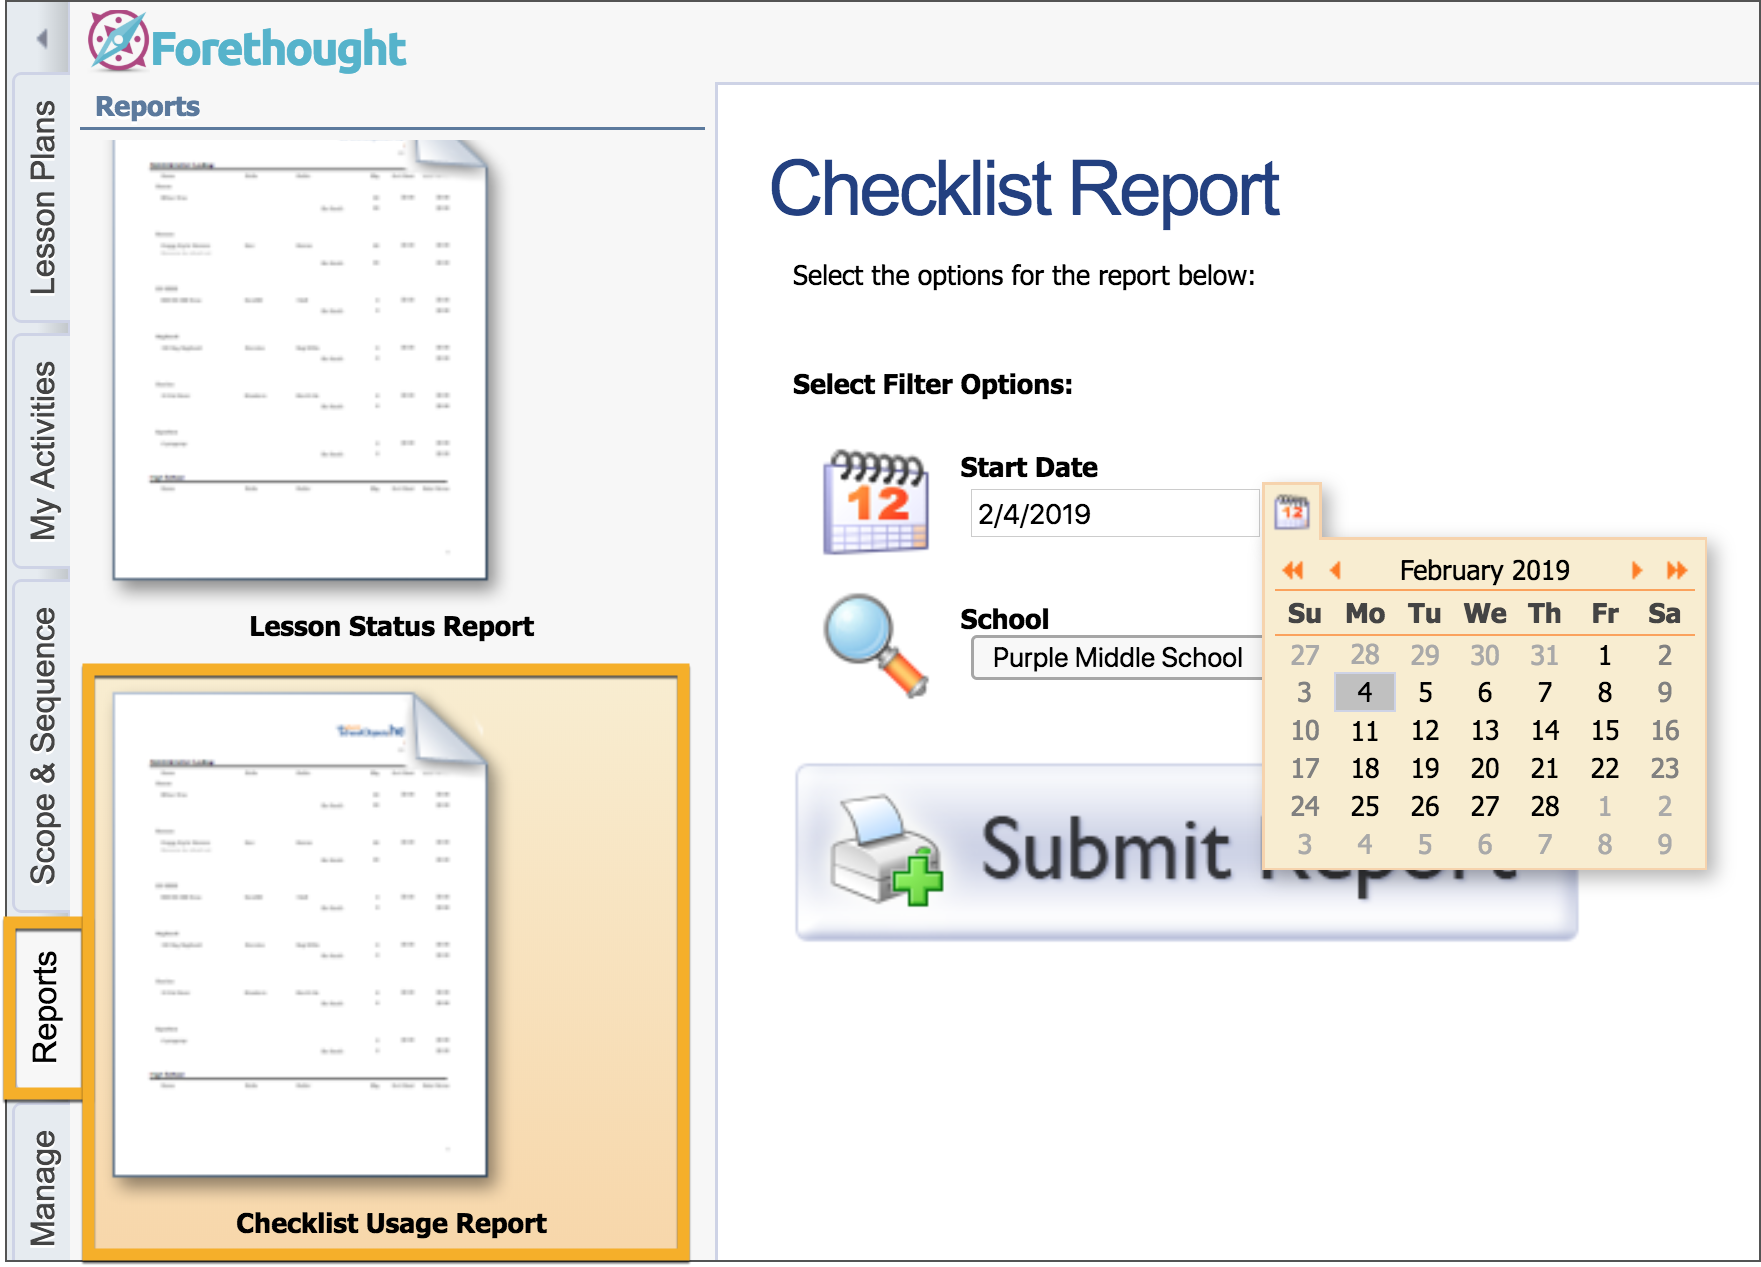
Run a Checklist Usage Report
You can generate a report of district-wide checklist usage from the Reports tab. This report shows the number of times each item was used within a given month.
To create a checklist usage report:
Open the Reports Tab.
Select the Checklist Usage Report.
Choose the start date and school.
Click Submit Report to open or save a PDF file.