Within Facilities&Events, Student Assets allow districts to easily assign assets to students from your roster. You assign all student assets from the new Students tab.
Student Assets
On the Students tab, userscan search for assigned assets and students using the following search fields:
Asset Barcode (for an already assigned student asset)
Name or ID (for the student who has been assigned the asset)
Grade (for the student who has been assigned the asset)
School (for the student who has been assigned the asset)
.png)
Search results appear at the right under the Students heading. If you search for a barcode, your results will show the student that is assigned to that asset's barcode. If you search for a student by name or ID, your search results will show all students meeting those search criteria.
From this page, you cannot search for a list of assets, only students. There is no need to search for a barcode and a student at the same time.
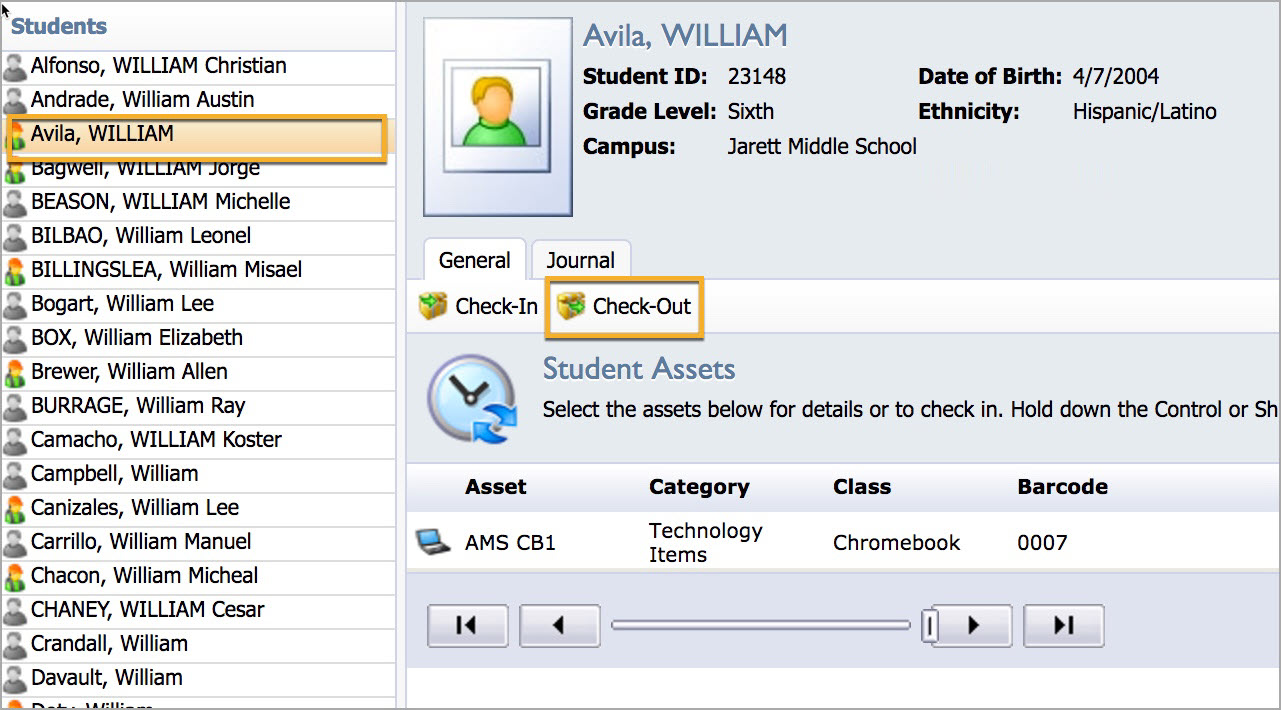
Selecting the student’s name displays the student’s profile with any student assets that have been assigned.
Assigning a Student Asset
To assign a student asset from the student’s profile, follow these steps.
Step 1: Select Check-Out.
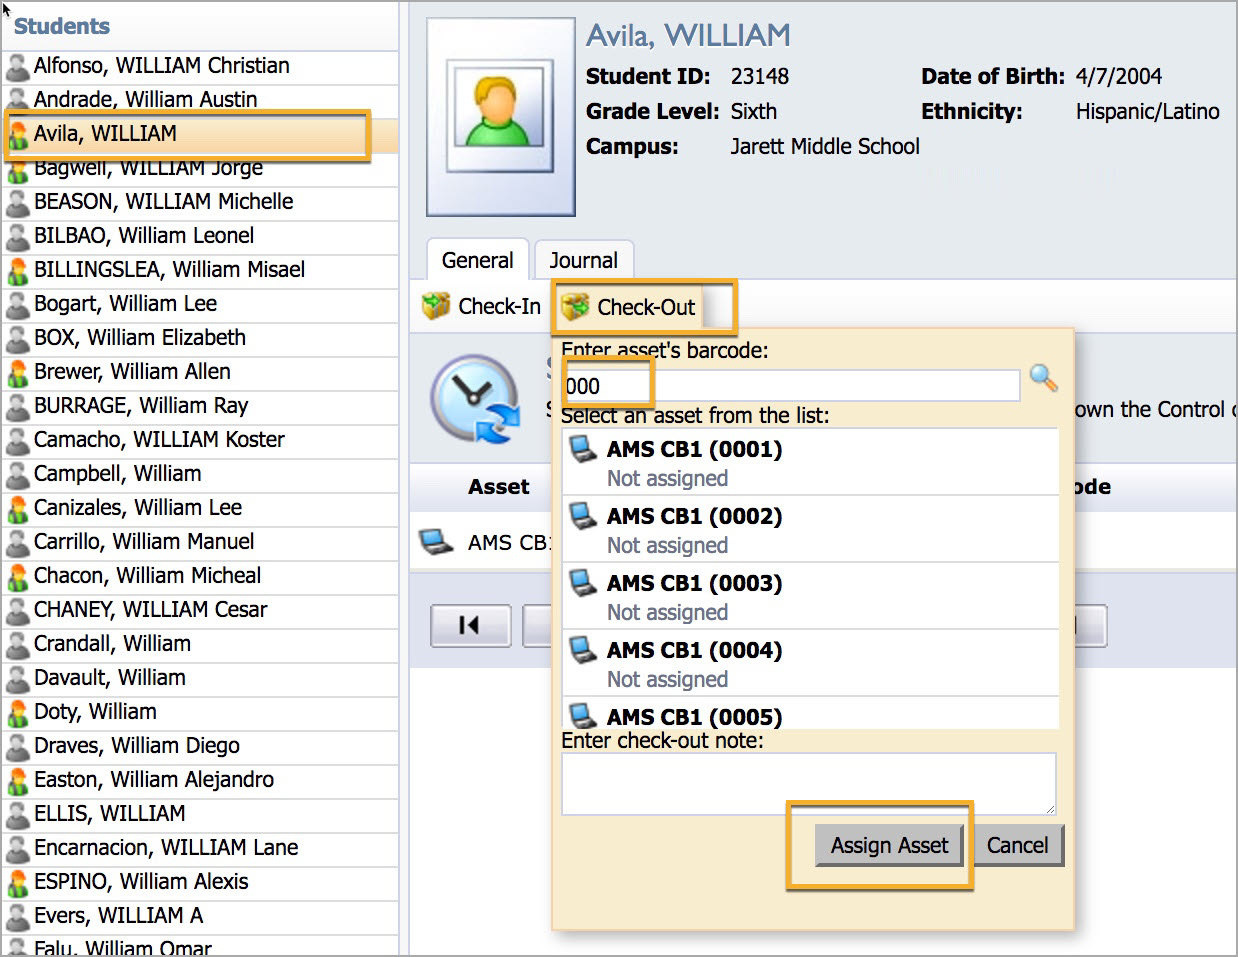
Step 2: Search for the asset by barcode number.
Step 3: Select the item you want to assign to the student.
Step 4: Enter any check-out notes. This will save in the journal actions.
Step 5: Select Assign Asset.
The asset appears as being assigned to the student under their student profile information.
Checking in a Student Asset
To check in a student asset from the student’s profile, follow these steps.
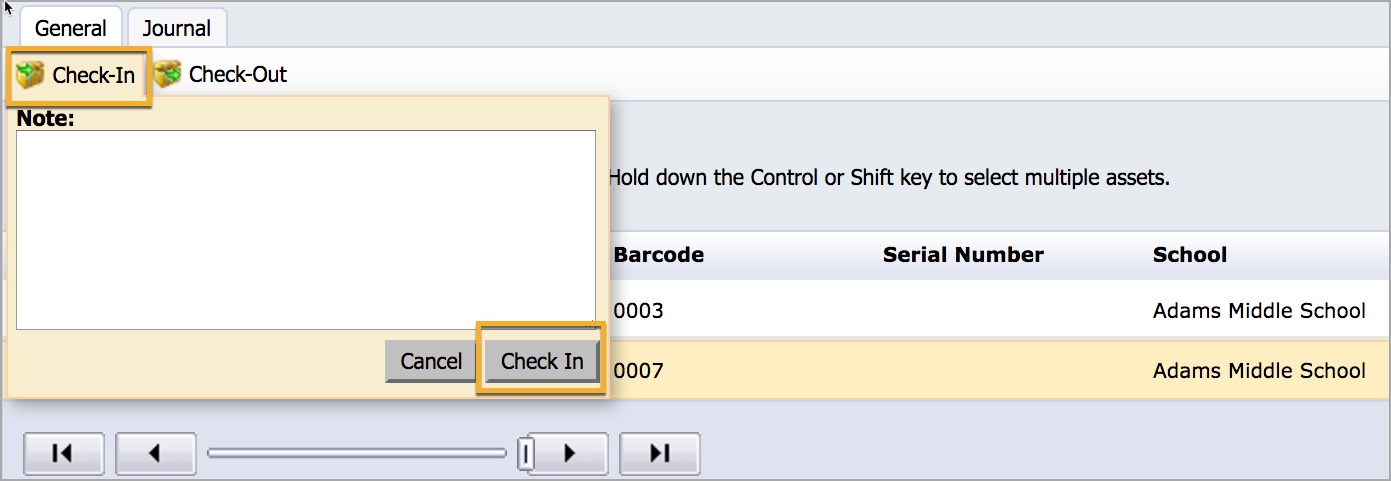
Step 1: Select the item you wish to check in.
Step 2: Select Check-In.
Step 3: Enter any necessary notes.
Step 4: Select Check-In.
Note: If you are an inventory manager or a teacher and you are trying to check-in or check-out assets that you do not have the rights to assign, the system will notify you that you are unable to assign specific assets.
Checking out an Asset Using the Kiosk
The Kiosk allows teachers, inventory managers, and system administrators in Facilities&Events to more easily check-in and check-out assets to students while allowing the student to confirm their receipt or return of the asset.
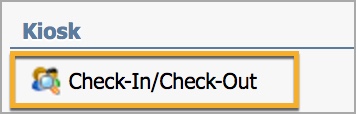
Step 1: To enable the Kiosk feature, click the Check-In/Check-Out button in the lower left corner.
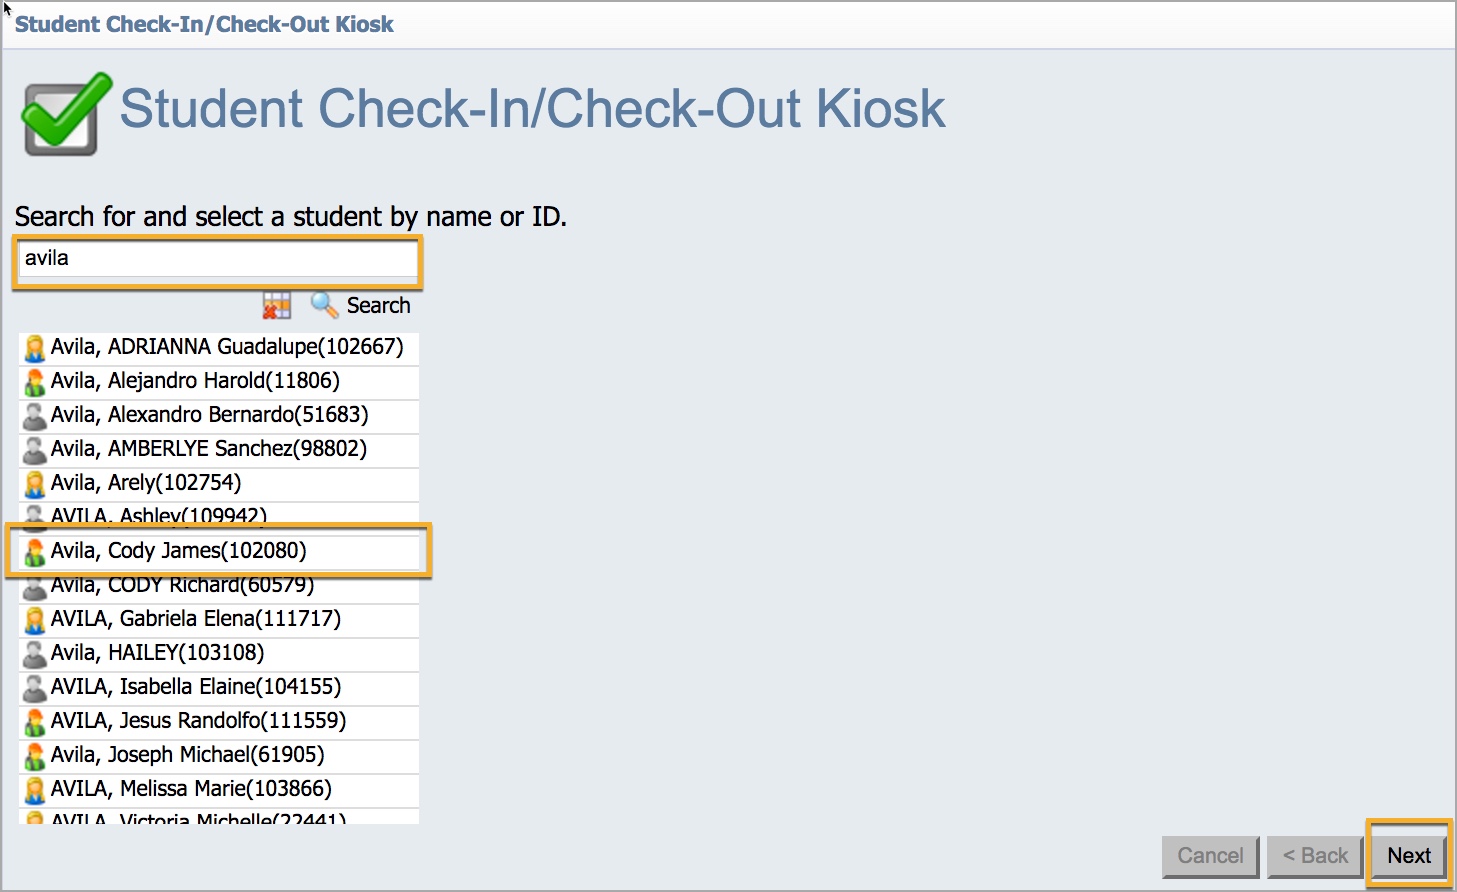
Step 2: Search for a student by name or ID number.
Step 3: Select the student to whom you wish to assign an asset.
Step 4: Click Next.
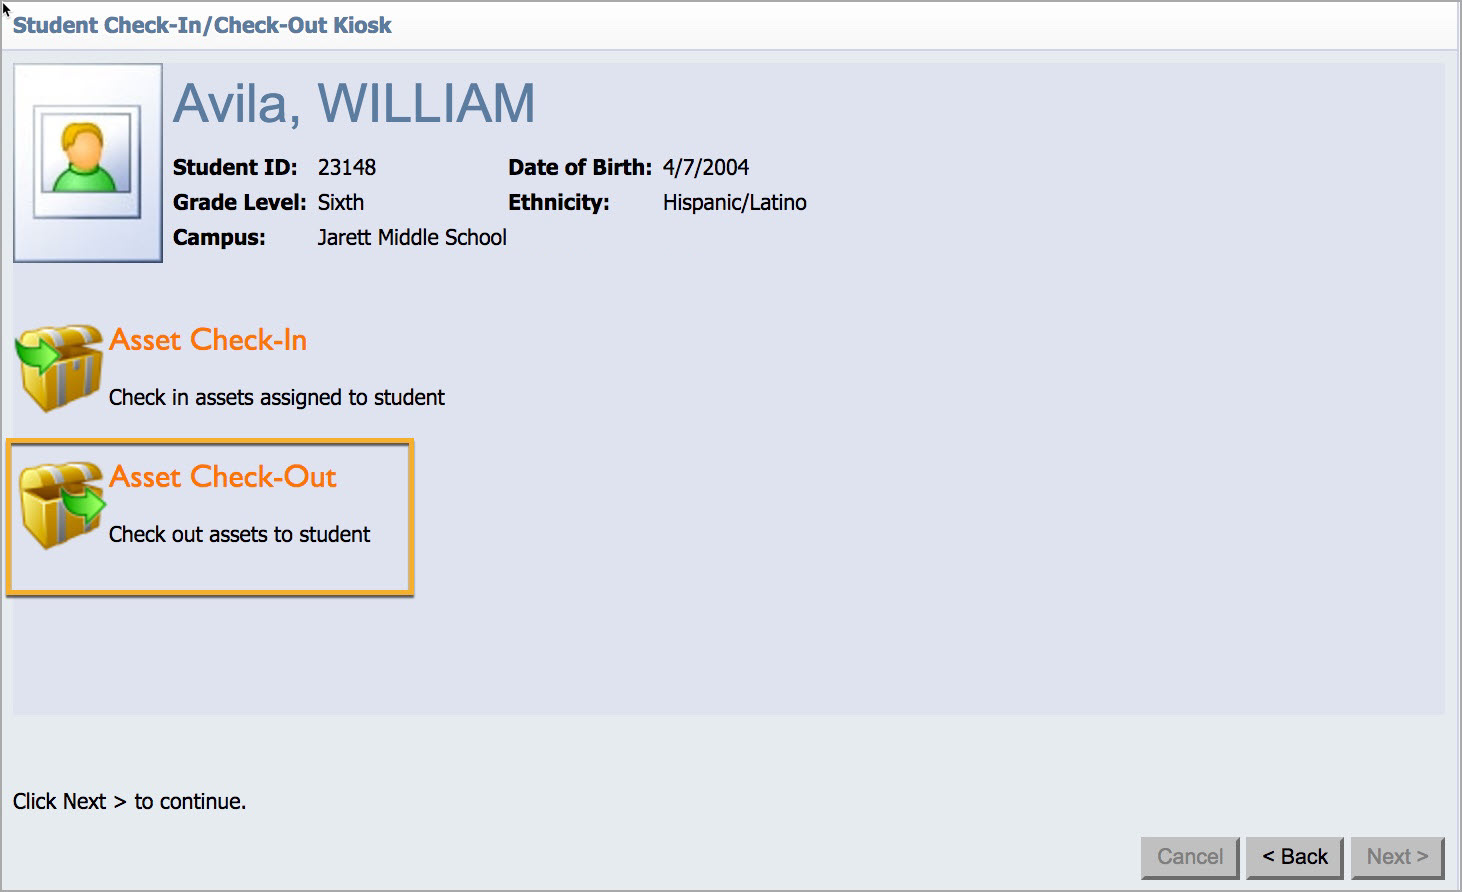
Step 5: Confirm the student profile information.
Step 6: Select Asset Check-Out to search for the asset you wish to assign.
Step 7: Search for the asset’s barcode.
Step 8: Select the asset you wish to assign from the list.
Step 9: Click the Add button, then select Next.
.png)
Note: This next screen is intended for the student to type their name and student ID to confirm receipt or return of the asset.
Step 10: The student must type in their name and student ID in their respective fields, then click Confirm to complete the check-out process.

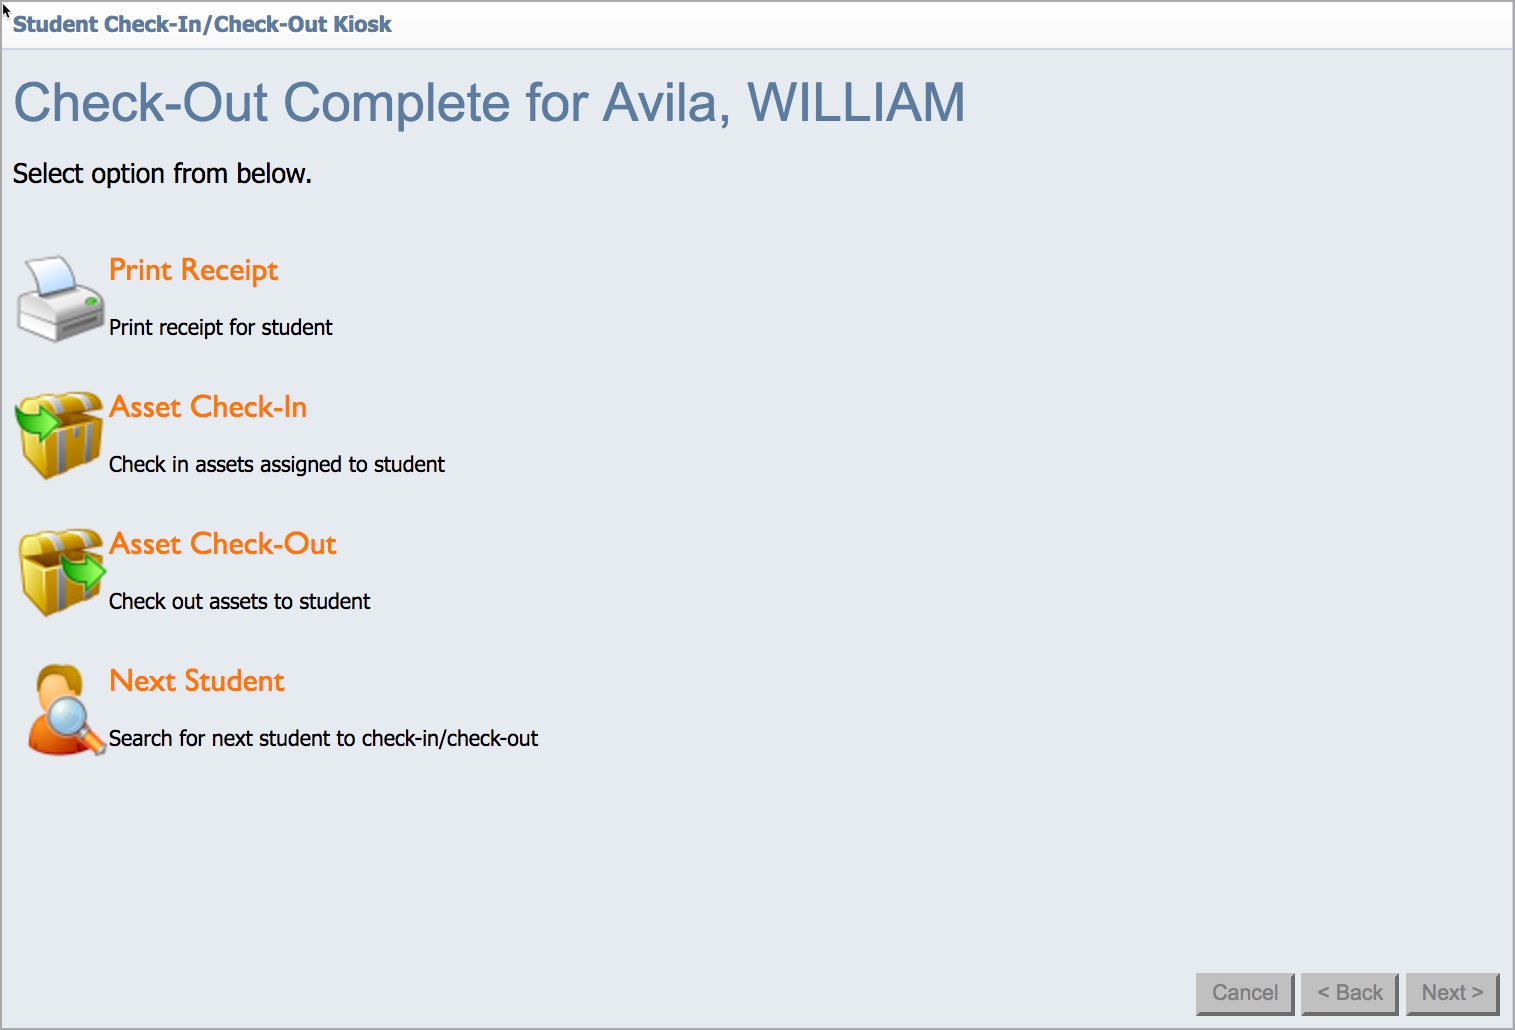
After completing the check-out process, you have the following options:
Print a Receipt
Check in an asset
Check out another asset to the same student
Check out an asset to a different student
Checking in an Asset Using the Kiosk
Step 1: Select Asset Check-In.
Step 2: Select the item you wish to check-in.
Step 3: Click Next.
Step 4: The student should type their name and student ID into their respective fields, then click Confirm to complete the check-in process.