If a resource was created by mistake or is no longer needed, you can select Delete from the More Actions menu.
Warning: Deleting a component permanently removes it from your Library and from every course, unit, lesson, or resource to which it is linked. If you do not want to permanently delete the component, you can unlink it from the curriculum components that no longer need it. For example, to unlink a resource from a course, open the course and locate the resource in the Relationships panel. Select the Unlink icon that appears when you hover over the resource. This action removes the resource from the course but preserves it in Beacon, so you can continue to use it in other curriculum components.
Quick Guide
Deleting a Resource From the Resources Screen
Select Resources from the main menu.
Locate the resource you want to delete.
Select the Delete icon in the resource row.
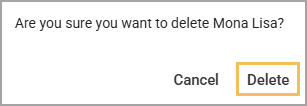
In the confirmation window, select Delete to confirm.
Deleting a Resource From Within the Resource
Open the resource you want to delete.
Select the three vertical dots next to the resource title to open the More Actions menu.
Select Delete.
In the confirmation window, select Delete to confirm.
Illustrated Guide
Deleting a Resource From the Resources Screen
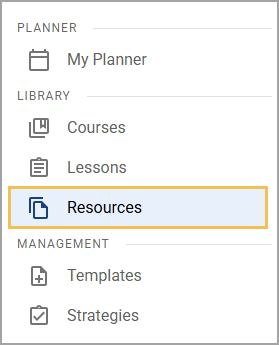
Step 1: Select Resources from the main menu.
Step 2: Locate the resource you want to delete.
Step 3: Select the Delete icon in the resource row.
.png)
Step 4: In the confirmation window, select Delete to confirm.
.png)
Deleting a Resource From Within the Resource
Step 1: Open the resource you want to edit. You can access your resource by searching the Curriculum Explorer in My Planner, by searching the Resources list, or from the Courses screen by drilling down through the course and unit in which it resides.
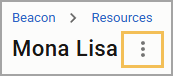
Step 2: Select the three vertical dots next to the resource title to open the More Actions menu.
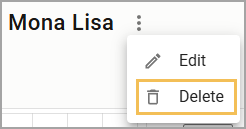
Step 3: Select Delete from the drop-down menu.
Step 4: In the resulting confirmation window, select Delete to confirm.