A user with the Manage Users right in Management can import users using a CSV file to create new users, update user information, or provide additional information to users’ profiles, such as ID numbers, date of birth, certification information, demographic information, and more.
Eduphoria also supports districts that use Secure File Transfer Protocol (SFTP) to create, update, delete, and reactivate user accounts. Refer to the Access Keys article to learn how to create access keys and set up SFTP connections for specific imports.
Providing additional user information helps complete tasks such as TIA reporting and assigning Custom Roles.
Quick Guide
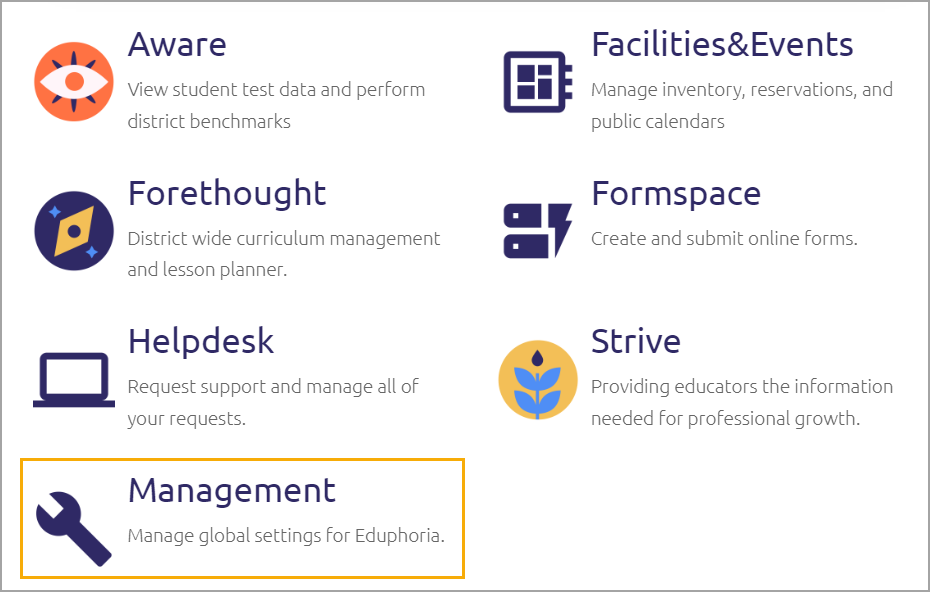
Log in to Eduphoria and go to Management from the home screen.
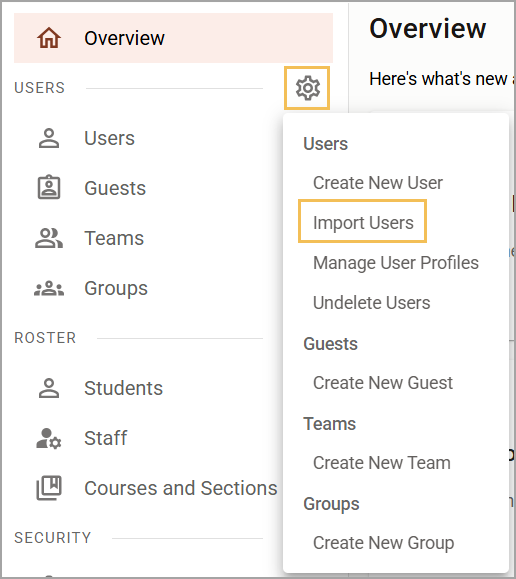
Select Users Settings (), then select Import Users.
Select Download Template to access the CSV file in the recommended format, or you can generate a file from your Employee Information System that has the same column headings as the template.
To process the file, include either the user’s email address or external ID to serve as their unique identifier.
Check the field requirements for creating a new account or updating information for an existing account.
Once you have added all data to your spreadsheet, save the file as a CSV.
Select Choose File to locate the CSV file, and then select Upload to begin the import.
If you are creating new accounts, you can also check the box for Send a Welcome Email to new user accounts. This action sends the new user an email with a link, prompting them to create a new password.
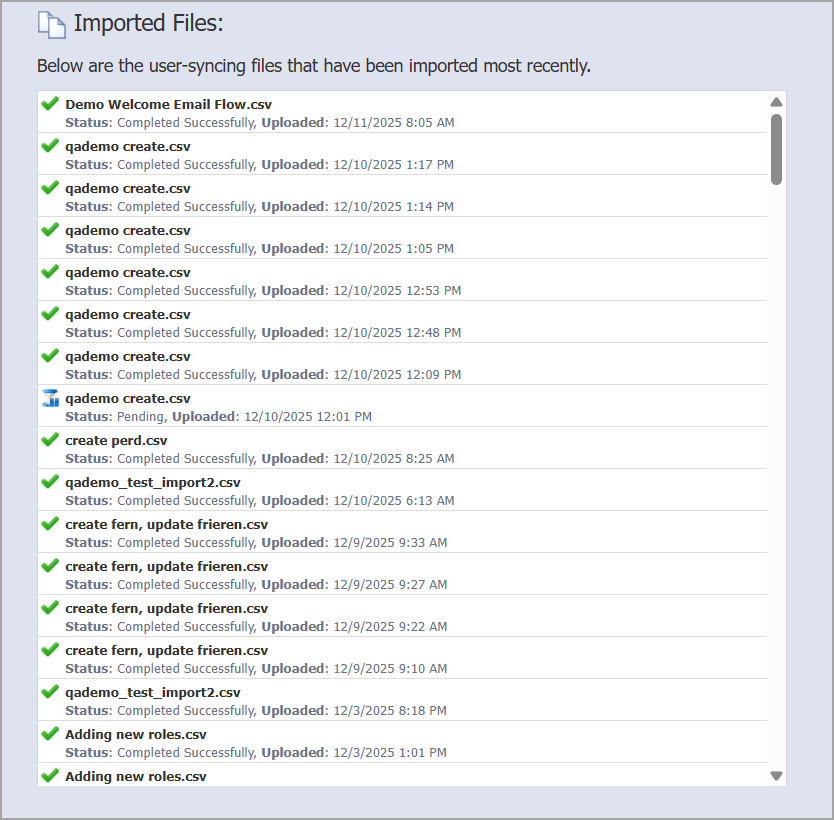
Review the imported files log to check the status of the file import.
Illustrated Guide
Step 1: Log in to Eduphoria and go to Management from the home screen.
Step 2: Select Users Settings (), then select Import Users.
Step 3: Select Download Template to access the CSV file in the recommended format.
OR
Generate a file from your Employee Information System that has the same column headings as the template.

Step 4: To process the file, include either the user’s email address or external ID to serve as their unique identifier.
Step 5: Check the field requirements for creating a new account or updating information for an existing account. The following fields should not be left blank if you are creating a new account:
First Name
Last Name
Email Address or External ID
School(s)
Best Practice: Before selecting External ID as your unique identifier, ensure that existing accounts already have this identifier. If they do not, you can apply external IDs to them by importing via email and including the external ID and Update action in your file. Then, you can assign external IDs as unique identifiers for user syncing under Management > Security Settings > Directory Services and Student Single Sign-On > User Syncing tab > User Import Options.
Caution: The school name column must exactly match the name of a school that already exists under your Manage Schools tool. For multiple schools, use a comma-separated list of school names. Example: School Name1, School Name2.
Refer to the following table to learn which data is acceptable for each field and its required format. Adding values to headers that aren’t required still updates the relevant user information. For instance, adding or changing the Employee ID value updates the Employee ID for that user record after the import completes.
Exact Header Value | Required? | More Information |
|---|---|---|
Email Address | Always required if not using External ID | If you have set Email as the unique identifier for user syncing, then every record requires a user’s email address to identify unique user accounts. If it is missing, the importer won’t process the file. |
External ID | Always required if not using Email Address | If you have set External ID as the unique identifier for user syncing, then every record requires a user’s external ID to identify unique user accounts. If it is missing, the importer won’t process the file. Your district should provide an external ID, such as an ID from your student information system (SIS), an employee ID, or any other combination of alphanumeric or special characters. We strongly advise against using Personally Identifiable Information, such as users’ birthdays or Social Security numbers, as this could pose significant security risks. |
First Name | Required for new accounts only | If the First Name field is missing, the importer still processes the file, but it doesn’t create a user account until this field is present. |
Last Name | Required for new accounts only | If the Last Name field is missing, the importer still processes the file, but it doesn’t create a user account until this field is present. |
Middle Name | Not required | |
Suffix | Not required | |
School(s) | Required for new accounts only | If the School field is missing, the importer still processes the file, but it doesn’t create a user account until this field is present. |
Employee ID | Not required | Use a District Internal Employee ID, which cannot be a Social Security number. |
User/CustomRole | Not required | If the value matches a role we have created in the system, then the importer sets the user to that role. If the value doesn’t match an existing role, then the importer ignores the request. Similarly, if you don’t include the User/CustomRole field or leave its value blank in the file, the importer won’t assign a role or update any roles already assigned to users in the file. If you provide the |
Unique/State ID | Not required | |
Certification ID | Not required | |
Certification Type | Not required | Separate by a comma if there’s more than one. |
Certification Expiration | Not required | Enter the date in the format MM/DD/YYYY. If it is a lifetime certification, enter the year 2099. |
National Board Certification Expiration | Not required | Enter the date in the format MM/DD/YYYY. Leave blank if this does not apply to a staff member. |
Employee Position | Not required | Use PEIMS code for Role ID (for Texas districts). |
Date of Birth | Not required | Enter the date in the format MM/DD/YYYY. |
Gender | Not required | Enter in the following format: M, F, or U. |
Race/Ethnicity | Not required | Asian = 'A' or 'a’ American Indian/Alaskan Native = 'I' or 'i' Black/African American = 'B' or 'b' Hispanic/Latino = 'H' or 'h' Native Hawaiian/Pacific Islander = 'P' or 'p' White = 'W' or 'w' Two or More Races = 'T' or 't' Not Provided = Leave Blank |
Other Unique Identifier | Not required | |
Action | Not required | Leave blank or enter one of these values:
If you set the |
Step 6: Once you have added all data to your spreadsheet, save the file as a CSV. Refer to this sample import file for an example.
Step 7: Select Choose File to locate the CSV file, and then select Upload to begin the import.
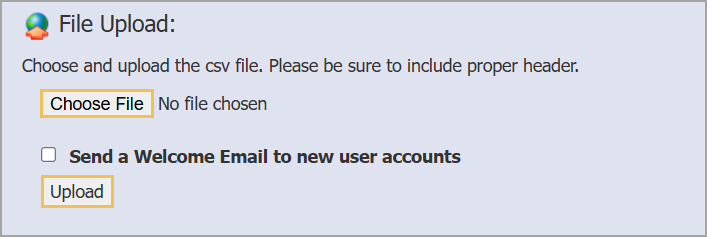
Step 8: If you are creating new accounts, you can also check the box for Send a Welcome Email to new user accounts. This action sends the new user an email with a link, prompting them to create a new password. The link is valid for 24 hours.
Step 9: Review the imported files log to check the status of the file import.
Basic Troubleshooting Tips
Ensure all required fields are filled out.
Match school names exactly as they are shown in Management.
Follow the required formatting, especially for date fields.
Ensure you have all the column headers exactly as listed in the User Import.
Do not include an asterisk (*) in the required field columns.