Use the list below to jump to sections in this article to learn more about adding content and writing lesson plans.
Writing a Lesson Plan
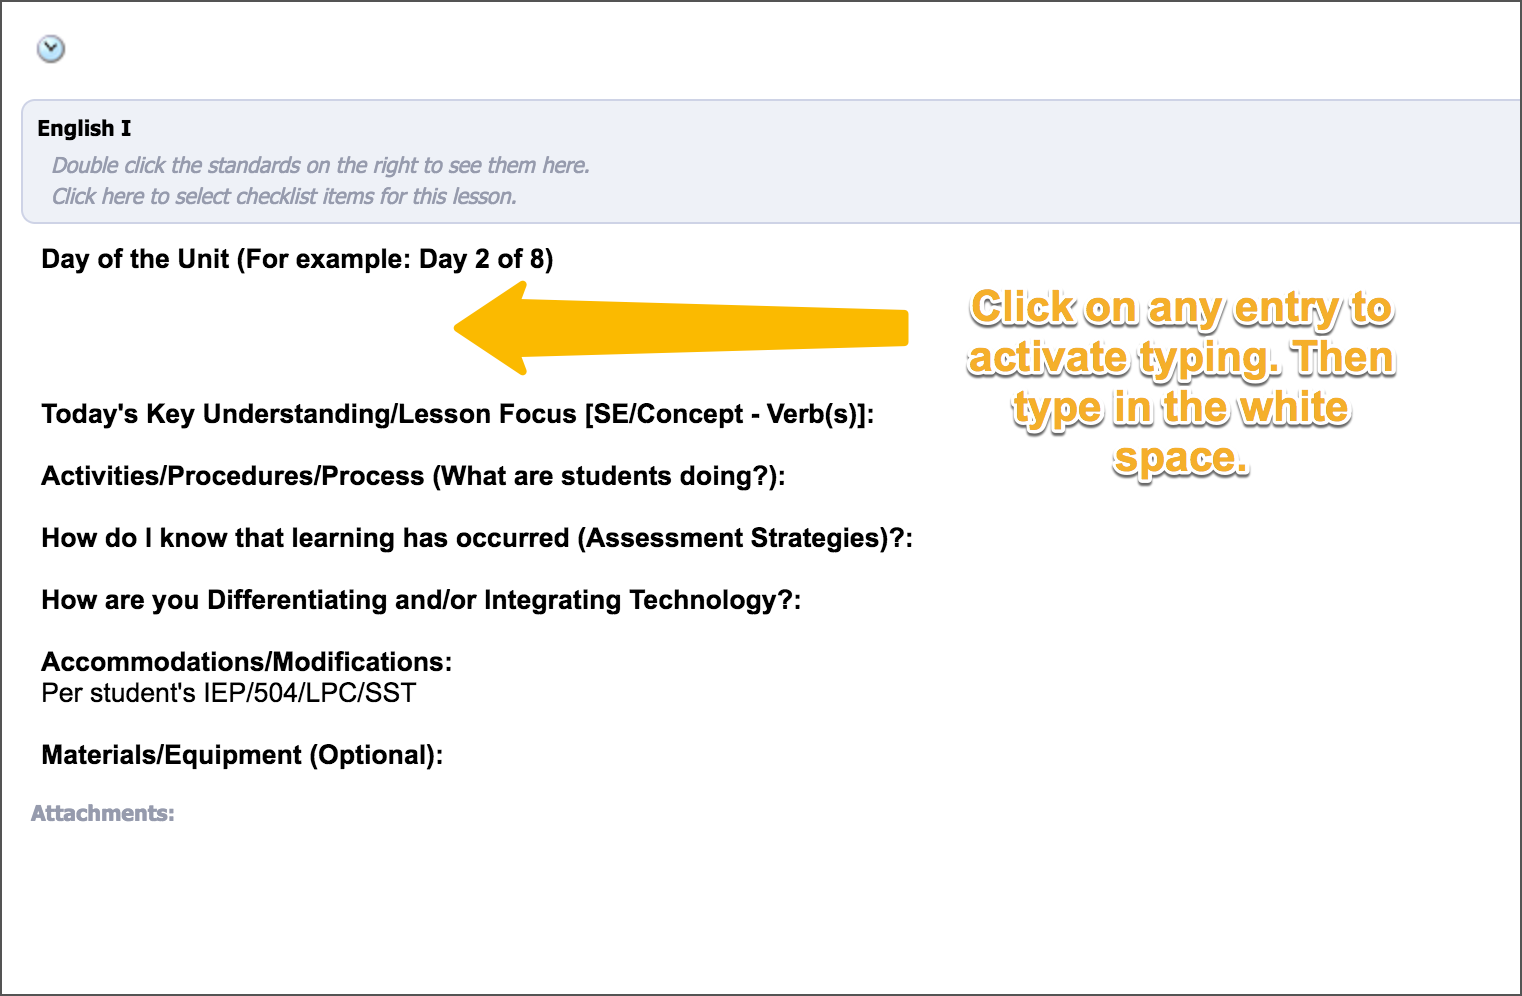
Select an entry in the lesson plan area to make it active. Then simply type in the white space. Saving occurs automatically but you can select the Save button as well.
Add Learning Standards
When you select a course box, the standards for that course appear in the curriculum pane on the right side of the screen. To add a standard to your lesson, find it in the curriculum pane and double-click it. This will put the standard inside the blue/grey course box.

This allows you to track which standards you have covered so far, and get additional information from the history tab.
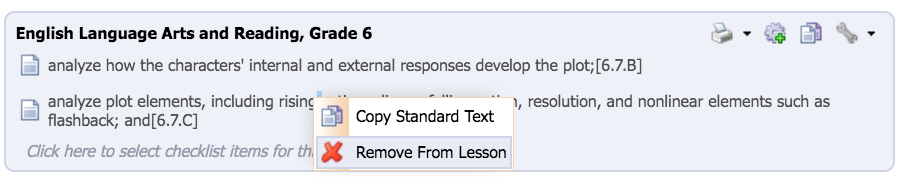
Note: If you add the wrong standard by mistake or change your mind about a standard, right-click the standard and select Remove from Lesson.
Use Checklists
If your district has activated checklists, you will see the option to use them in the blue-grey course box just below where you add your standards. Click on Click here to select checklist items for this lesson. This displays the checklists that your district has created for you. They will differ from the checklists in the example below.
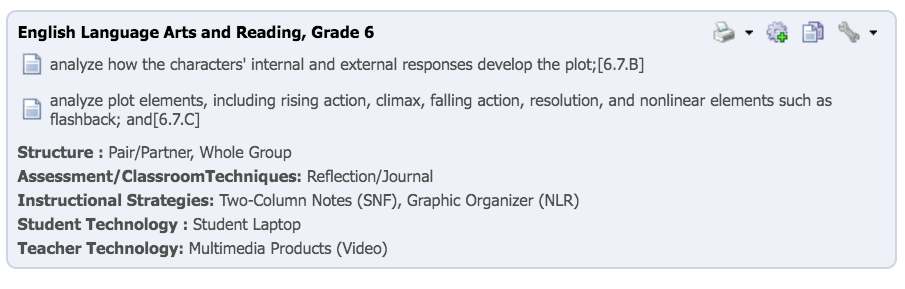
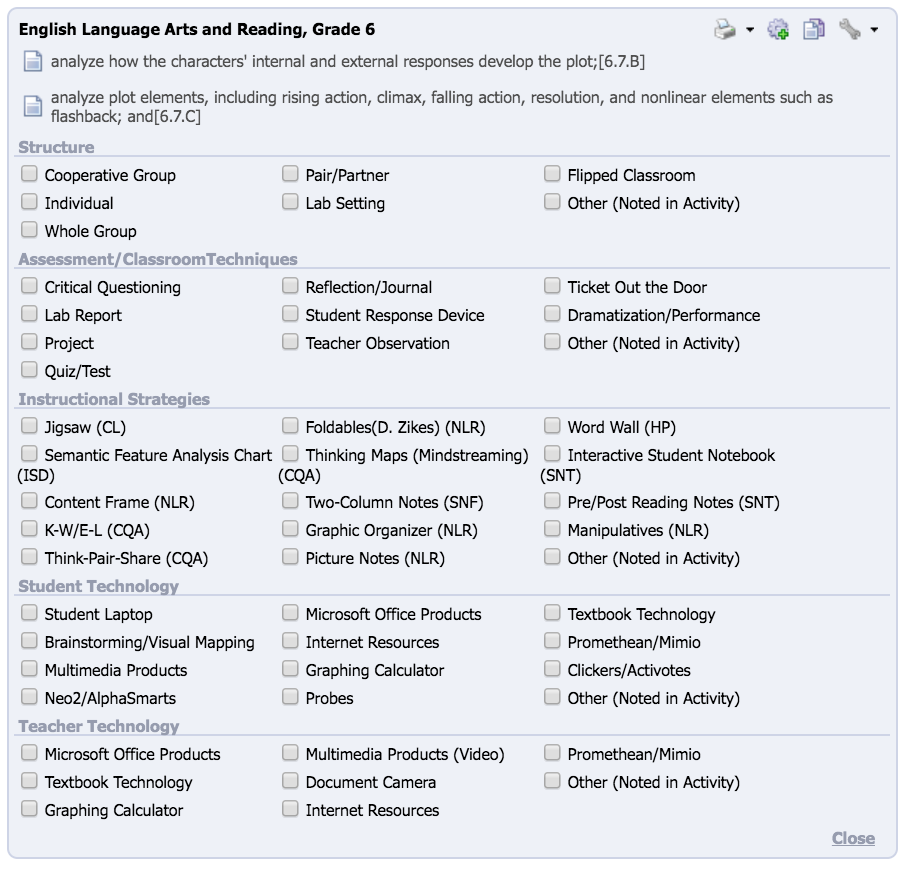 After you check the items that apply to your lesson, select Close at the bottom of the checklist window. This will close the window and display only the items you selected.
Lesson Plan Toolbars
The Forethought lesson planner uses two toolbars: the Primary and Entry toolbars.

Primary Toolbar Contents
Each button on the Primary Toolbar is explained below.
| Change Today's Schedule — This option allows you to re-add course entries, add notes for the substitute, add a new special entry, or delete today's plans. Use Delete Today's Plans to remove content and a schedule for all entries on a calendar day. There is no undelete! |
| Save — Saves the current day or week of lessons, depending on viewing mode. The Save button is "greyed" out if nothing has been added to your plans. Once an entry has been edited, the Save button will turn blue, allowing a click to save your changes.
|
| Print — This option will allow you to export or print your plans in a variety of formats for word processing, spreadsheets, or PDF. Either a single day or a week can be exported. The Checklist Report is printable from this button too. |
| Spell Check—This option will check your current entry for spelling errors. It is typically not required in most modern browsers, as incorrect words will be highlighted in red. |
| Undo/Redo — These buttons will remove or replace the last editing action inside the active entry. |
| Link — This button adds a web link to the page. This is only needed in browsers that do not automatically hyperlink html links. |
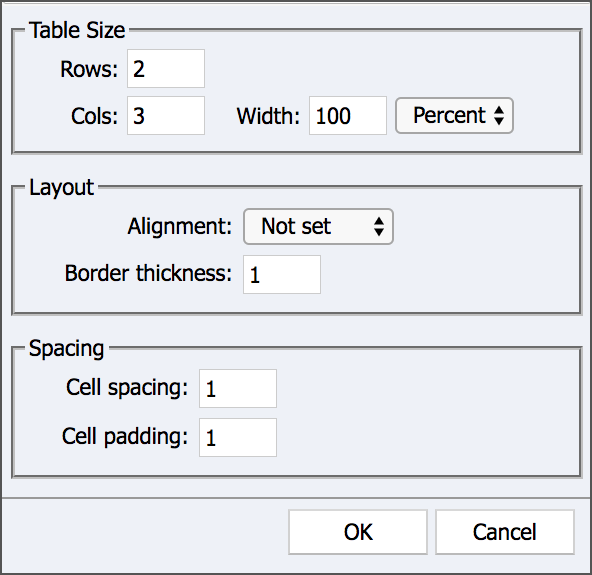
| Table—This button launches a whole new interface that allows you to insert a table. When working with a table, a new toolbar appears to give you the necessary options to manipulate the table design. |


| Insert a Line — This button will insert a full-width line in your entry to provide a visual divider. |
| Insert Image — Use this option to bring up a menu that will allow you to upload and insert an image into your entry. |
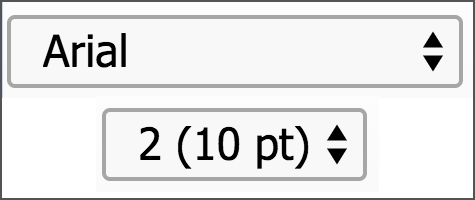
| Text Font and Size — These two drop-down lists allow you to adjust the type and size of the selected or future text. |
| Bold — Bolds the selected text or enable bold for future typing. Italics — Italicizes the selected text or set italics for future typing. Underline — Underlines the selected text or set future typing for underlining. Strikethrough — Use this option to add a strikethrough to the text. |
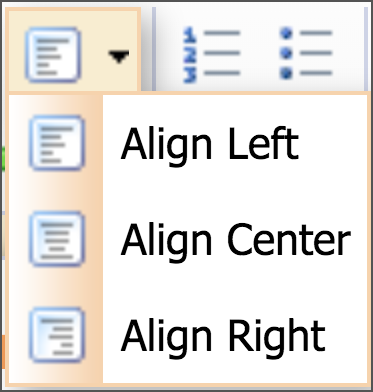
| Text Alignment Menu — Provides a drop-down list of text alignment options to left, center, or right align. |
| Numbered List — Inserts a numbered list for selected text or start one for future typing. Bulleted List — Creates a bulleted list for selected text or start one for future typing. |
| Indent/Outdent — These options will create indentations or outdentations in the selected entry. |
| Colors — Use this button to view a color wheel. Select a color on the wheel to change the selected text or new text to that specific color. |
| Subscript/Superscript — Use these options to type text as either subscript or superscript. |
| Previous/Next — These arrows will allow you to move forward or backward one day or one week. |
| View Planner Options — Click the week view icon in the toolbar to access your five-day plans, Plans by Day, or Plan by Course. See below for more information. |
| Show Learning Standards Pane — Opens a panel on the right side where you can select the learning standards for the lesson. |


Entry Toolbar Contents

| Print Entry Options — Click this option to Print Entry, Print Entry to PDF, or Print Entry Week to PDF |
| Add this Lesson to My Activities — Adds the lesson to your Activities folder |
| Send Lesson To — Opens a calendar to let you send the lesson to another date |
| More Lesson Options — Includes moving options up or down, changing the entry's title and details, setting it as the default text, and removing it from the day's plans. |


