My Planners gives you a clear view of all of your preps by day or by week, including any preps that have been shared with you. Here, you can add and manage preps, build lesson plans, customize the view, and share your planner with your team to connect and collaborate. Using the Curriculum Explorer, you can search for and drag curriculum components into your plans, making it easy to schedule your week and quickly access lessons and resources for the day.
Note: Since the planner follows your district’s instructional calendar, you can only create plans on actual school days.
.png)
When you select My Planners from the main menu, the planner landing page appears. On this screen, you can select a prep to access plans, create a new prep, or view your preps from previous school years.
Each prep is made up of four main sections:
Controls
Plans
Curriculum Explorer
Preview Pane
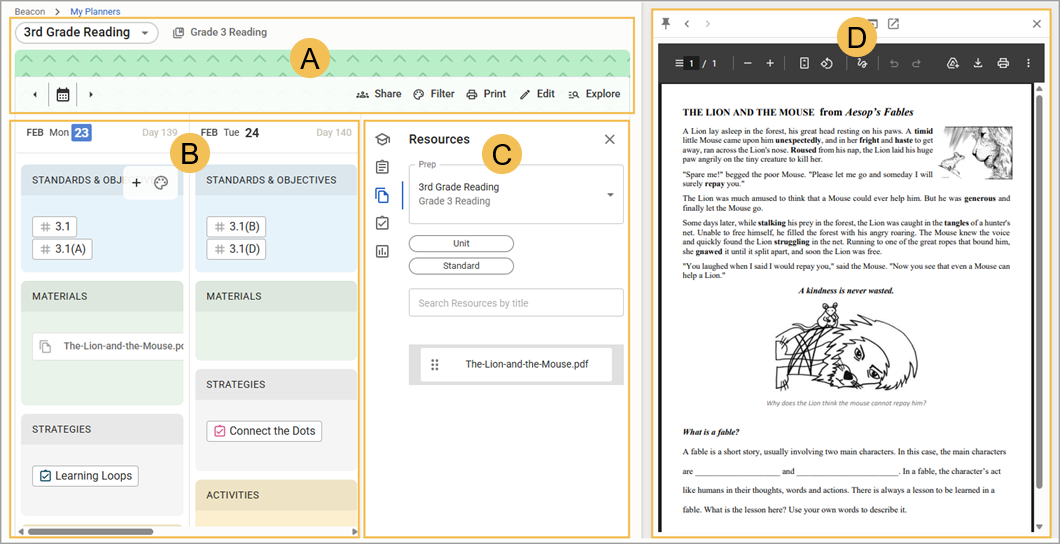
Controls

# | Field | Description |
|---|---|---|
1 | Prep drop-down | Allows you to quickly switch between preps. |
2 | Course | Displays the course associated with the prep. Select the name of the course to view it in the preview pane. |
3 | Date selector | Provides multiple options for changing the day or week that you are viewing:
|
4 | Share | Opens a window where you can view and edit current permissions, share with more users, or remove access for users who no longer need it. For more information, see Sharing a Prep. |
5 | Filter | Filters the planner to show content blocks that match the selected color. For example, if you put all assessments in a green content block, you can filter to show all green blocks to quickly identify test days. |
6 | Allows you to print your plans for the prep. | |
7 | Edit | Opens the Edit window, where you can change the Prep Name, linked course, roster, or template. You can also delete the prep from the Edit window. |
8 | Explore | Opens or closes the Curriculum Explorer. |
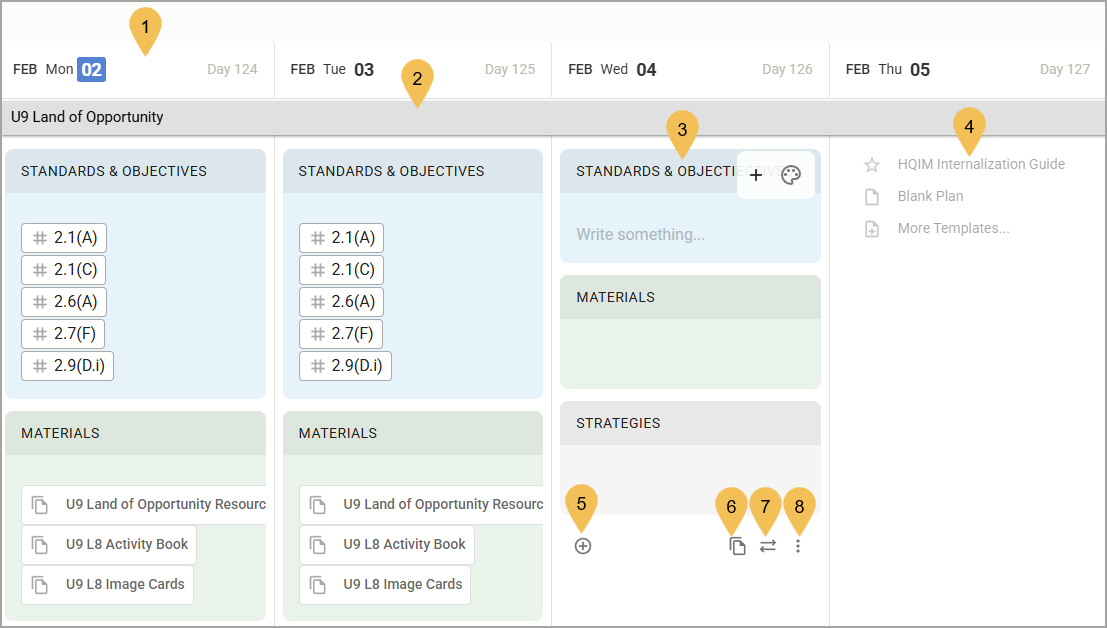
Plans
# | Field | Description |
|---|---|---|
1 | Date | Depending on whether you are looking at the daily or weekly view, this row displays either the selected day or Monday through Friday of the selected week. Each date displays the day of the week (Mon), the day of the month (02), and the day of the instructional calendar (Day 124). Today’s date is highlighted in blue. You can select a date to toggle between a daily and weekly view. |
2 | Units and assessment windows | When a course containing units is linked to the prep, this section displays the unit you are teaching. Units are automatically scheduled by applying the unit’s Duration (Days) setting to the instructional calendar. Clicking on a unit opens the unit in a preview window. If an assessment window is scheduled, a second bar appears below the unit and displays the name of the scheduled assessment. |
3 | Content blocks | Structure your plan by adding content blocks. Inside each block, you can type notes or instructions and drag components from the Curriculum Explorer into the block for quick reference. Selecting a linked lesson, resource, or assessment in the block opens it in a preview window, allowing you to quickly access materials for your class. When you hover over a content block, three icons appear at the top right:
|
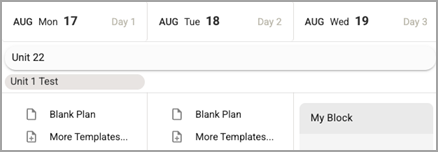
4 | Templates | Lists template options. Select a template option to begin crafting a new plan. You can choose from the Plan Templates that you selected when you created the prep, a Blank Plan, or choose More Templates… to access more template options. |
5 | Add block | Adds a new content block to your plan. |
6 | Duplicate plan | Allows you to copy the day’s plan to another instructional calendar day in your planner. For more information, see Copying a Plan. |
7 | Move plan | Allows you to move the day’s plan from the currently scheduled date to another instructional calendar day in your planner. For more information, see Moving a Plan. |
8 | More actions | When selected, the Delete Plan option appears. Selecting Delete Plan clears all content blocks from the plan. |
Curriculum Explorer
The Curriculum Explorer allows you to search for and link content to your plans. Locate the content that you want to add and drag each item to a plan to organize your instruction for the day. For more detailed information about using this feature, see Working With the Curriculum Explorer.
Select the Explore button at the top right of your planner to open the pane.
.png)
The table below describes tabs found in the Curriculum Explorer.
.png)
# | Field | Description |
|---|---|---|
1 | Standards | Opens the Standards tab, where you can search for standards to link to your plans. |
2 | Lessons | Opens the Lessons tab where you can search for lessons to link to your plans. |
3 | Resources | Opens the Resources tab, where you can search for resources to link to your plans. |
4 | Instructional Strategies | Opens the Instructional Strategies tab, where you can search for strategies to link to your plans. |
5 | Assessments | Opens the Assessments tab, where you can search the integrated Aware Premium account for assessments to link to your plans. |
Preview Pane
When a curriculum component is linked in your planner, you can view the component in a preview pane. How you open the preview differs depending on the component type. You can open a unit or course preview by selecting the course name or unit title below the prep name. Lesson and resource previews can be opened by clicking on the component where it is linked in a plan or by searching the Curriculum Explorer.
The table below describes controls found in the preview pane.
.png)
# | Field | Description |
|---|---|---|
1 | Pin | Fixes the preview pane to the right side of the screen, allowing you to keep the preview open while working in your planner. Select the pin again to return to the expanded view. When not pinned, the Pin icon appears as an outline. When pinned, the Pin icon is solid. |
2 | Back / Next | Navigates between component previews in the order that you viewed them. For example, if you opened Unit 1 and then previewed Lesson 2, you can select the Back arrow to return to the Unit 1 preview. If you have not opened any other previews, the arrows appear grayed out. |
3 | Copy Link | Copies the URL for the full-size component to your clipboard. |
4 | Open in Current Tab | Opens the full-size component in the browser tab you are currently on. |
5 | Open in New Tab | Opens the full-size component in a new browser tab. |
6 | Close | Closes the preview window |
7 | More Actions | Expands options to Edit or Delete the component. |
8 | Share | Opens a window where you can view and edit current permissions, share with more users, or remove access for users who no longer need it. |