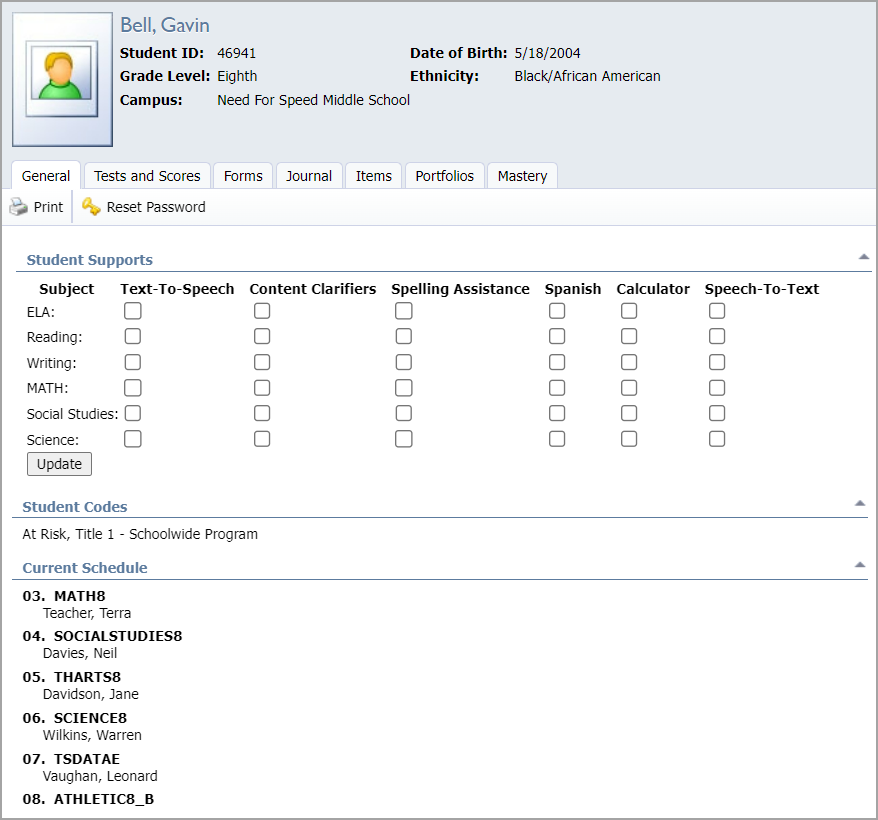
Users can access Student Profiles within Aware.
Navigating to Student Profiles
Quick Guide
Log in to Aware.
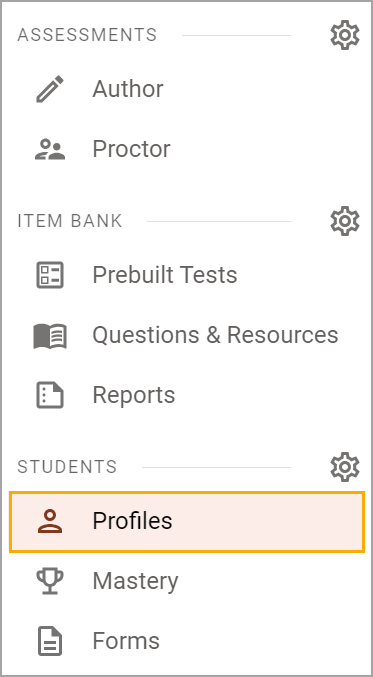
Under Students, select Profiles.
Locate a student by using any or all of the provided filters. Alternatively, use the search bar to locate a student manually by their name or Student ID.
Utilize the Columns, Density, and Export options on the table to establish your preferred view.
Click on a student’s name to open their Student Profile.
Illustrated Guide
Step 1: Log in to Aware.
Step 2: Under Students, select Profiles.
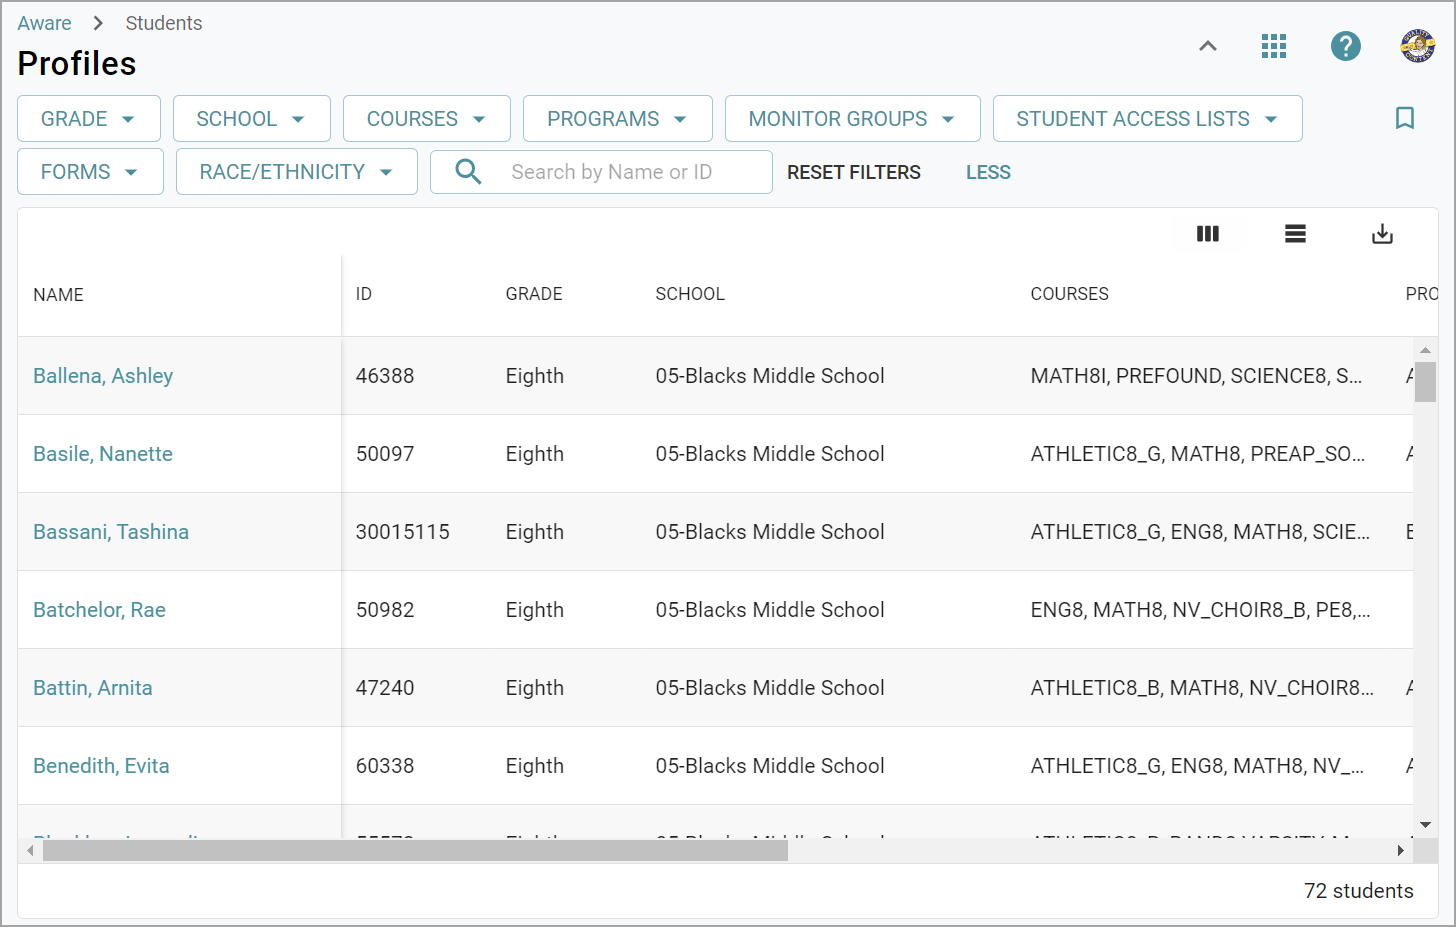
The window automatically shows the first 250 students when initially accessing the table. Users with access to fewer than 250 students will see an exact student count matching their search criteria. Campus or district administrators with more than 250 students assigned to them can select Load All Students to see the total number of students. Administrators from large districts may experience longer loading times if they choose this option.
![]()
Step 3: Locate a student by using any or all of the following filters:
Grade
School
Teachers
Courses
Enrollment
Programs
Monitor Groups
Forms
Race/Ethnicity
Click More to display all of the filters, and click Less to rehide them. Save applied filters as favorite filters by selecting the Bookmark icon.

If a user is associated with more than one campus, they can filter by School. The Teacher and Enrollment filter options will be available if a user is a campus or district administrator. For Enrollment, users can distinguish between Active or Inactive statuses.
Note: Inactive students are not loaded by default. Click the checkbox under the Enrollment filter to load them.
The Enrollment filter may include selections such as At Risk Status, Bilingual Status, Career Tech Status, GT Status, Special Ed Status, and more.
Alternatively, use the search bar to locate a student manually. The search feature accepts entries for the following:
Student Name
Student ID
Step 4: Utilize the advanced options on the table to establish your preferred view.

Click the Columns icon to hide or show the various columns in the table. Hiding a column does not remove the respective search filter.
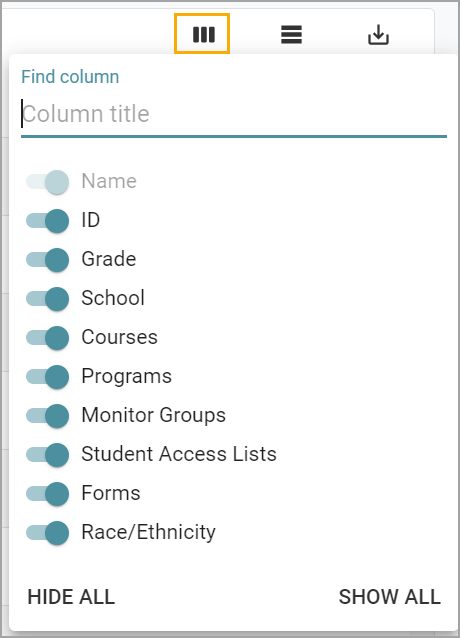
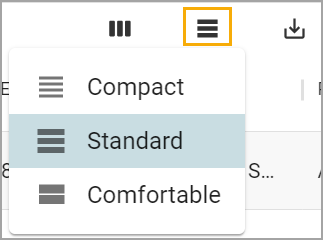
Click the Density icon to narrow or widen the spacing between each row. Compact is the narrowest setting, Standard is the default setting, and Comfortable is the widest setting that may improve readability.
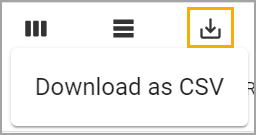
Click the Export icon to export a CSV file, which will display any selections, filters, and sorting options the user has set while creating the table.
Step 5: Once you have completed the table options, click on a student’s name to open their Student Profile.
