![]()
Users with the Create Progress Profile in Multi-Test Analysis right can create and configure progress profiles in eight simple steps. The progress profile creation wizard allows the user to perform the following actions:
Name the progress profile
Select the desired grade levels, subjects, test types, and tests
Name and describe Achievement Levels
Configure cut scores for Achievement Levels
Caution: Each step only saves at the very end of the creation wizard. Do not exit the wizard until you’ve selected tests, named Achievement Levels, and clicked Create as part of Step 8. You can revise your configuration options by editing a progress profile.
Quick Guide
In Multi-Test, select New Progress Profile.
Enter progress profile details.
Select the test types you want to load into the progress profile.
Select the assessments to include in your progress profile.
Name and add descriptions for the progress profile’s Achievement Levels.
Configure each Achievement Level for each assessment.
Verify the configuration status of your Achievement Levels with your selected assessments.
Select Create.
Illustrated Guide
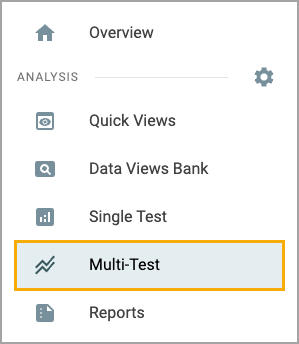
Step 1: Navigate to Multi-Test, and select New Progress Profile to begin the creation process.

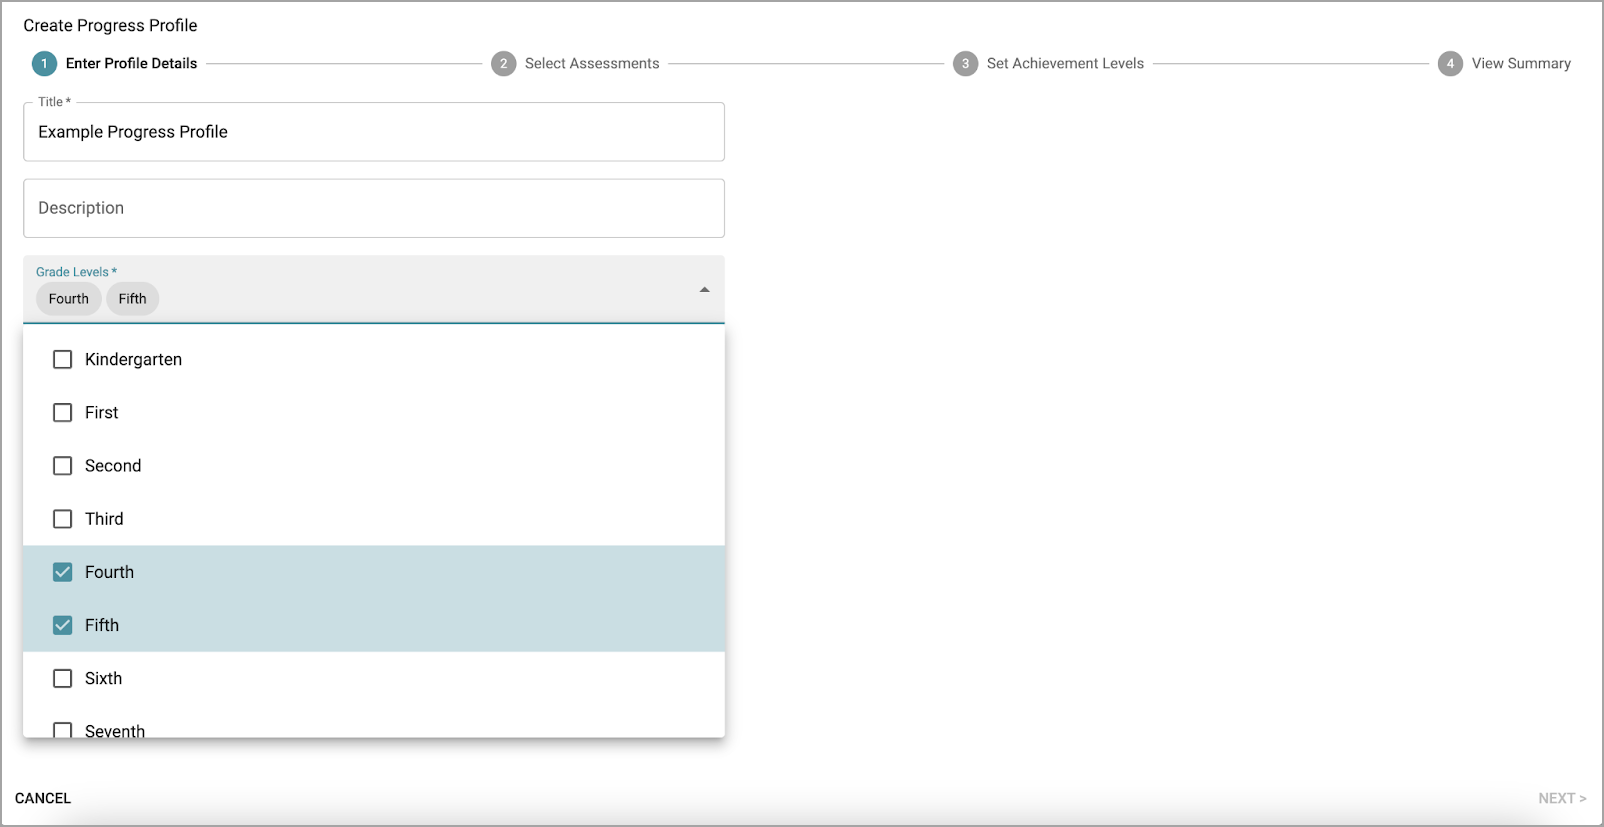
Step 2: Enter progress profile details such as the desired name, description, grade level, and subject. You can select multiple grade-level and subject combinations at once.
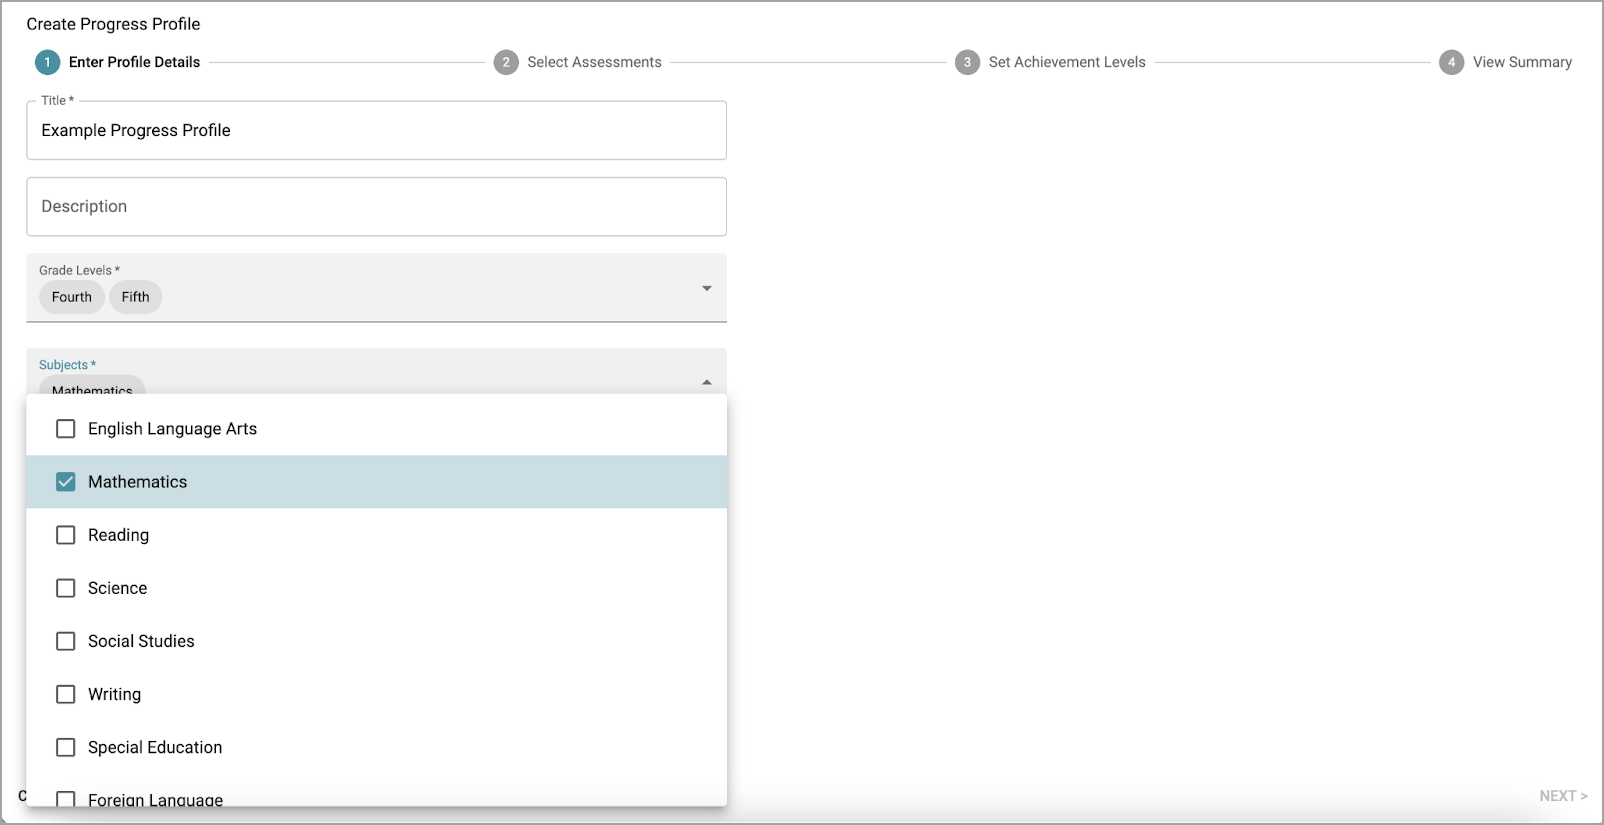
Based on the grade levels and subjects you selected, the Test Types section shows all available test types that match that selection combination.
Step 3: Select the test types you want to load into the progress profile.
These test types can include even those with assessments that students haven’t completed but which you know will be pulled into the progress profile eventually.
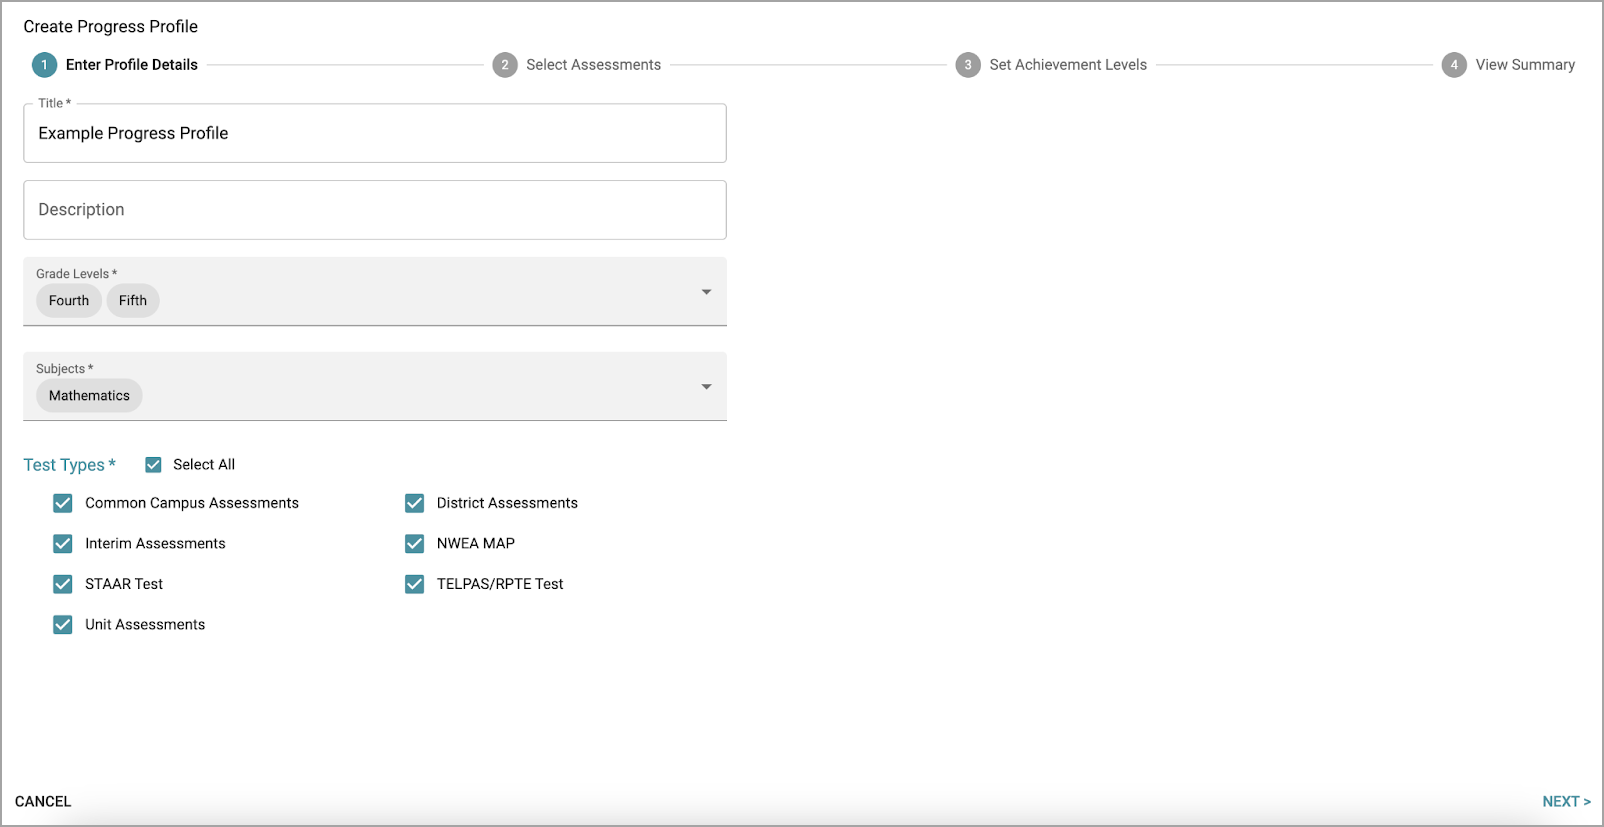
View the Supported Test Types and Data table at the bottom of this article for a complete list of each test’s supported test types and metrics.
Step 4: Select the assessments to include in your progress profile. Use the filter options to narrow the list. Progress profiles can hold a maximum of 20 assessments.
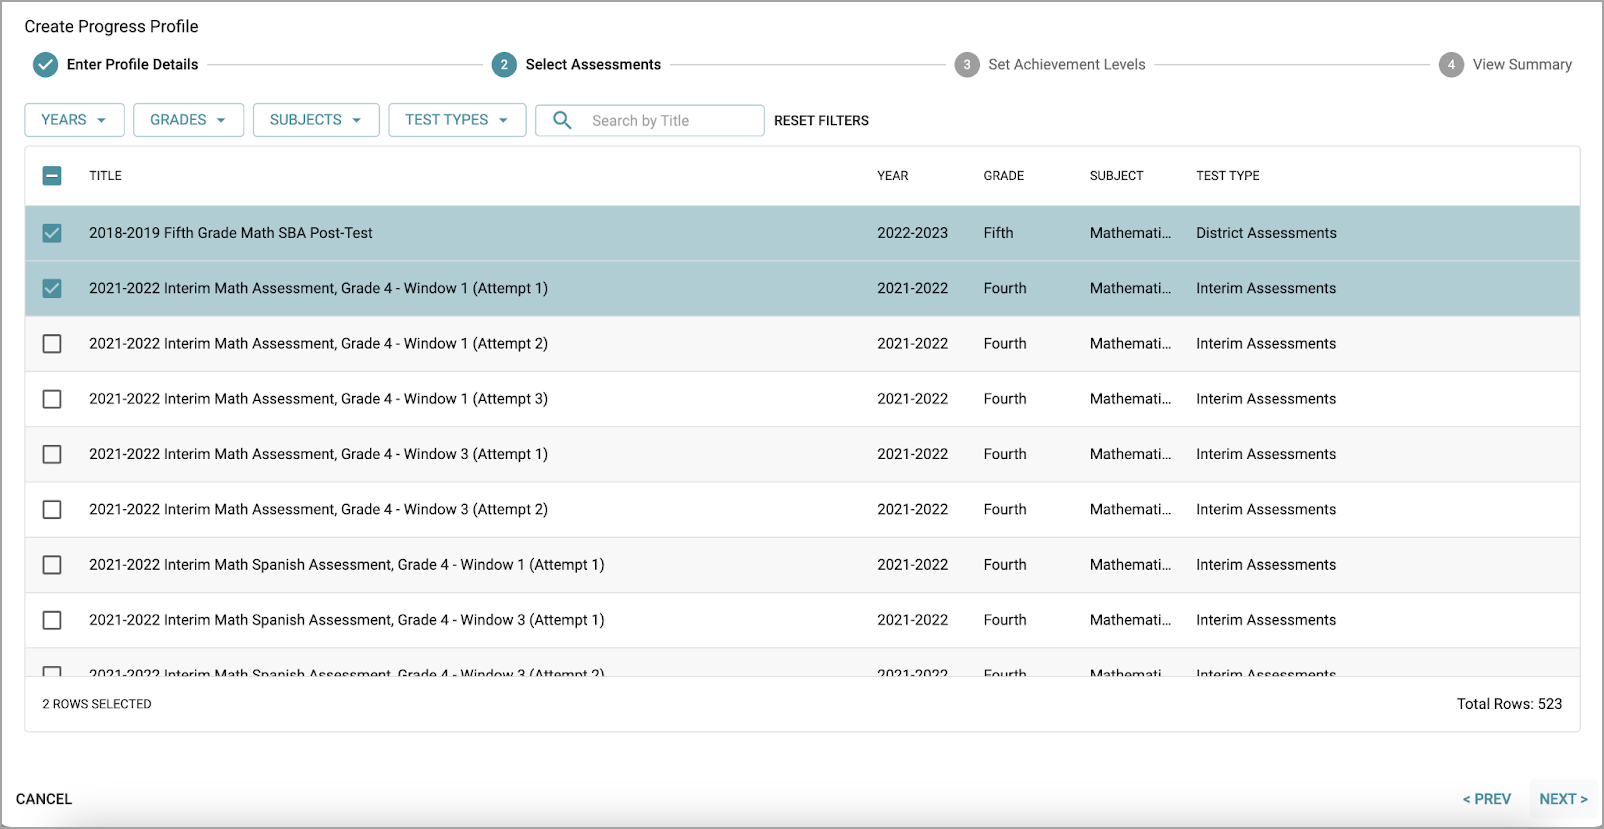
Step 5: Name and add descriptions for the progress profile’s Achievement Levels.
Achievement Levels are the common scale configured to allow comparison across assessments. Progress profiles can have as few as two Achievement Levels and as many as six.

Step 6: Configure each Achievement Level for each assessment.
Each test type has different data that users can configure to the common Achievement Levels. For a complete list of test types and supported performance data, refer to the Supported Test Types and Data table.
The example below maps Raw Score, Highest Level Achieved, Performance Level, and RIT to the common scale. Each user has full flexibility to select and configure each data type to the common Achievement Level scale.
Note: Highest Level Achieved is only available for local assessments that were delivered after June 19th, 2023.
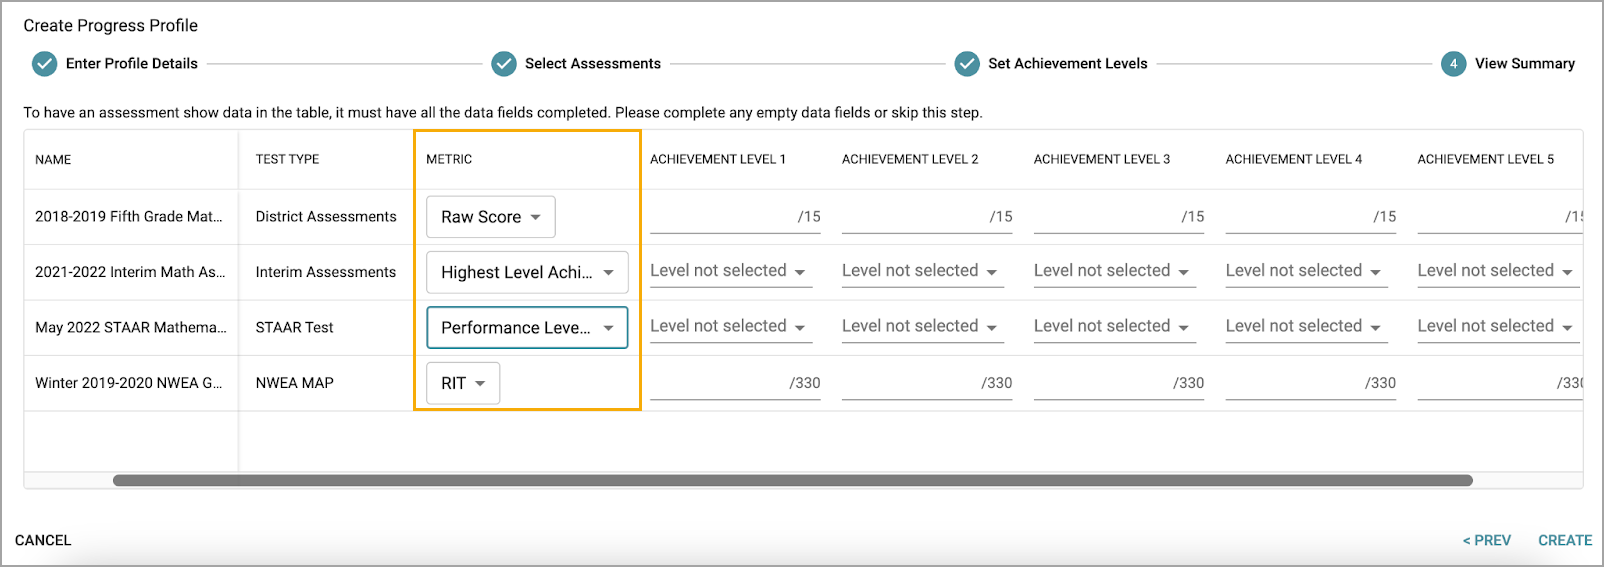
Step 7: Verify the configuration status of your Achievement Levels with your selected assessments.
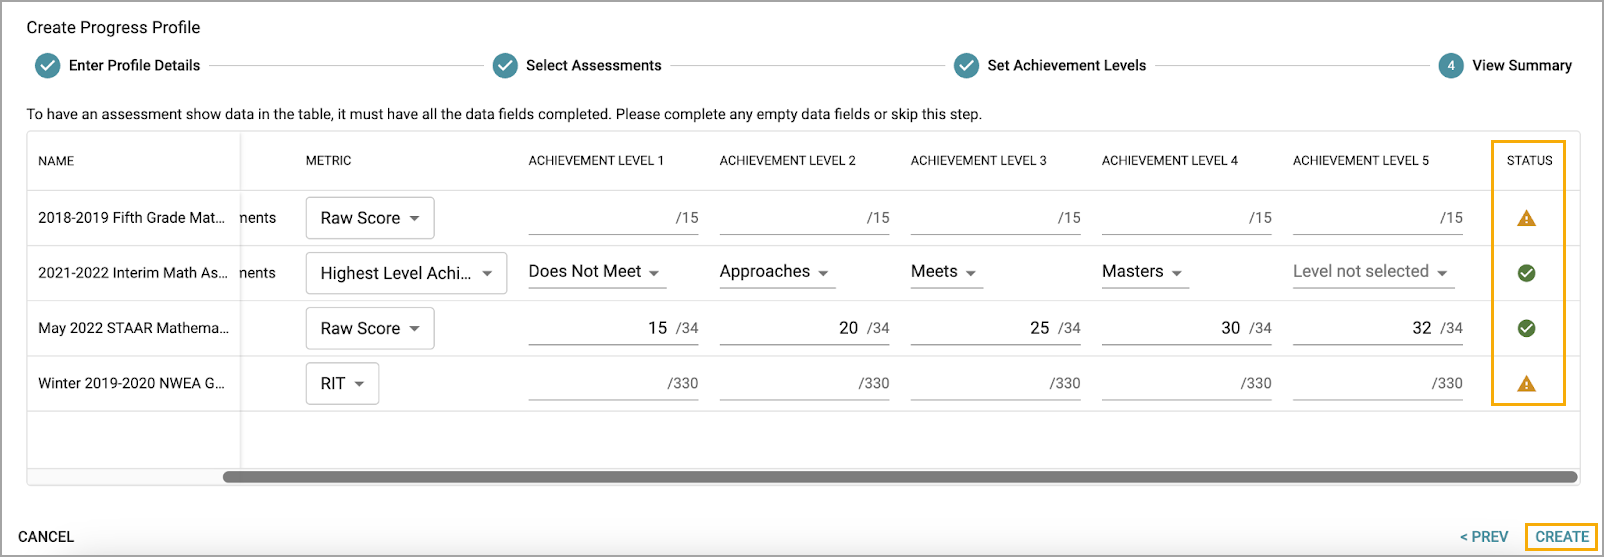
Tests configured with Achievement Levels will receive a green check in the Status column. Tests with the orange warning symbol are awaiting configuration. To clear the warning, set Achievement Level cut scores for the unconfigured tests.
Caution: Tests with unconfigured Achievement Levels do not prevent the creation of a progress profile. However, the progress profile does not display data for unconfigured tests.
Users can complete the configuration after creation by selecting the three vertical dots to edit the progress profile.
Step 8: Click Create to complete the configuration of the progress profile.
Supported Test Types and Data
Review the table below to verify which test types and their respective data metrics that progress profiles will support. Custom data imports are not supported.
Test Type | Data |
|---|---|
Local Test | Raw Score, Percent Score, Highest Level Achieved1 |
STAAR | Performance Level Indicator, Raw Score, Scale Score, Percent Score |
MAP | RIT, Percentile, Projected Proficiency |
Interim | Predicted Performance Level2, Raw Score |
TELPAS | Yearly Progress, Raw Score, Scale Score, Composite Score, Listening, Writing, Reading, Speaking |
1Only available for local tests taken after summer 2023
2Only available for interim tests taken after summer 2023