
To begin using Mastery to track student performance, you must first create a mastery tracker. A teacher with rostered classes or a user with an approved student access list can create mastery trackers. Users with the View Student Tests right can view a teacher’s mastery trackers but cannot edit them.
Quick Guide
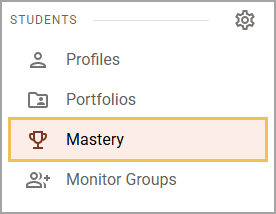
Navigate to Mastery () under Students.
Click Create Tracker ().
Enter a Title.
(Optional) Type a Description to provide additional information about the tracker.
Select the Subject and Grade Level.
Select Add Standard Set to select the sets of standards to apply to the tracker and then choose Apply.
Select the Test Types associated with the tracker.
Select Create & Continue.
Select assessments (or skip this step for now) and click Next ().
Select students (or skip this step for now) and click Finish.
Note: No data will populate into a Mastery Tracker until users select assessments and students. Teachers can add this information to the tracker later as needed.
Illustrated Guide
Creating a Tracker
Step 1: Navigate to Mastery () under Students.
Step 2: Click Create Tracker () to open a new modal showing the process for creating a Mastery Tracker.
![]()
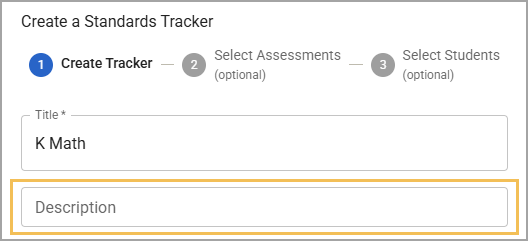
Step 3: Enter a unique Title for the tracker. The title may indicate the tracker’s purpose or group and can be used to more easily search for the tracker in the list.

Step 4: (Optional) Enter a Description to provide additional information about the tracker.
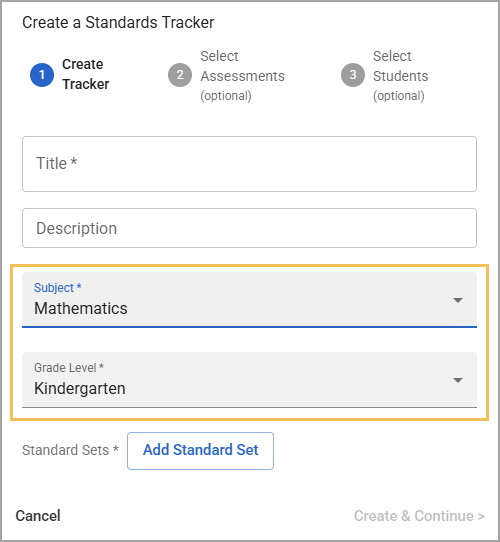
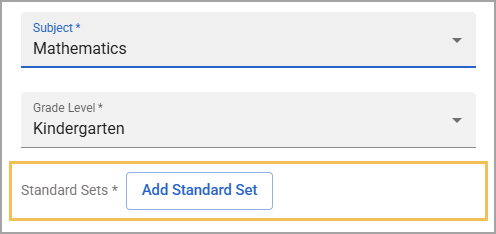
Step 5: Choose a Subject and Grade Level. Once these fields are set, the Add Standard Set button becomes available.
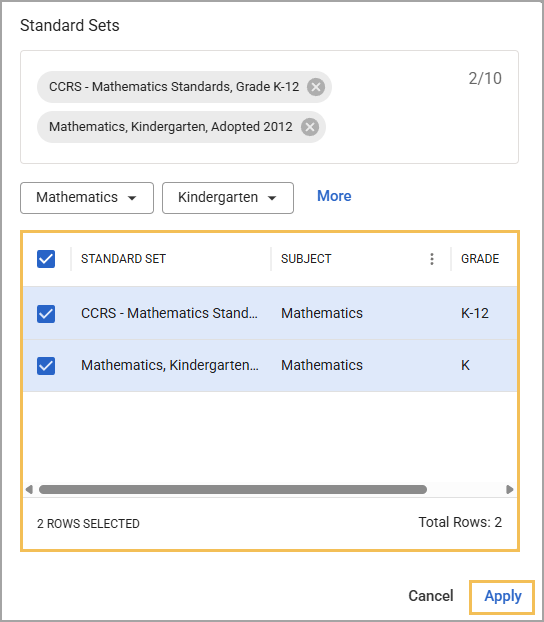
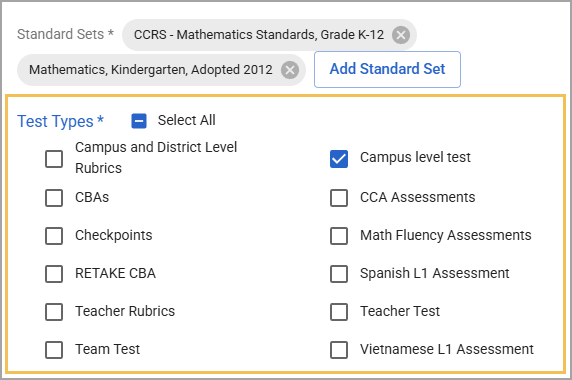
Step 6: Choose which sets of standards the tracker will use. To do this, select Add Standard Set. In the Standard Sets window that appears, select one or more sets to tie to the tracker and then select Apply.
The Subject and Grade Level filters populate automatically based on your selections in Step 4. You can use the drop-down menus to change these selections, use the Search bar to locate specific standard sets, or select Reset Filters to clear all filters.
Selected standard sets appear in the box at the top of the window.
Step 7: Select the Test Types associated with the tracker. You can choose to Select All, Select None, or select individual Test Types as desired.
The test types available in this section are based on the standard sets that you chose in Step 5.
Step 7: Click Create & Continue when ready.
Selecting Assessments
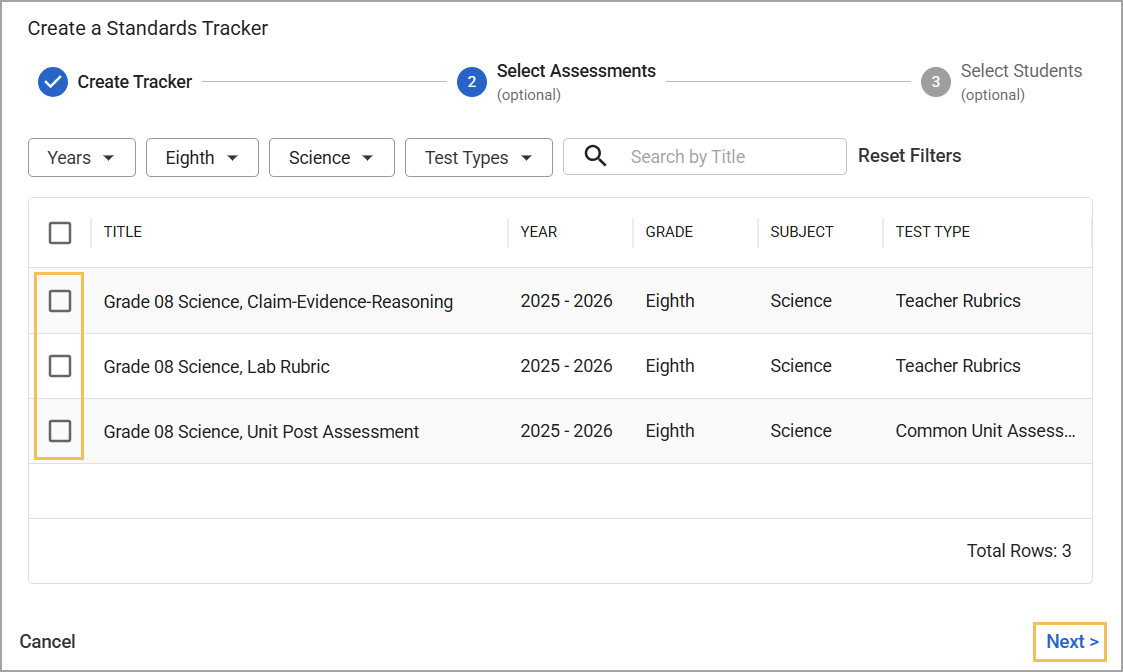
Step 1: Check the box () next to the assessments you want to include in the tracker. If you want to skip the step for now, click Next ().
Note: No data will populate into a mastery tracker until assessments and students are selected. Teachers can add this information to the tracker later as needed.
Search for assessments with the Years, Grade, Subject, and Test Type filters or by typing the assessment name in the search field. Eduphoria recommends that teachers strategically select assessments to count for student mastery of standards. Selected tests automatically move to the top of the assessment list.
Teachers can manually add new tests to a tracker as the school year progresses. Tests from inactive years cannot be added to a tracker.
Step 2: Click Next () to continue.
Selecting Students
Step 1: Check the box () next to a class period or list to add all students connected to the class or list. To select individual students, click the drop-down arrow next to the class period or list. Adding students requires the user to have rostered courses or approved lists.
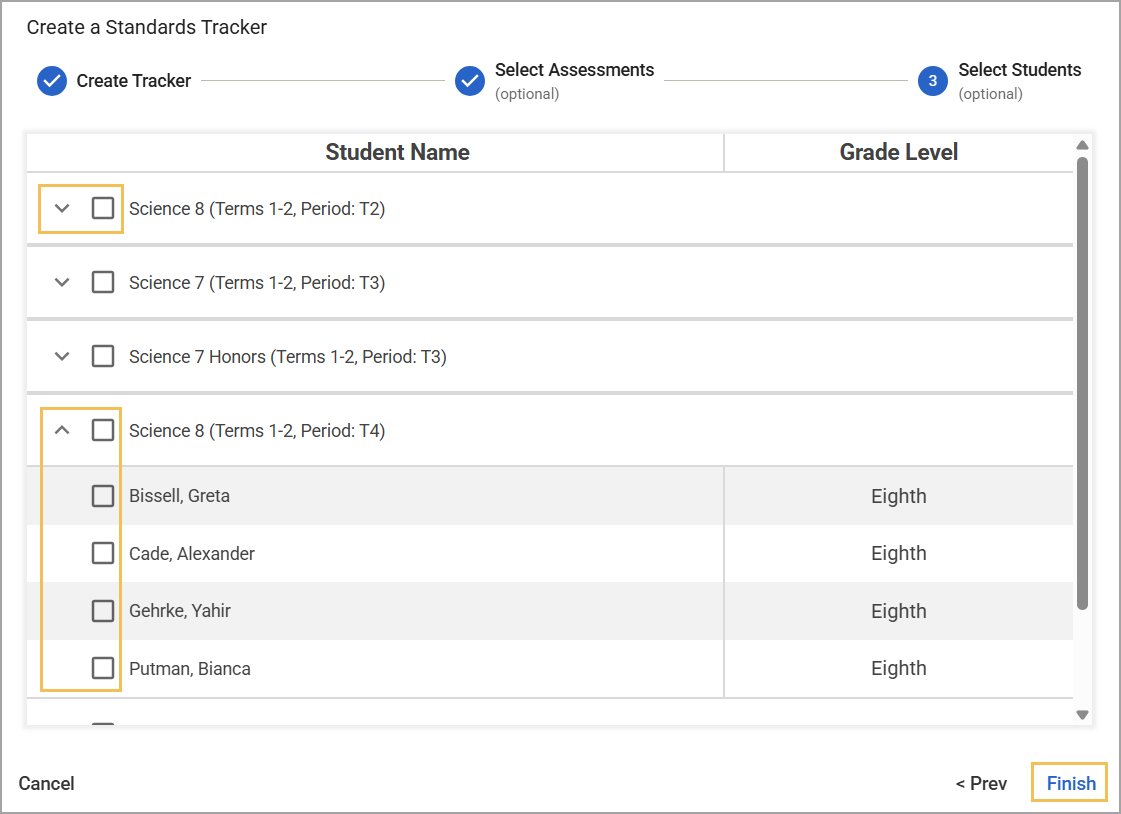
Step 2: Click Finish to open the new tracker.
Note: No data will populate into a mastery tracker until you have selected students. You can add students to the tracker later as needed.