Saved Filters allow users to save a set of filters as a preset in Detailed Analysis. You can create or apply a saved filter by clicking the Bookmark icon (). You can save multiple filters and toggle between them quickly.
Creating Your First Saved Analysis Filter
Quick Guide
Select Detailed Analysis () in the Analysis section of the main menu.
Use the drop-down menus to select the data you want to view.
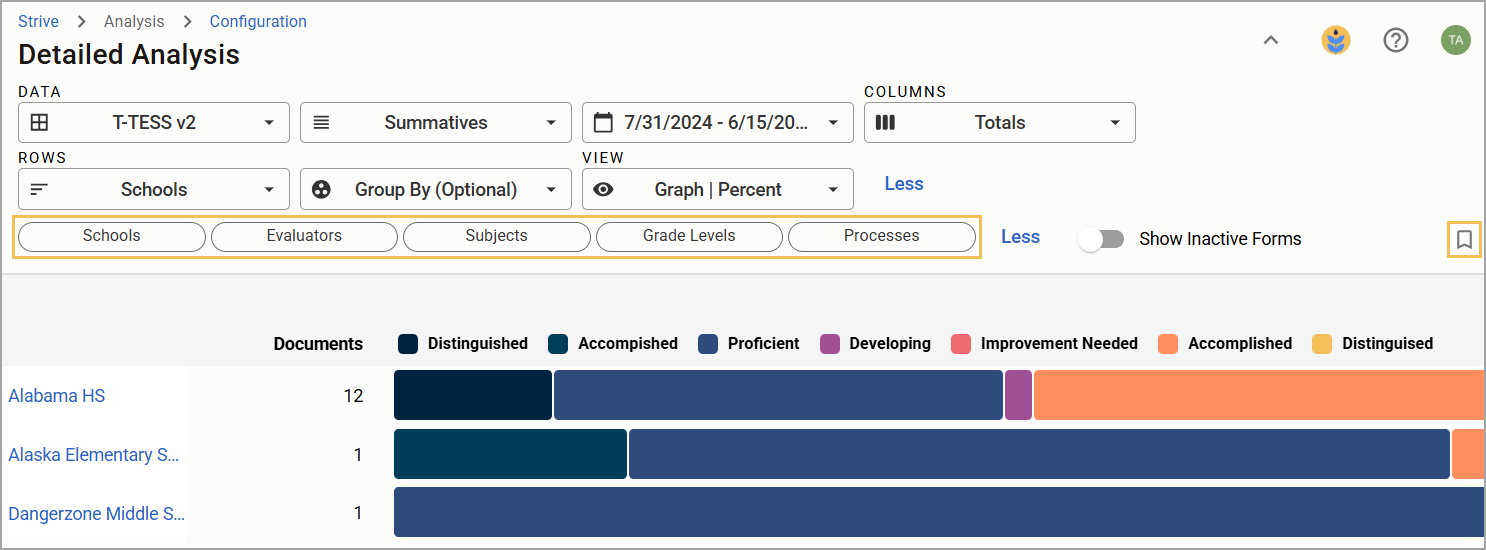
Configure the drop-down menus and chips to adjust the data view. Then, select the Bookmark icon ().
Ensure the chips show the desired filters, name the filtered view, and click Create.
Note: You do not need to select every field to save a preset. Text entered into the search box cannot be saved as part of a Saved Analysis Filter.
Illustrated Guide
Step 1: Select Detailed Analysis () in the Analysis section of the main menu.
.png)
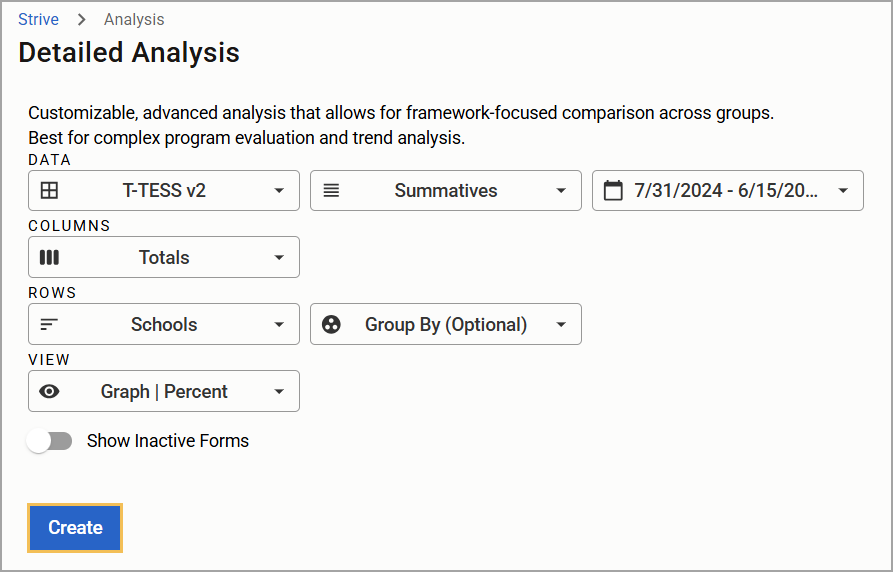
Step 2: Use the drop-down menus to configure the analysis:
Data – Select a framework, document type, and date range for which to view the analysis.
Columns – Choose whether the columns represent Dimensions, Domains, or Totals.
Rows – Determine what type of information is represented by the rows. You can choose a Group By option if desired to further organize the breakdown of information.
View – Select a data view: Graph/Percent, Table/Percent, or Table/Score.
Toggle Show Inactive Forms on if you want to include data from inactive forms in the analysis, and then select Create.
Step 3: Configure additional filters as needed to fine-tune the data view. Then, select the Bookmark icon ().
Step 4: Verify your saved filters, enter a Name for the filtered view, and then select Create.
.png)
Creating New Saved Filters After the First
Quick Guide
To create another preset, select a new series of filters and click the Bookmark icon ().
Click Save Current Filter Set.
Name the filter set and click OK.
Illustrated Guide
You can save several filter presets, particularly if you manage a variety of evaluations or staff members. Create Saved Filter presets for different groups.
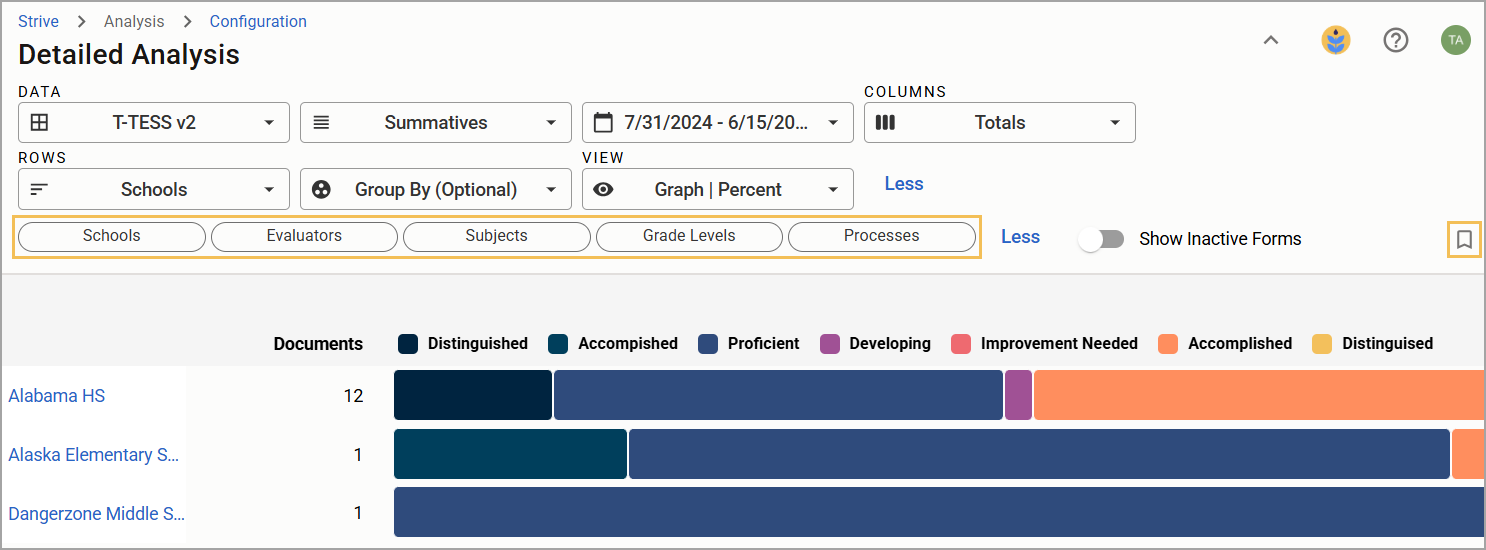
Step 1: To create another preset, select a new series of filters and click the Bookmark icon ().
Step 2: Click Save Current Filter Set.
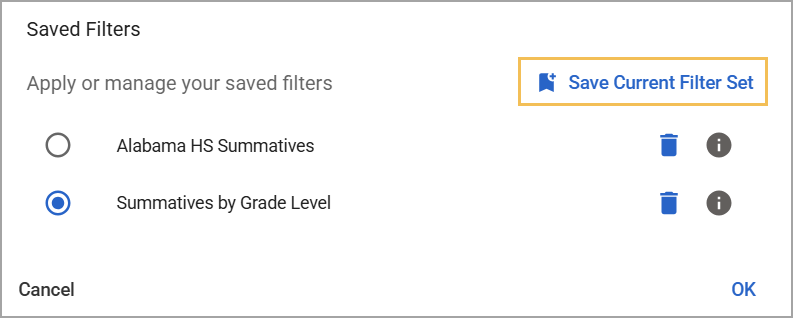
Step 3: Hover over the Save Current Filter Set button to view detailed information to aid with naming.
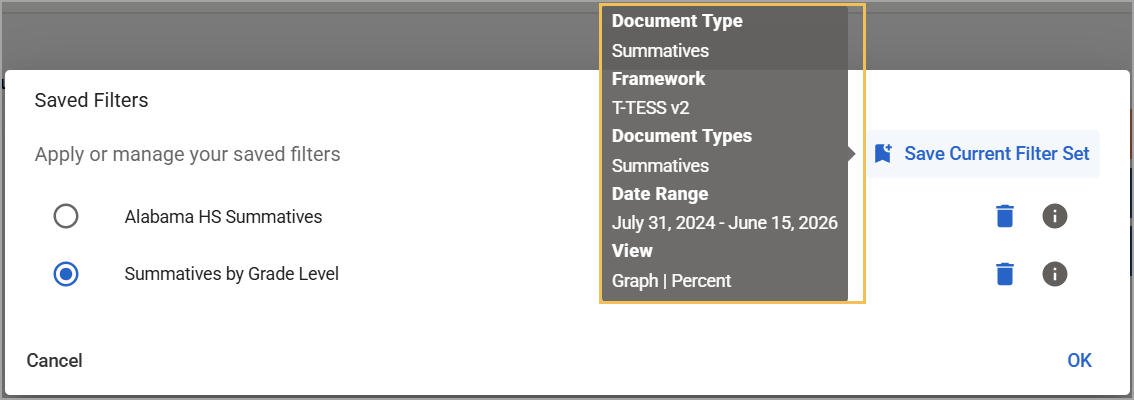
Step 4: Name the filter set and then select Create.
.png)
Applying, Previewing, and Deleting Saved Filters
Quick Guide
Select the Bookmark icon () to load the saved filters.
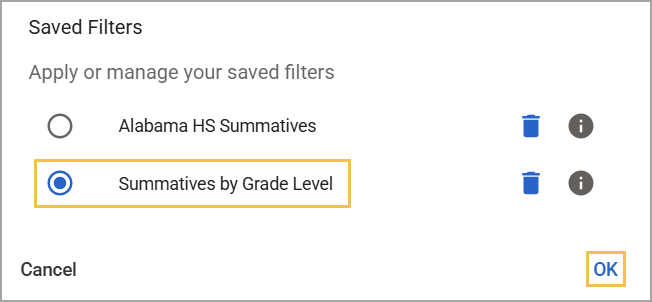
To apply a saved filter, select the desired saved filter and click OK.
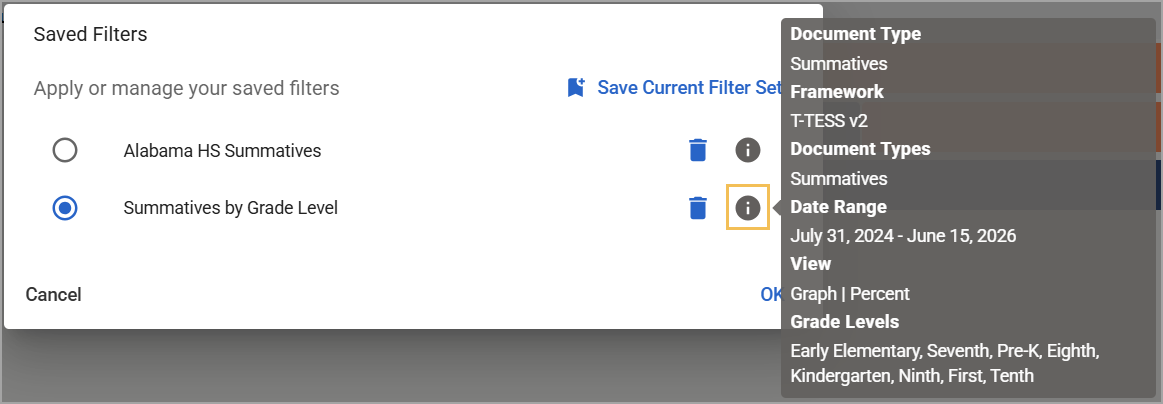
Hover over the Information icon () to view details about the preset.
Click the Delete icon () to delete a saved filter.
Caution: You cannot edit saved filter presets. You must create a new preset. Take caution when deleting saved filter presets. Deleting a preset is permanent and irreversible.
Illustrated Guide
Step 1: Select the Bookmark icon () to load the saved filters.
Step 2: To apply a saved filter, select the desired saved filter and click OK.
Step 3: Hover over the Information icon () to view details about the preset.
Step 4: Click the Delete icon () to delete a saved filter.
.png)