Users with the Appraisal Administrator role can create new frameworks in Strive. Framework elements allow administrators to track growth since they contain underlying structures of professional standards, including domains. Sub-standard components include dimensions, principles, and indicators.
A district can create multiple frameworks and use them for various Appraisee Types, but each goal and all evaluation templates can only be tied to one framework. Only professional development can be tied to multiple frameworks.
Creating a New Framework
Quick Guide
Select Settings () and choose Framework Setup ().
Select Add Framework ().
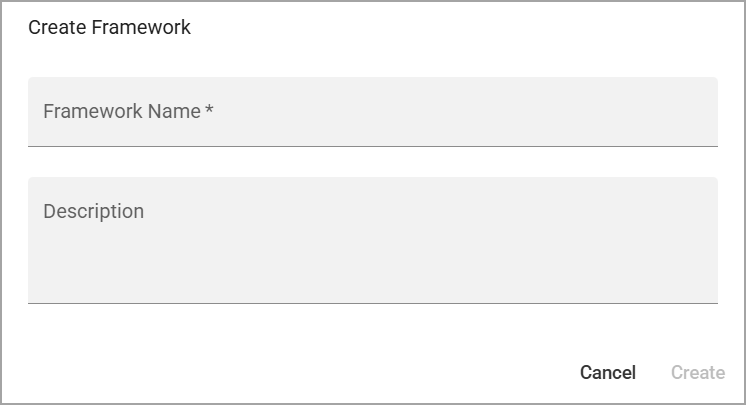
Assign a name and an optional description to the new framework, and then select Create.
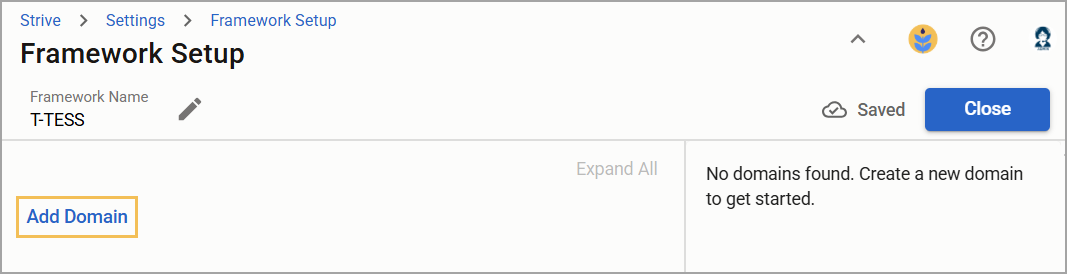
Select Add Domain to begin building out the new framework. As you work, your changes are automatically saved.
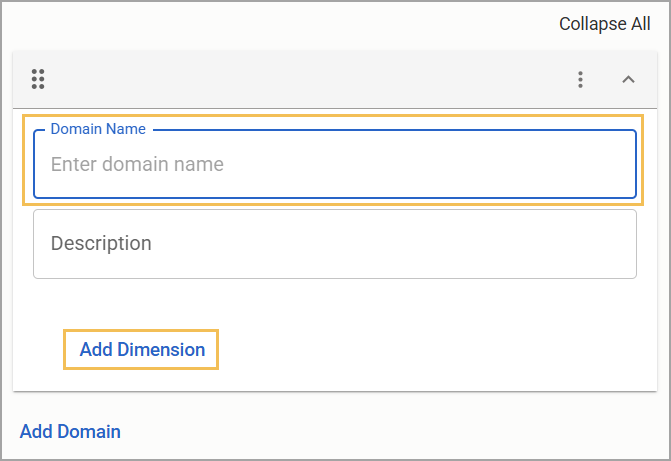
Enter the domain name and an optional description. Then, select Add Dimension to add a sub-component of the standard to the framework.
Enter the dimension name and an optional description.
Continue adding domains and dimensions to the framework as needed by selecting Add Domain and Add Dimension, respectively.
Review your framework once you’ve completed it.
Illustrated Guide
Step 1: Select Settings () and choose Framework Setup ().
.png)
Step 2: Select Add Framework ().
.png)
Step 3: Assign a name to the new framework. You can also provide an optional description, which displays in the Framework Setup table. When you’re ready, click Create.
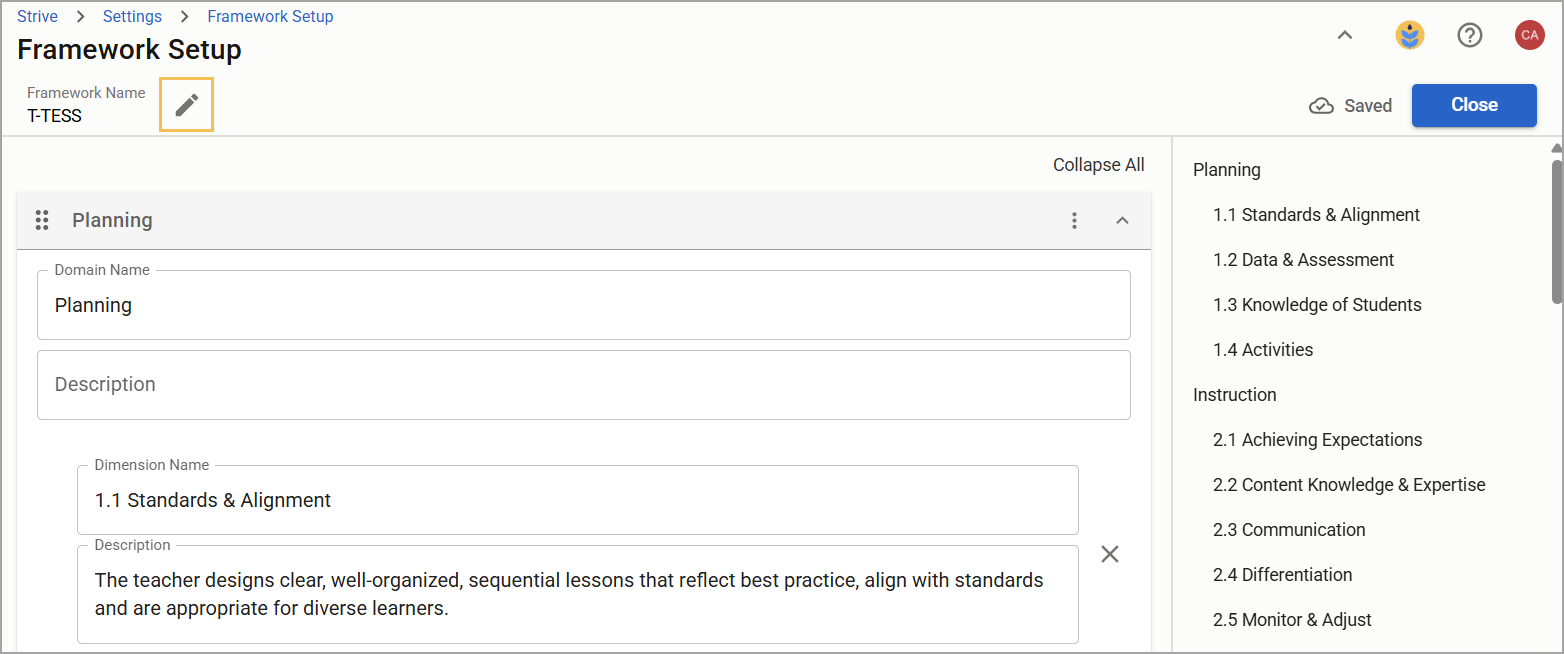
Step 4: Select Add Domain to add a new standard component to the new framework. As you work, your changes are automatically saved.
Step 5: Enter the domain name and an optional description. Then, select Add Dimension to add a sub-component of the standard to the framework.
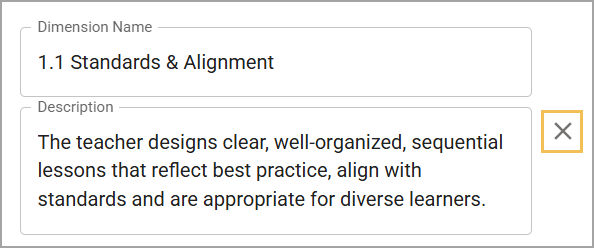
Step 6: Enter the dimension name into the field. Users can search for this name when attaching it to professional goals, evaluation documents, and professional development courses.
The Description field is optional and does not appear to end users.
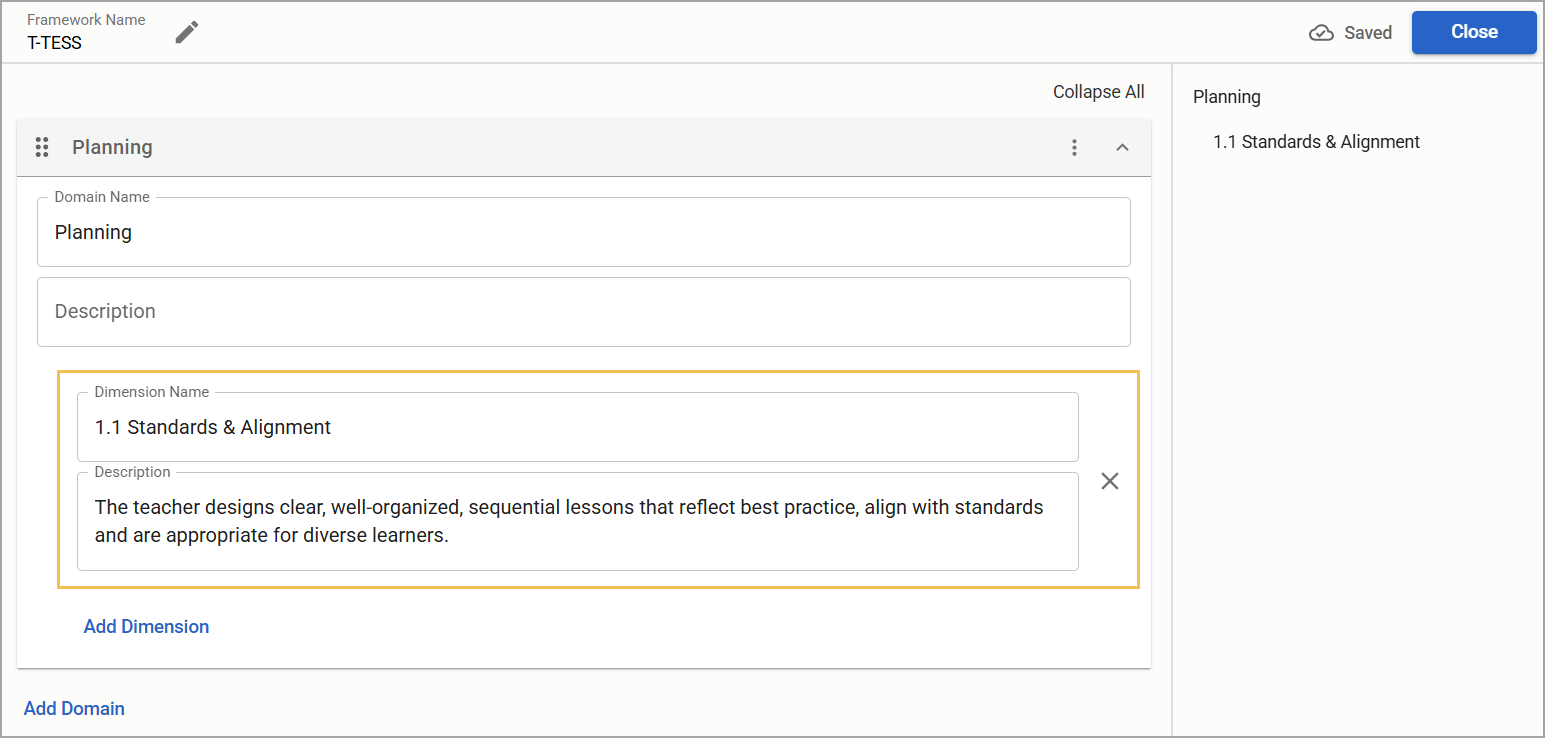
Step 7: Continue adding domains and dimensions to the framework as needed by selecting Add Domain and Add Dimension, respectively. Each new addition automatically saves and appears in the right pane.
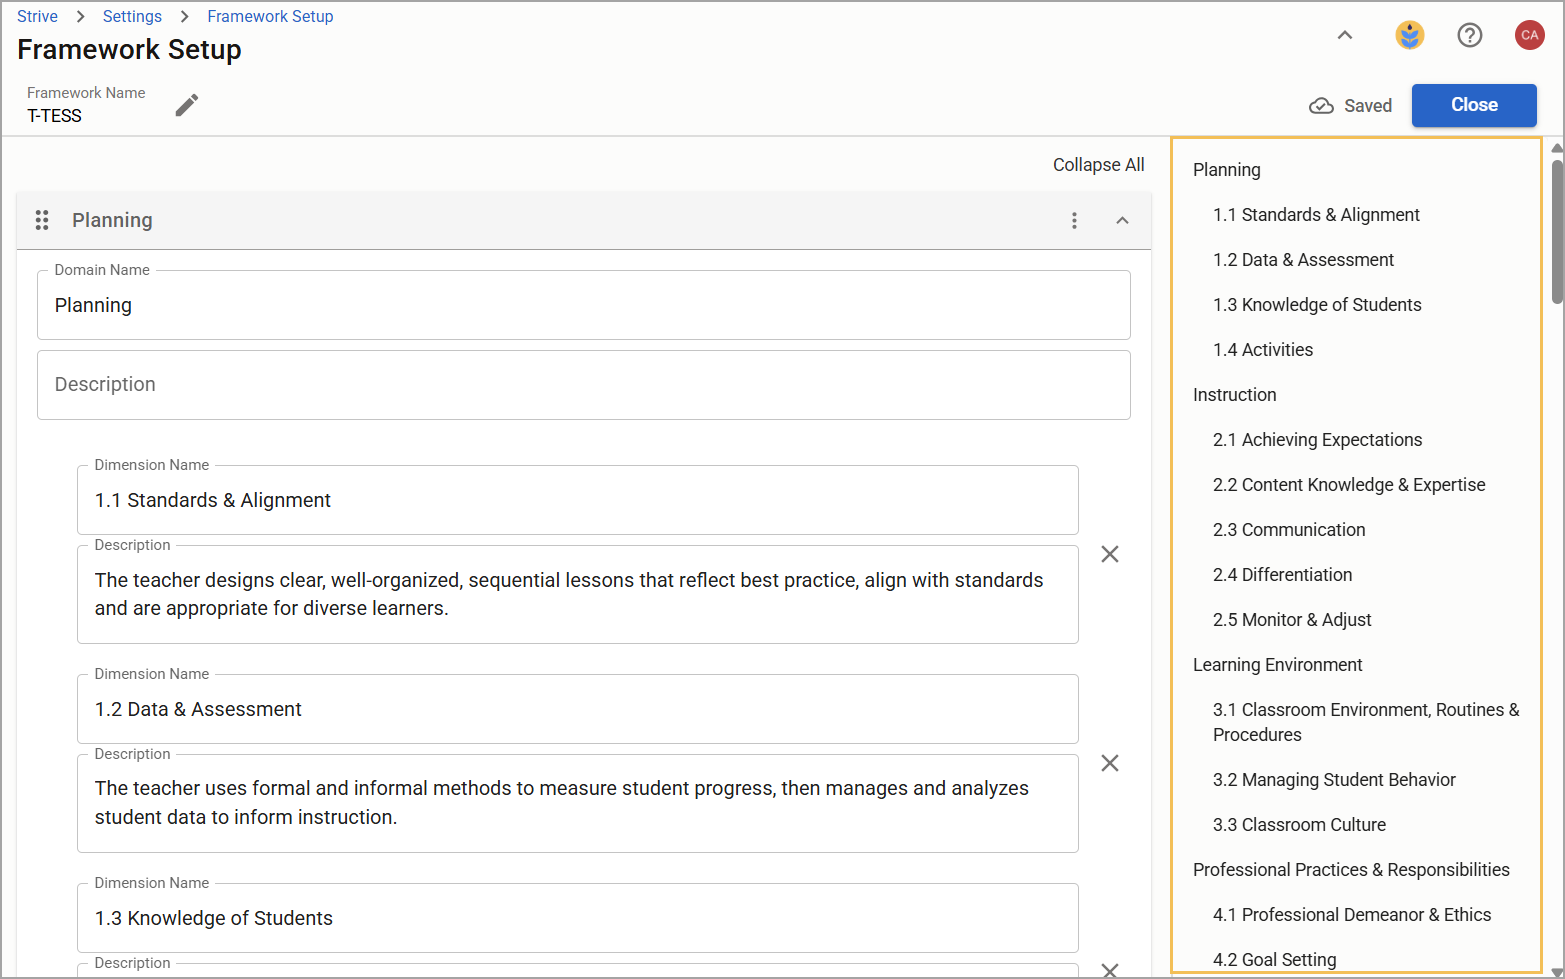
Step 8: Review your framework once you’ve completed it. Select Collapse All to minimize all domains and dimensions, and select Expand All to show them again. You can also click on a domain or dimension from the right pane to open it immediately. Drag and drop () domains to rearrange them as needed.
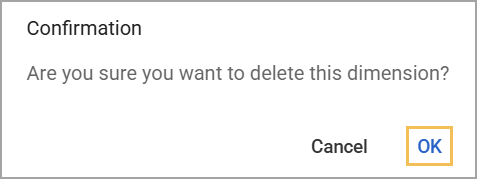
Select the three vertical dots () to delete a domain. To delete a dimension, select the Delete icon () next to its name and description, and then select OK to confirm that you want to proceed with the deletion.
Update a Framework
Selecting any unlocked framework from the Framework Setup table allows you to open the framework for editing.
.png)
You can select the Edit icon () to change the name and description of the framework. Each domain and dimension is also available for you to edit or delete at will. You can continue to add domains and dimensions as needed. All changes are automatically saved as you make them.
Deleting a Framework
You can delete unlocked frameworks that your district no longer requires from the Framework Setup table.
Quick Guide
Locate the framework.
Select the three vertical dots () in the Action column, and then select Delete Framework.
In the confirmation window, select Delete to complete the action.
Illustrated Guide
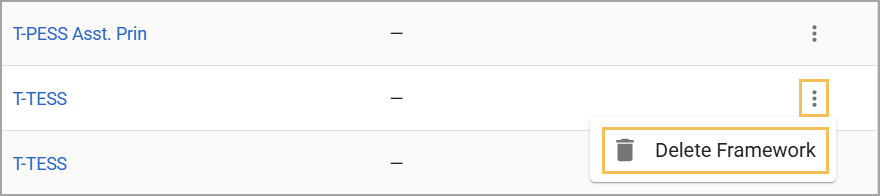
Step 1: Locate the framework.
Step 2: Select the three vertical dots () in the Action column, and then select Delete Framework.
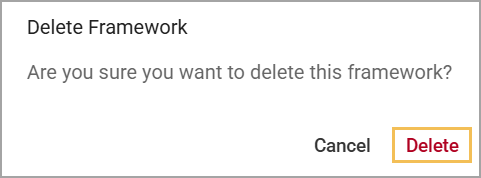
Step 3: In the confirmation window, select Delete to complete the action.
Locked Frameworks
Evaluation managers can access locked frameworks. If a framework is locked, a Lock icon () appears before its name. Locked frameworks cannot be edited or deleted, which ensures data fidelity by requiring districts to use the same framework version. Locked frameworks also allow for more easily updated and shared templates in the Eduphoria Community.
Evaluation managers can access the following locked frameworks in Strive:
T-PESS v2
T-SCESS
T-TESS ALT D1
T-TESS v2
TEMPSC
Tagging a Process With Frameworks
Remember to tie each process to the appropriate framework for tracking purposes.
Quick Guide
In Settings (), select Process Management.
Build a new process or select an existing one.
Select the Edit icon () to open the process details.
Select the Framework drop-down menu to choose the framework. Your changes save automatically.
Illustrated Guide
Step 1: In Settings (), select Process Management.
.png)
Step 2: Build a new process or select an existing one.
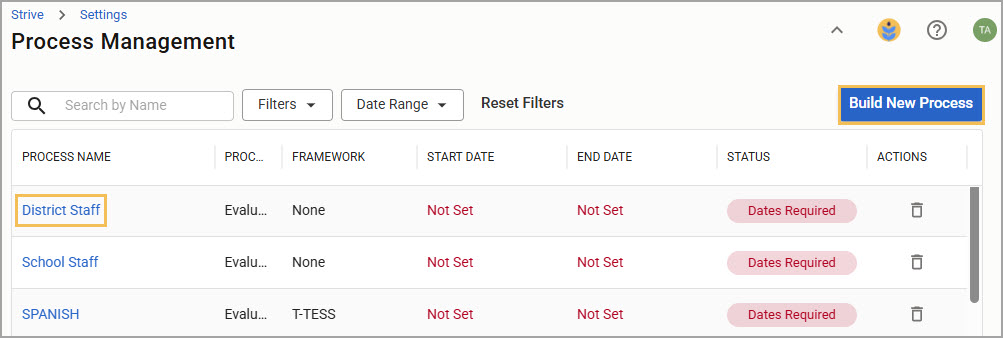
Step 3: Select the Edit icon () to open the process details.
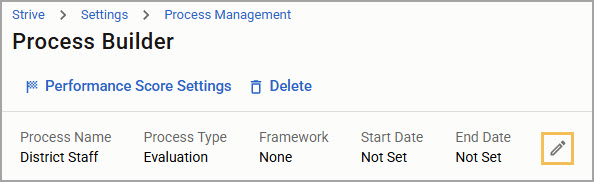
Step 4: Select the Framework drop-down menu to choose the framework. Your changes save automatically.

Update Evaluation Documents With the T-TESS v2 Framework
If your district uses the locked T-TESS v2 framework, you must create new evaluation documents or use the updated documents in the Eduphoria Community. Follow the steps to update the locked framework evaluation documents.
Tag Workshop Courses by Dimension
Remember to assign dimensions to courses to enhance reporting. The same course can be tied to multiple frameworks. For example, a course titled Integrating Technology into the Classroom can be tied to an ISTE framework for technology coaches and a second professional standards framework for classroom teachers.