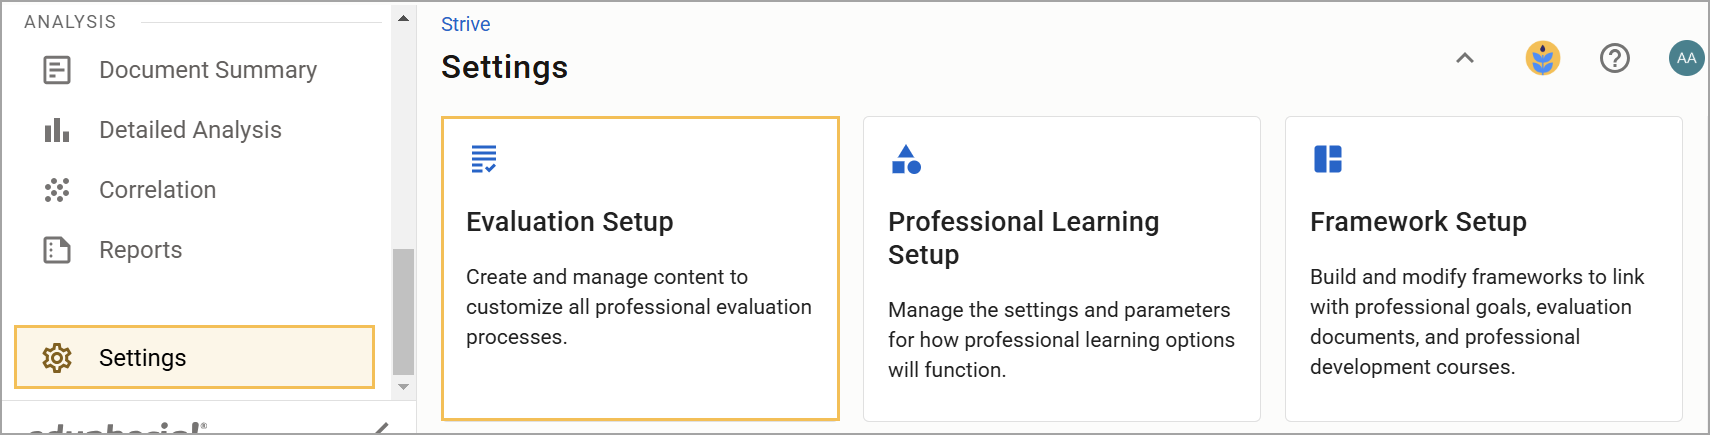
Setting up appraisee types defines the different processes used to evaluate district or school staff. These processes are created based on common steps and tasks as well as whether the evaluator works at the school- or district-level. For example, you might create two appraisee types for non-instructional staff called “Campus Staff” and “District Staff.”
For example, if your office professionals and your school nurse are evaluated by the campus principal and require the same steps in their evaluation process, you can create a single appraisee type and name it “Campus Non-Instructional Staff.” If different templates are used for the school nurse and librarian, you can select different templates within the appraisee type.
Best practice for creating appraisee types is to base them on the evaluation process, rather than the position type.
See these related articles for the following existing processes:
T-TESS v2 (locked framework)
T-TESS Alt D1 (lesson internalization)
T-PESS for Principals and Assistant Principals
Warning: Do not delete old appraisee types as they contain evaluation history data.
Collecting Templates
After identifying your appraisee types, create the templates that you want to use to evaluate staff members in these groups.
You can download sample templates from the Eduphoria Community and edit them to meet your needs. See Importing Eduphoria Community Evaluation Templates to learn how.
You can also create your own templates from scratch. See Creating a New Evaluation Template to learn how.
Creating a New Appraisee Type
Once you determine how to group your staff based on the steps of the evaluation process, you are ready to begin building your appraisee types. Appraisee types refer to the different groups of staff members being evaluated. By creating appraisee types, you can tailor evaluation criteria, processes, and feedback mechanisms to suit specific roles and responsibilities. This customization helps ensure that evaluations are relevant and constructive in relation to your school's or district's goals.
Quick Guide
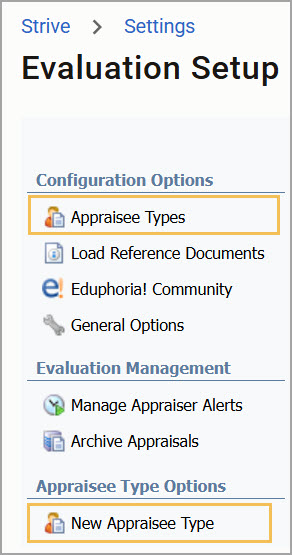
Go to Settings () > Evaluation Setup ()> Appraisee Types. Then, in the Appraisee Type Options section that appears in the menu, select New Appraisee Type.
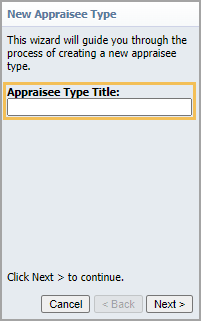
In the Appraisee Type Title box, enter the job title or a group name for the staff members to evaluate.
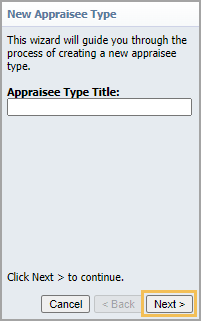
Select Next.
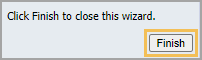
Select Finish to close the wizard.
Illustrated Guide
Step 1: Select Settings () to access Evaluation Setup ().
Under Configuration Options, select Appraisee Types to access the Appraisee Type Options section of the menu. Then, select New Appraisee Type.
Step 2: In the Appraisee Type Title box, enter the job title or group name that best describes the staff members that you evaluate using a particular framework. For example, “TEMPSC Counselors” is a common appraisee type for TEMPSC evaluations.
Step 3: Select Next to continue to the next step.
Step 4: Select Finish to close the wizard.
The new appraisee type appears in the Appraisee Types list. You can now make changes to the appraisee type as desired, including changing the framework and the icon used to represent the appraisee type within Evaluation Settings.
Selecting the Framework and Setting up the Evaluation Process
Next, define the criteria and process for evaluating staff based on existing or imported templates.
Quick Guide
Go to Settings () > Evaluation Setup () > Appraisee Types.
Select an Appraisee Type.
From the Select Framework drop-down menu, choose the framework that best suits your evaluation needs or, if no framework is needed, leave it on the default selection, —Select—.
Set up the evaluation process by creating and modifying steps and tasks in the Evaluation Process Template.
When you finish adding all steps and tasks, select Save.
Illustrated Guide
Step 1: Select Settings () to access Evaluation Setup ().

Then, under Configuration Options, select Appraisee Types.

Step 2: Select an Appraisee Type.
.png)
The appraisee type opens in the right pane with the Appraisee Type Options tab selected by default. The Title field auto-populates with the name assigned to the appraisee type upon creation, and an Icon is pre-selected. You can edit these settings if desired.
Step 3: From the Select Framework drop-down menu, choose the framework that best suits your evaluation needs or, if no framework is needed, leave it on the default selection, —Select—.
Note: Add a framework is you want to run Detailed Analysis or if you want to use the framework to connect data across multiple tasks. If your non-instructional staff only have one evaluation, a framework is not necessary.
.png)
Step 4: Set up the evaluation process by creating and modifying steps and tasks in the Evaluation Process Template. To add an item to the Evaluation Process Template, select New and then select from the options.
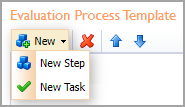
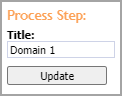
To add a step, perform the following actions:
Select New Step.
Enter a Title.
Select Update. The step appears in the template.
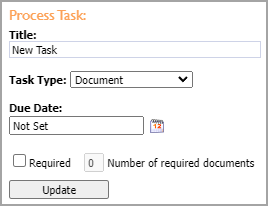
To add a task, perform the following actions:
Select New Task.
Enter a Title.
From the Task Type drop-down menu, select either Document or Professional Goal. The Student Growth Goal task type is only used for T-TESS evaluation processes.
Select a Due Date.
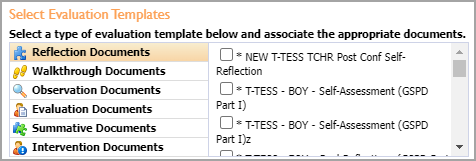
If documents are required, select the Required checkbox and enter the Number of required documents in the box.
Select the template that best matches the task.
Select Update after each selection.
Tip: If you want the document to appear on the Overview page, mark it as required and include a due date to help track completion.
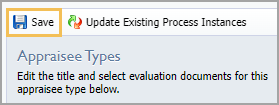
Step 5: Once you have finished adding all steps and tasks, select Save.
Note: After setting up the evaluation process, assign the evaluation process to the appropriate appraisees. For more information about this process, see Selecting Your Appraisees.