Individual teachers, school-level administrators, and district-level administrators can create monitor groups. Monitor groups are custom student groups based on shared needs, programs, or instructional goals. When a monitor group is created at the school- or district- level, teachers of the students in the group can automatically view the monitor group. However, teachers can only see the students they teach, not all students in the group.
You can create a monitor group in three ways: 1) from a data view, 2) from the Monitor Groups table, or 3) by uploading a file of student IDs.
Option 1: Creating a Monitor Group From a Data View
Follow these instructions to create a monitor group from a data view.
Step 1: Create a new data view or select a test from Quick Views.
Step 2: Click on the Individual Student Level icon to view a list of students.
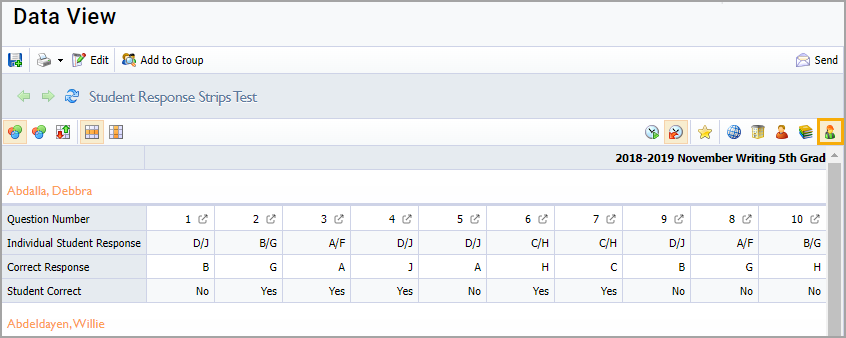
Step 3: Edit the view to include the students that need to be in the monitor group.
Step 4: Select Add to Group.

Step 5: Follow the instructions in the wizard to create a new monitor group or add to an existing group.
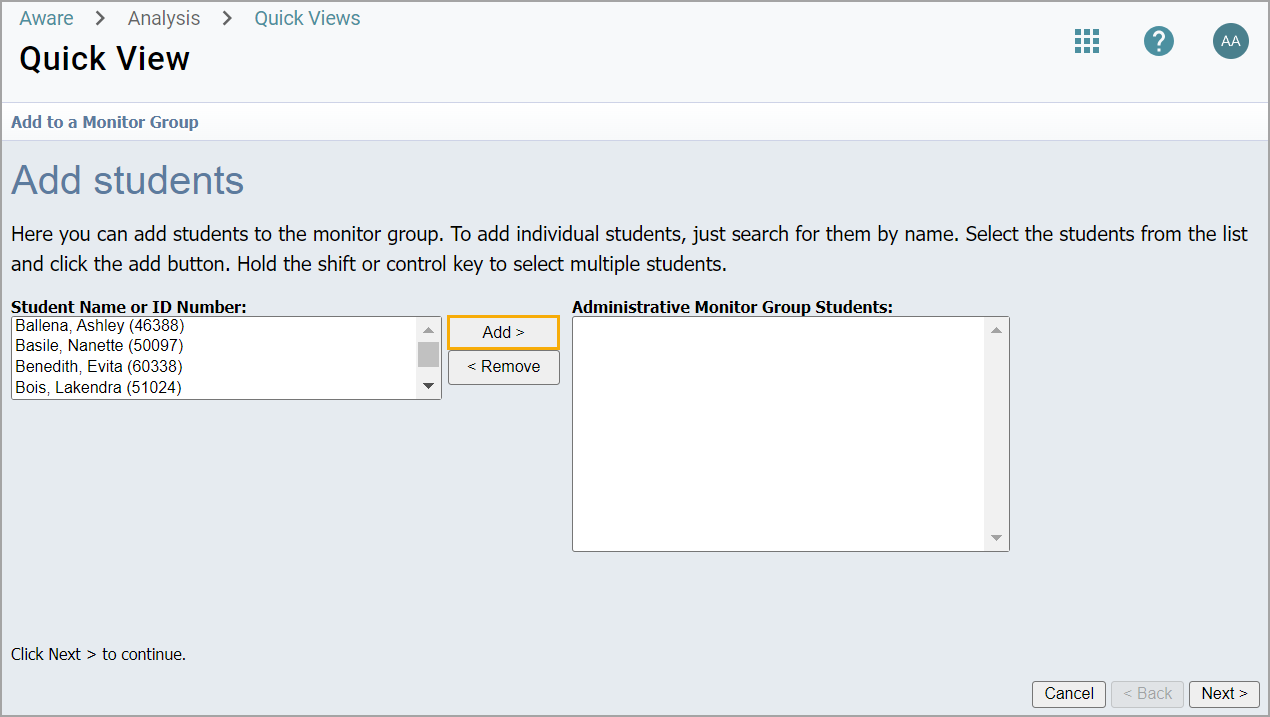
Note: To select large numbers of students, press the shift key, click on the first student, scroll down, and click on the final student you want added to the group.
Option 2: Creating a Monitor Group From the Monitor Groups Table
You can create a monitor group by selecting students directly from a table.
Step 1: Select Monitor Groups from the Students section of the main menu.
.png)
Step 2: Select Create Monitor Group.
.png)
Step 3: Enter a Title, Description (optional), and an access Level for the monitor group. Then, select Continue.
For teachers, the Level is always set to Personal. Teachers cannot create monitor groups for other users.
Administrators who create the monitor group must set the level to one of the following:
District - Anyone in the district with access to students in the monitor group can view the group. Users will only see students they have access to.
Campus - Anyone on the campus with access to students in the monitor group can view the group. Users will only see students they have access to.
Personal - Only the creator of the monitor group can access and edit the group.
.png)
Step 4: Choose the Select students from a table option to add students to the monitor group and select Continue.
.png)
Step 5: Filter the table and select students by clicking checkboxes.
.png)
Step 6: Preview selected students in the side panel and then select Apply & Create to finish.
.png)
Note: The side panel is hidden if you add more than 10,000 students to a monitor group.
Option 3: Creating a Monitor Group By Uploading Student IDs
Finally, you can create a monitor group by uploading a TXT file of student IDs.
Step 1: Select Monitor Groups from the Students section of the main menu.
Step 2: Select Create Monitor Group.
Step 3: Enter a Title, Description (optional), and an access Level for the monitor group. Then, select Continue.
For teachers, the Level is always set to Personal. Teachers cannot create monitor groups for other users.
Administrators who create the monitor group must set the level to one of the following:
District - Anyone in the district with access to students in the monitor group can view the group. Users will only see students they have access to.
Campus - Anyone on the campus with access to students in the monitor group can view the group. Users will only see students they have access to.
Personal - Only the creator of the monitor group can access and edit the group.
Step 4: Choose the Upload students from a file option to add students to the monitor group.
Select Choose File to open a file manager window and then locate and select your TXT file. If your file manager is already open, you can drag and drop the TXT file from its location on your device.
When the file is ready, the Continue button becomes available. Review the name of the file and then select Continue to complete the upload.
.png)
Note: In some cases, you might receive an error code for certain student IDs that exist in the file. Errors indicate duplicated IDs, not found IDs, or IDs that you do not have access to. You can continue creating the group even if these errors occur.
Step 5: Review the table of student names after you have uploaded the file. You can filter and select additional students from the table if desired. Use the checkboxes to add names, then select Apply & Create to finish.