To create a griddable numerical response question, begin by creating a new assessment in Aware or navigating to an existing one.
Note: An assessment with a numerical response question will remain print and online friendly with multiple choice, multiple selection, constructed response, and resource items. Assessments with interactive response items may be printed as test booklets only.
Creating a Numerical Response Question
Quick Guide
When working on an assessment, go to the Questions tab and do the following:
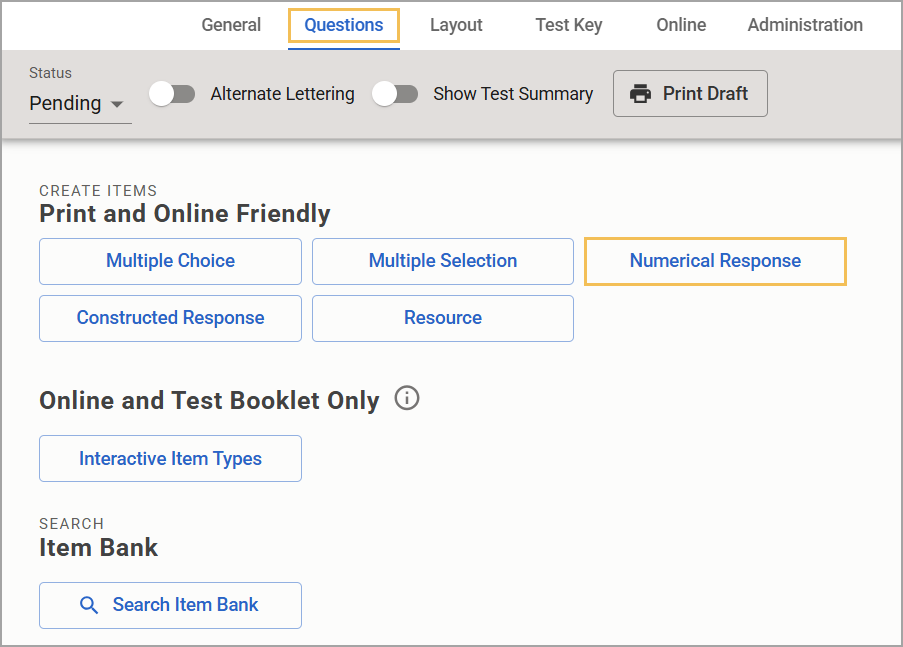
If this is the first time adding a question, select the Numerical Response button.
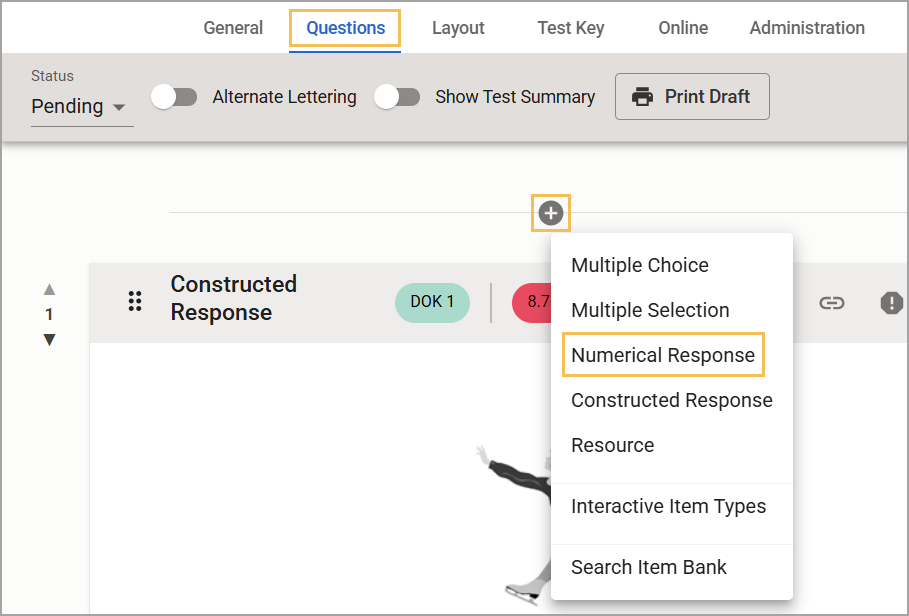
If adding more questions, select the Plus sign () and choose Numerical Response from the drop-down menu.
Use the text box and formatting options to enter the question text. Type the correct answer, including one decimal, in the answer box.
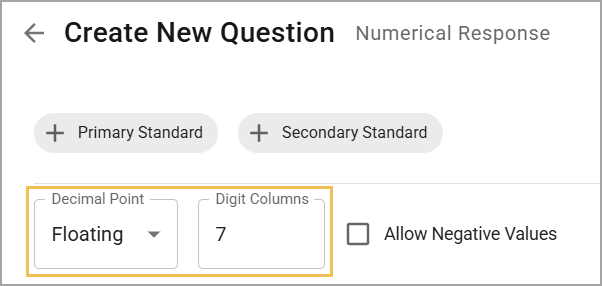
Set the Decimal Point option to Fixed or Floating.
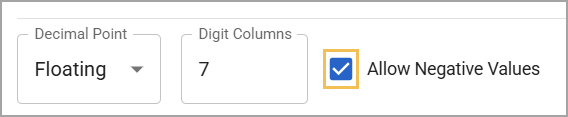
Check the box labeled Allow Negative Values if desired.
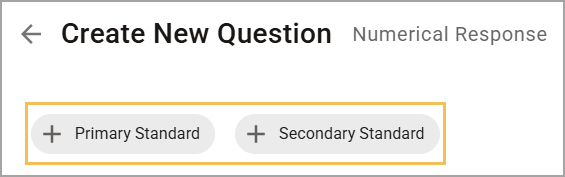
Select Primary Standard and Secondary Standard to add up to two learning standards.
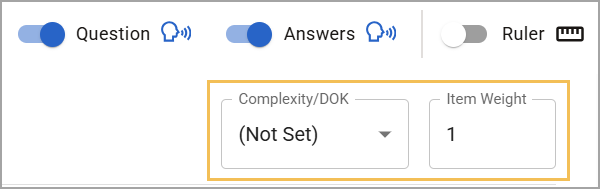
Set Complexity/Depth of Knowledge for the question.
Assign Item Weight.
When finished, click Create or Update.
Illustrated Guide
Step 1: When creating or editing an assessment in Aware, navigate to the Questions tab and do the following:
If this is the first time adding a question to the assessment, select the Numerical Response button.
If you want to add more questions to an existing assessment, select the Plus sign () above or below an existing question and choose Numerical Response from the drop-down menu.
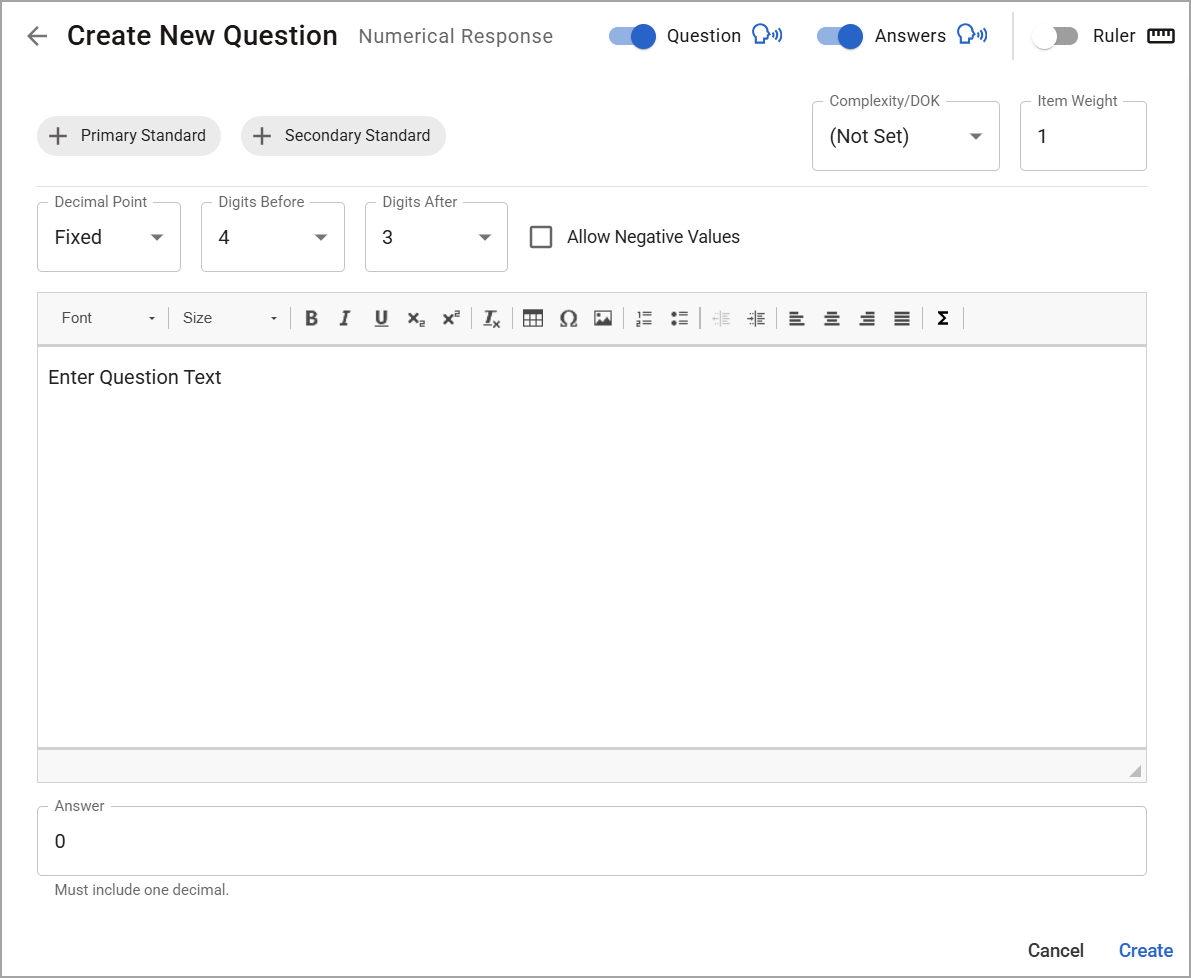
Step 2: On the Construct your question step, use the text box and formatting options to enter the question text. Type the correct answer, including one decimal, in the answer box. The system adds the question number once the test author adds the question to the test. There is no need to add an item number to the question text box.
Click the right lower corner of the text box and drag to increase or decrease the text box size.
Step 3: Set the Decimal Point option to Fixed or Floating. The Fixed option lets you set the number of digits before and after the decimal point.
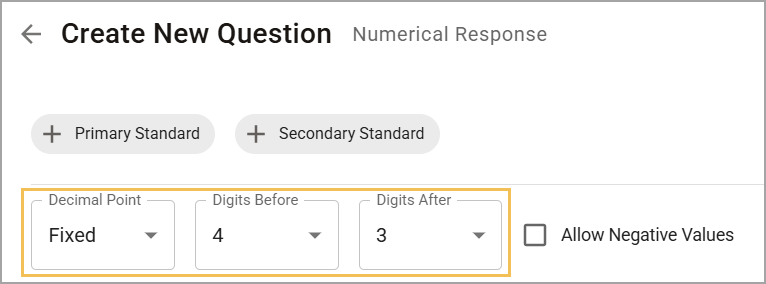
The Floating option allows you to set the number of digit columns. The decimal point and negative symbols do not count as a digit column on the print answer document or online.
Step 4: Check the box to Allow Negative Values if desired. If checked, students must answer with the negative symbol (-). The system will always assume a positive value (+) otherwise.
Step 5: Select Primary Standard and Secondary Standard to add up to two learning standards.
Step 6: Set Complexity/Depth of Knowledge by choosing from the following options:
(Not Set)
Not Applicable
DOK1
DOK2
DOK3
Step 7: Assign Item Weight.
Step 8: When finished, click Create or Update.
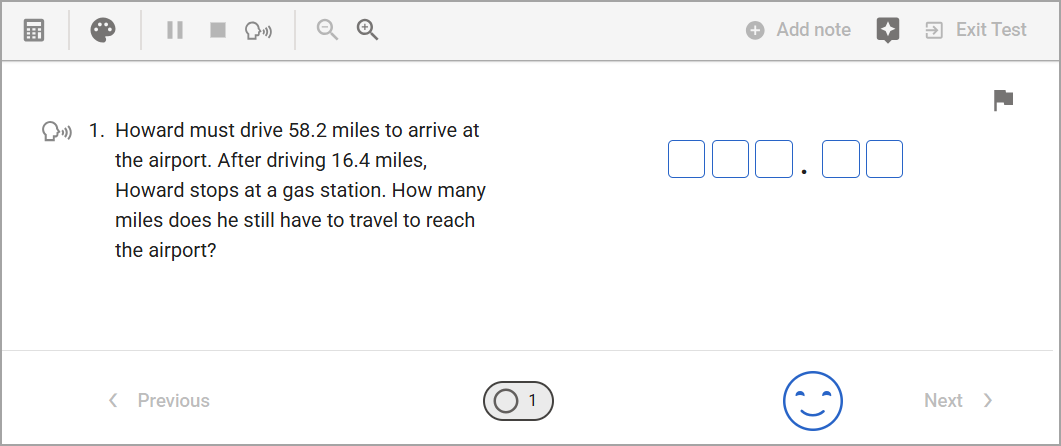
Student Experience
Students will see the numerical response question during testing.
Data Analysis
Viewing Responses in Quick Views
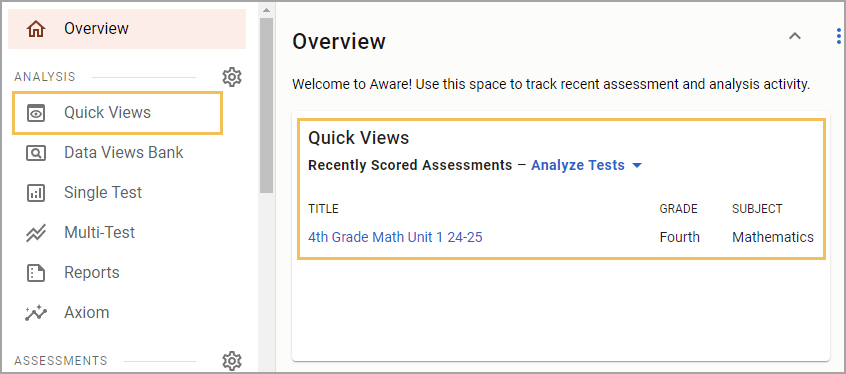
Question Type is available in Quick Views. Access Quick Views through the navigation bar or through the Quick Views card.
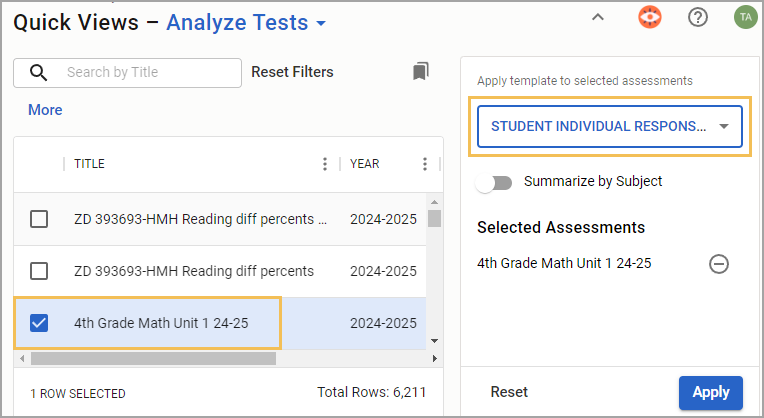
Once in Quick Views, use the search field to find and select the assessment(s) you want to analyze. Choose the Student Individual Responses template from the drop-down menu. Select Apply to continue.
Show or Hide the Question Type Column
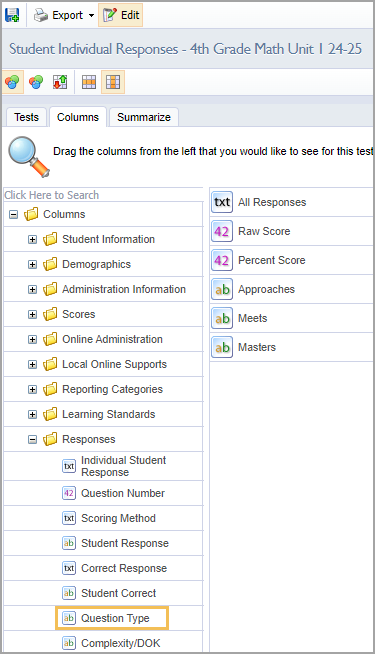
If the table does not display the type of question, you can customize which columns appear or do not appear from the Edit menu. Select the Columns tab, and then expand the Responses folder. Drag the Question Type option to the empty space on the right side of the screen. Then, select Update to apply your changes. For more information, see Editing Data Views as a Teacher.
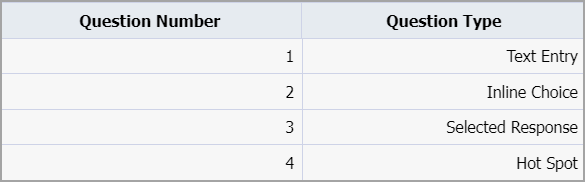
The Question Type column shows the type of question asked and the corresponding question number. Teachers may view the exact question in the Enter Answers screen and modify student answers if needed.
Allowing Teachers to Answer and Score Assessment Questions
For district- and school-level tests, the Questions teachers can answer and score option must be set to All Questions to enable editing privileges. Locate this setting in Administration > Collection > General Settings when authoring or editing an assessment in Aware.
