Test authors can add content clarifiers to an online assessment. Before adding content clarifiers, ensure the test status is Pending, you have no generated test entries, and students haven’t begun taking the online test.
Data analysis fields could be inaccurate if users make changes while students are taking an assessment.
For more information about content clarifiers, assessments, and student supports, you can preview what content clarifiers look like for students, learn about creating an online assessment, or discover the smoothest ways to assign student supports.
Adding Content Clarifiers to an Assessment
To add a content clarifier to an online assessment, navigate to the test in Aware and follow the steps below.
Quick Guide
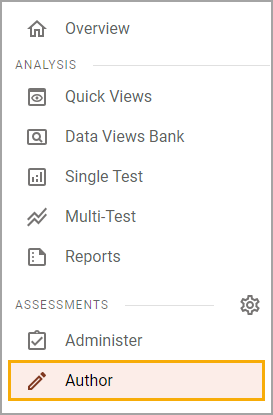
Select Author () under Assessments in the navigation menu.
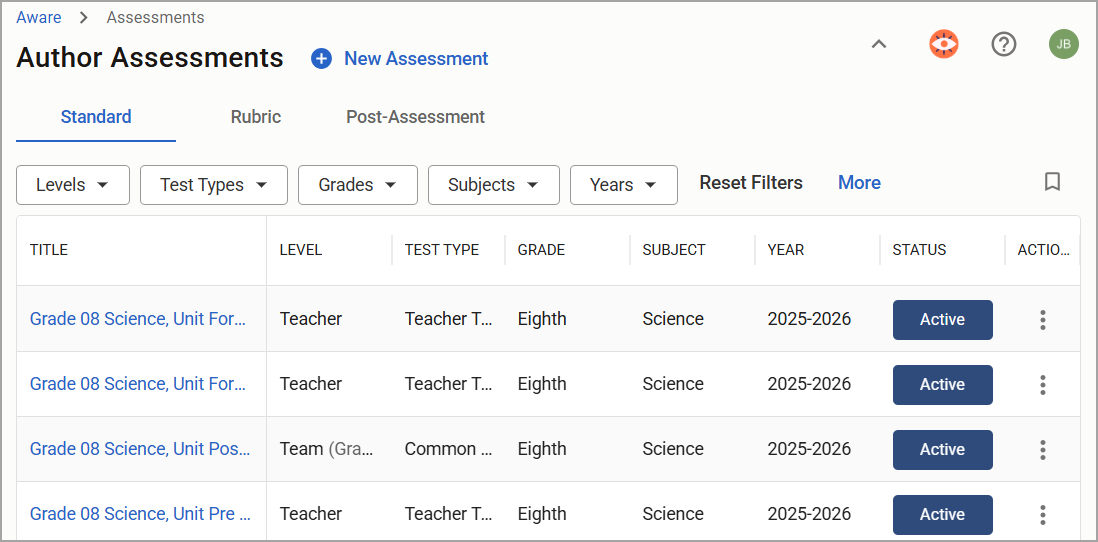
Locate the assessment to which you want to add a content clarifier.
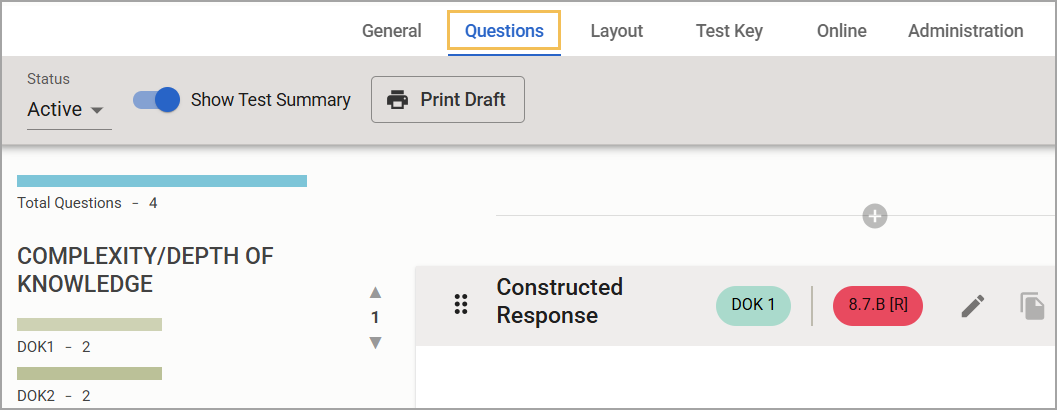
Select the Questions tab to view available questions and resources in the test editor.
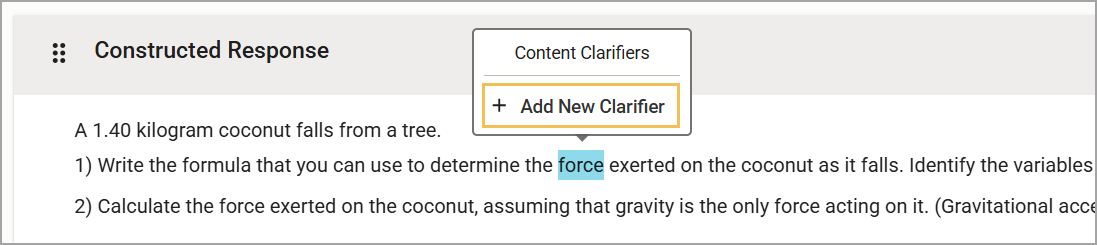
Highlight a word or short phrase, then select Add New Clarifier.
Include a title for your new clarifier. Then, enter the clarifier text you want your students to see during the assessment and select Create.
Add a content clarifier wherever needed throughout the test once you have created it. Hover over the dotted underlined text to preview the clarifier.
Add any additional clarifiers to complete the assessment.
Illustrated Guide
Step 1: Select Author () under Assessments in the navigation menu.
Step 2: Locate the assessment to which you want to add a content clarifier.
Step 3: Select the Questions tab to view available questions and resources in the test editor.
Step 4: Highlight a word or short phrase, then select Add New Clarifier.
Note: You cannot add content clarifiers by editing the question or selecting the Pencil icon.
You can add content clarifiers to interactive item types, resources, questions, answer choices, and as alternative text. Alternative text for math can be applied anywhere Latex is used.
Step 5: Include a title for your new clarifier. The title is not displayed to the student but is used to identify your clarifiers uniquely. Then, enter the clarifier text you want your students to see during the assessment and select Create.
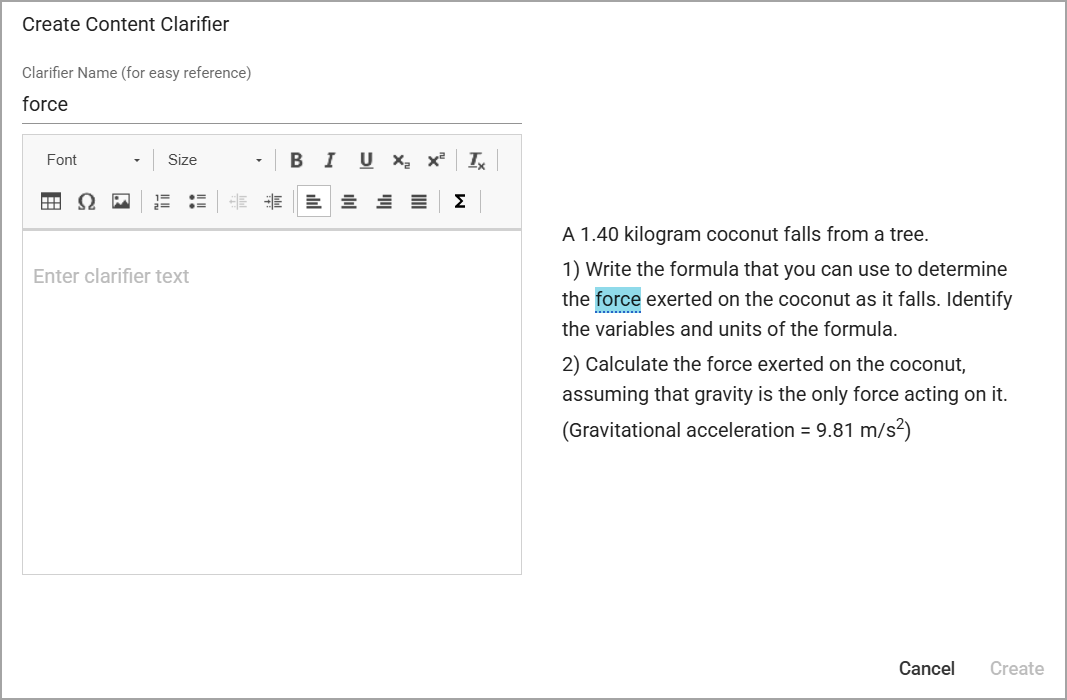
If you want to clarify the same word in different contexts, create two different clarifiers. For example, “address” can be a noun or verb. Consider using a naming convention like “address (verb)” and “address (noun).”
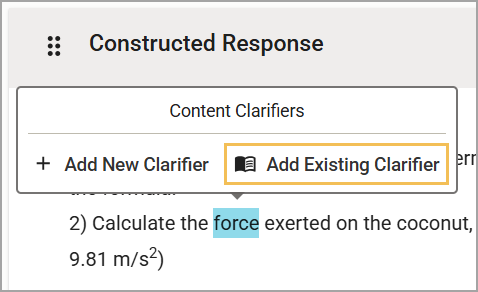
Step 6: Highlight a word and select Add Existing Clarifier wherever needed throughout the test once you have created it. You can also continue creating new clarifiers.
Hover over the dotted underlined text to preview the clarifier.
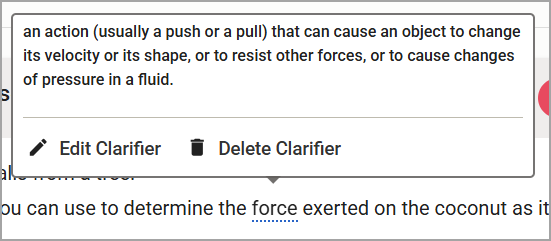
If you edit the clarifier while adding it to any question, that modifier will change in every question it is included. Deleting a clarifier will only affect that single use of the clarifier and will not remove it from other places within the assessment.
Step 7: Add any additional clarifiers to complete the assessment.
Adding Content Clarifiers to Resources
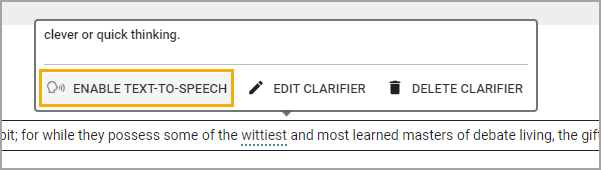
When a content clarifier has been added to a resource only and the Text-to-Speech support is disabled, the test author can override this setting and enable Text-to-Speech for this content clarifier only.
Adding an Image as a Content Clarifier
To add an image as a content clarifier, select the Insert File icon in the Edit Content Clarifier window. Images sized at 400 x 250 pixels or smaller are best.
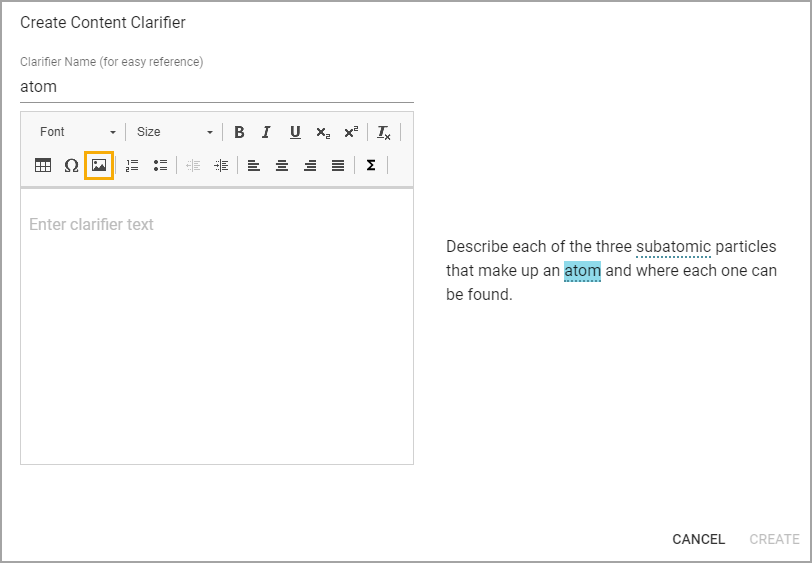
Right-click the image and select Image Properties to assign alternative text, set image alignment, add a caption, and more.
Caution: Check the Image Properties in your images. Some images already have the picture name or random text in the Alternative Text box. For example, the word “image” may show in the Alternative Text box. Students using Text-to-Speech will hear “image” for this picture. Either type in the appropriate wording or ensure that this box is blank.
Manage Existing Content Clarifiers
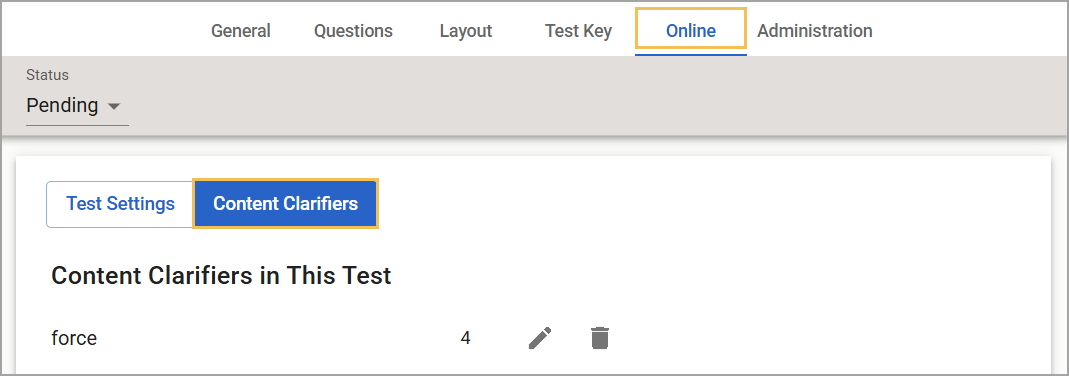
To review the location of each clarifier, navigate to the Online tab, then select Content Clarifiers. You can see which questions or resources contain each clarifier. You can edit clarifiers or delete them from this screen as long as the test status is Pending, there are no generated test entries, and students haven’t begun taking the test.
Editing a clarifier from this screen updates each instance of the clarifier applied to the assessment. For example, if you update the clarifier for “force” in question four, shown below, the clarifier would also update if it were applied to another question. Consider using multiple clarifiers if needed.
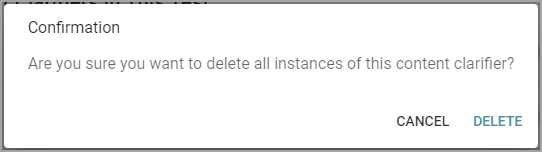
Deleting a content clarifier from this screen will delete all instances of the content clarifier used throughout the assessment. Confirm if this is your intention or select Cancel.
Established content clarifiers will appear in any copies of the assessment users create. If a user edits a content clarifier in the initial test, the copied test will not see the changes.
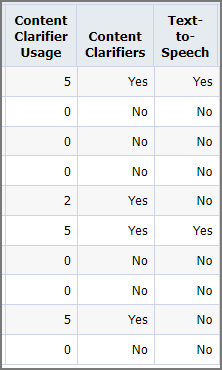
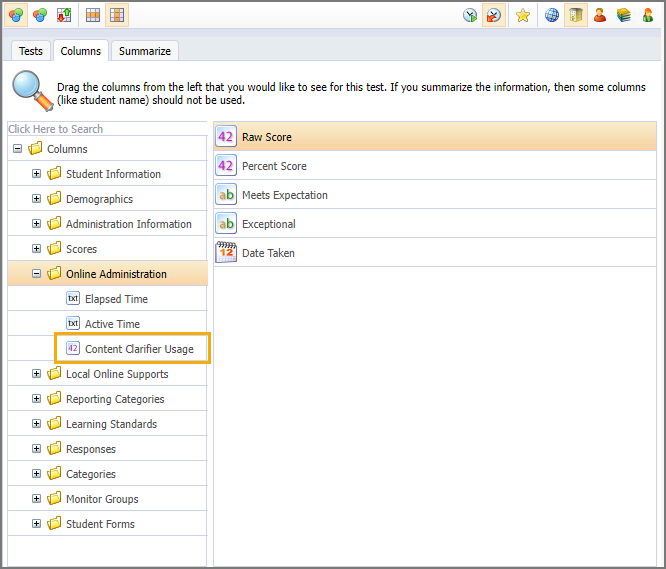
When editing a data view, teachers can see how many unique content clarifiers a student views by adding the Content Clarifier Usage field.
Locate the Content Clarifier Usage field under Online Administration.
The Student Experience
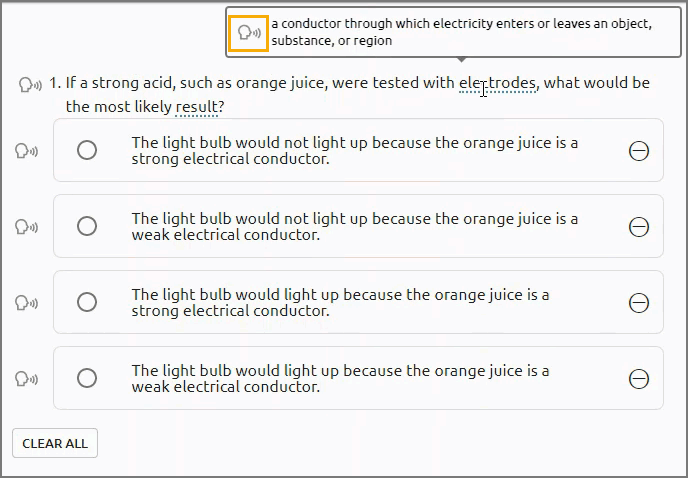
Students who have the Content Clarifier support enabled will see additional information presented where the teacher has enabled it. Students can hover the mouse over a dotted underlined word to view the information the teacher has provided.
This support works in conjunction with Text-to-Speech. Teachers can also include images in content clarifiers.