When setting up a course, managers can set parameters for attendee enrollment using the following options:
Setting a maximum number of seats
Closing waiting lists
Allowing registration overflow
Allowing guest registration
Marking attendance using Digital Sign-In
Note: Attendance does not automatically grant credits for taking the course.
Setting a Maximum Number of Seats
Maximum Seating places a number in the setting for the room description. Setting a maximum number of seats does not limit the ability of staff to register for courses. It is only a description of how many seats are available in the location. Staff can register for sessions with pending registration status if the maximum number of seats are taken.
Training Location
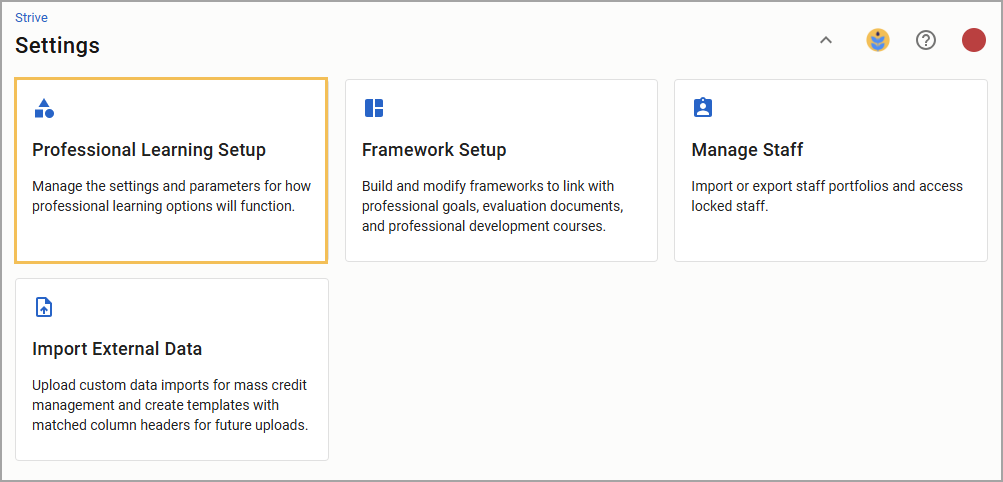
Step 1: Select Settings from the navigation panel.
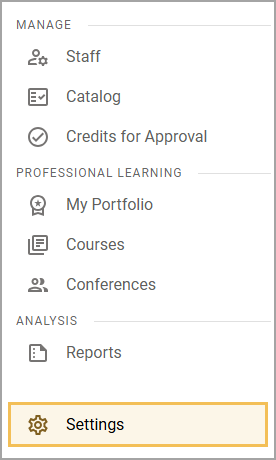
Step 2: Select the Professional Learning Setup card.
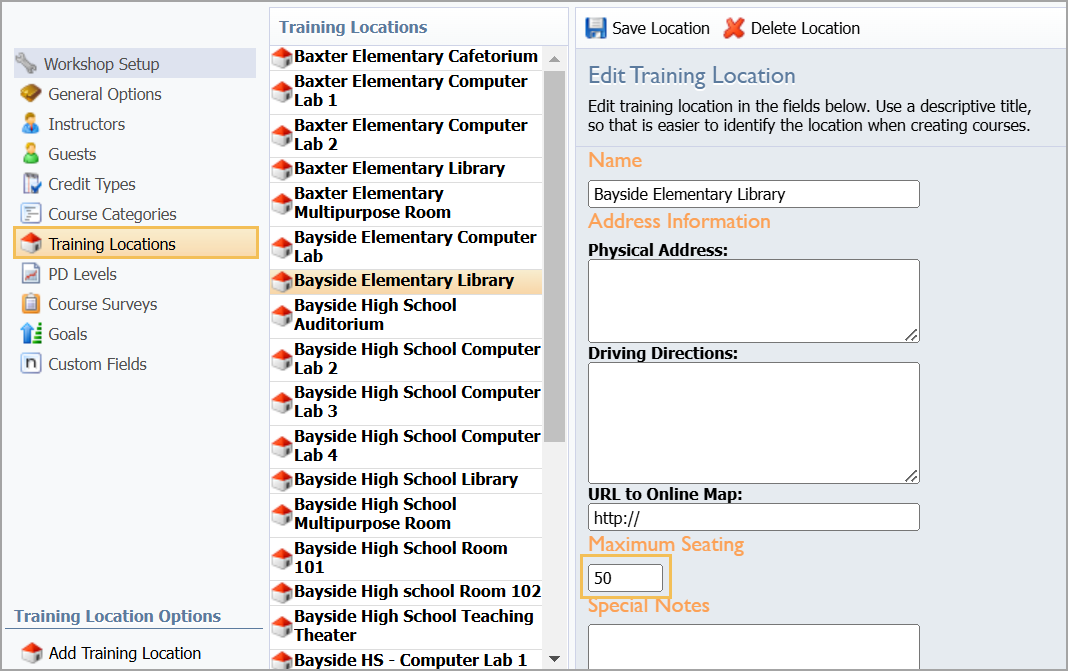
Step 3: Under Workshop Setup, select Training Locations and choose the desired location. Each location can have a Maximum Seating number assigned for the space.
Courses
Individual courses can also have an override for the maximum number of seats.
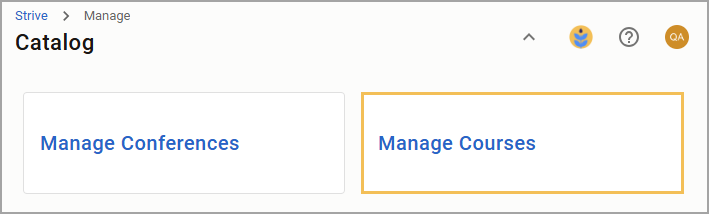
Step 1: Select Catalog from the navigation panel.
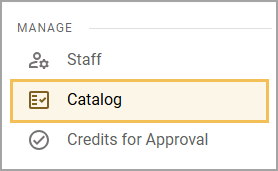
Step 2: Select Manage Courses.
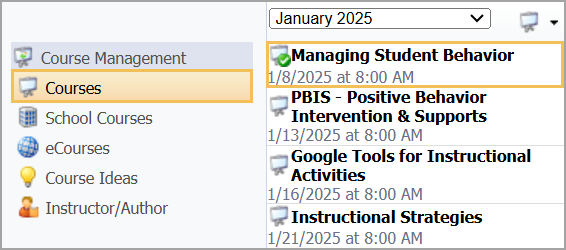
Step 3: Under Course Management, select Courses and choose the desired course.
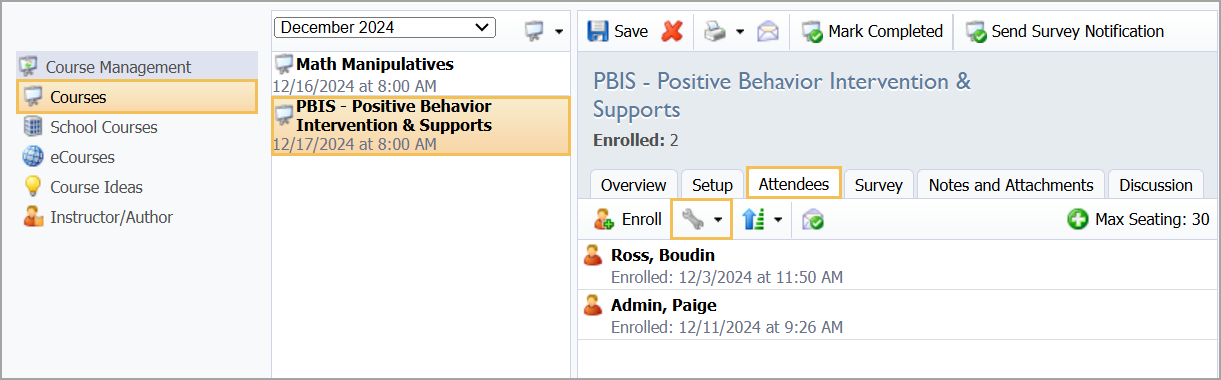
Step 4: Click the Attendees tab.
Step 5: Click on Max Seating to adjust the number for the event. Each location can have a Maximum Seating number assigned for the space.
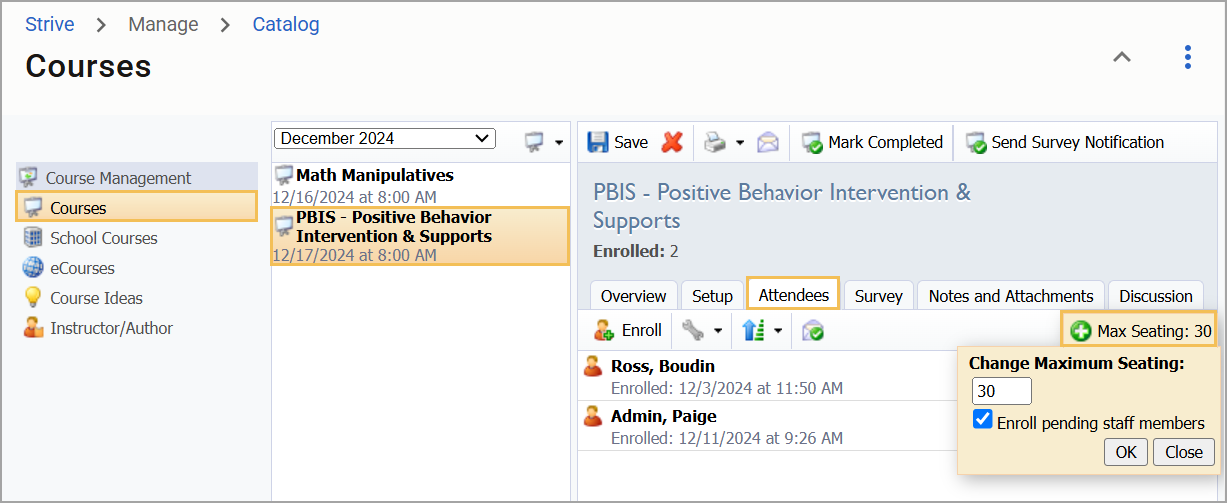
Note: The checkbox for Enroll pending staff members adds any staff members who attempt to register for a course after the maximum seat number is met. It is not a setting. The checkbox allows a manager or instructor to complete an instance to enroll pending staff members.
Closing Waiting Lists
Courses allow registration when a maximum number of seats has been reached by placing attendees into Pending Registration status on a Waiting List. To turn off staff’s ability to continue registering for a course after the maximum number of seats is reached, you must click the Disable Waiting List option for each course.
Step 1: Select Catalog from the navigation panel.
Step 2: Select Manage Courses.
Step 3: Under Course Management, select Courses and choose the desired course.
Step 4: Click the Attendees tab, then select the Wrench icon on the menu bar.
Step 5: Select Disable Waiting List. A green checkmark appears when a course’s Disable Waiting List option is activated.

Allowing Registration Overflow
The Allowing Registration Overflow setting allows registrations to exceed the Maximum Seat Number for a room. It is useful for gauging attendance locations for larger audience events.
Step 1: Select Catalog from the navigation panel.
Step 2: Select Manage Courses.
Step 3: Under Course Management, select Courses and choose the desired course.
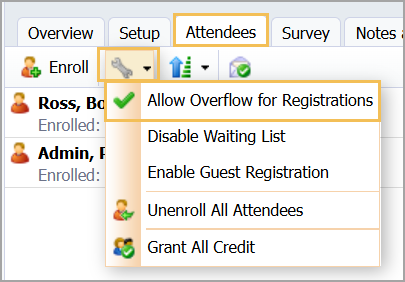
Step 4: Click the Attendees tab, then select the Wrench icon on the menu bar.
Step 5: Select Allow Overflow for Registrations. A green checkmark appears when a course’s Allow Overflow for Registrations option is activated.
Allowing Guest Registration
You can open courses to allow guest registration by activating the Allowing Guest Registration option.
Step 1: Select Catalog from the navigation panel.
Step 2: Select Manage Courses.
Step 3: Under Course Management, select Courses and choose the desired course.
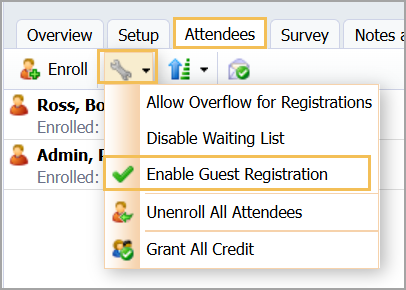
Step 4: Click the Attendees tab, then select the Wrench icon on the menu bar.
Step 5: Select Enable Guest Registration. A green checkmark appears when a course’s Enable Guest Registration option is activated.
Marking Attendance Using Digital Sign-In
A course manager can check the box for Enable Digital Sign-In under Sessions & Locations within the course’s Setup tab. Digital Sign-In allows managers and instructors to share a QR code with attendees, who will access it to sign in and mark their own attendance.
Note: Digital Sign-In automatically marks attendees as absent until they sign in with the QR code to record their attendance.
Step 1: Select Catalog from the navigation panel.
Step 2: Select Manage Courses.
Step 3: Under Course Management, select Courses and choose the desired course.
Step 4: Under the Digital Sign-In tab, access the following options to share the course’s QR code with attendees:
Print QR Code
Download QR Code
Open in New Tab
Copy URL to Clipboard

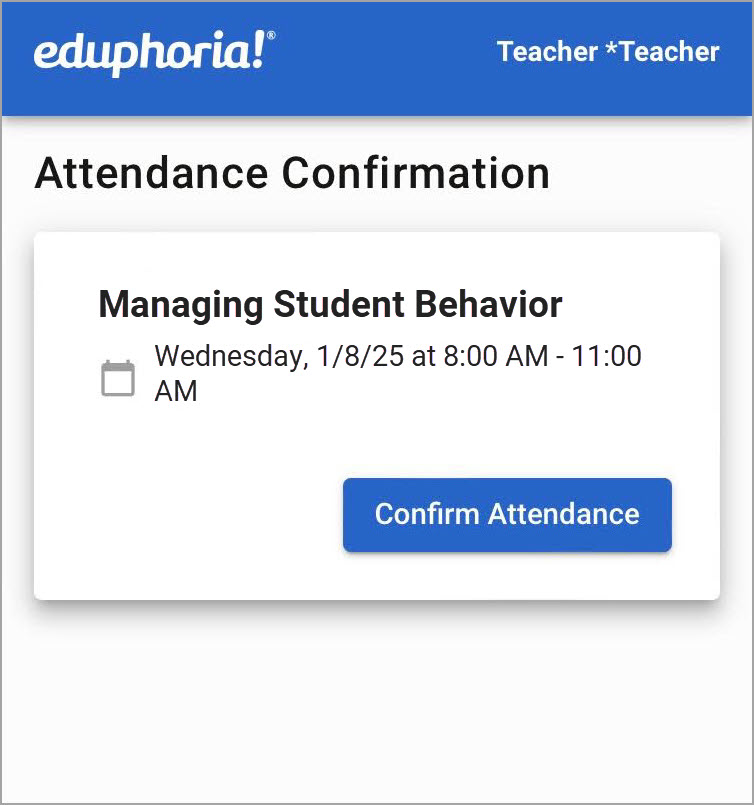
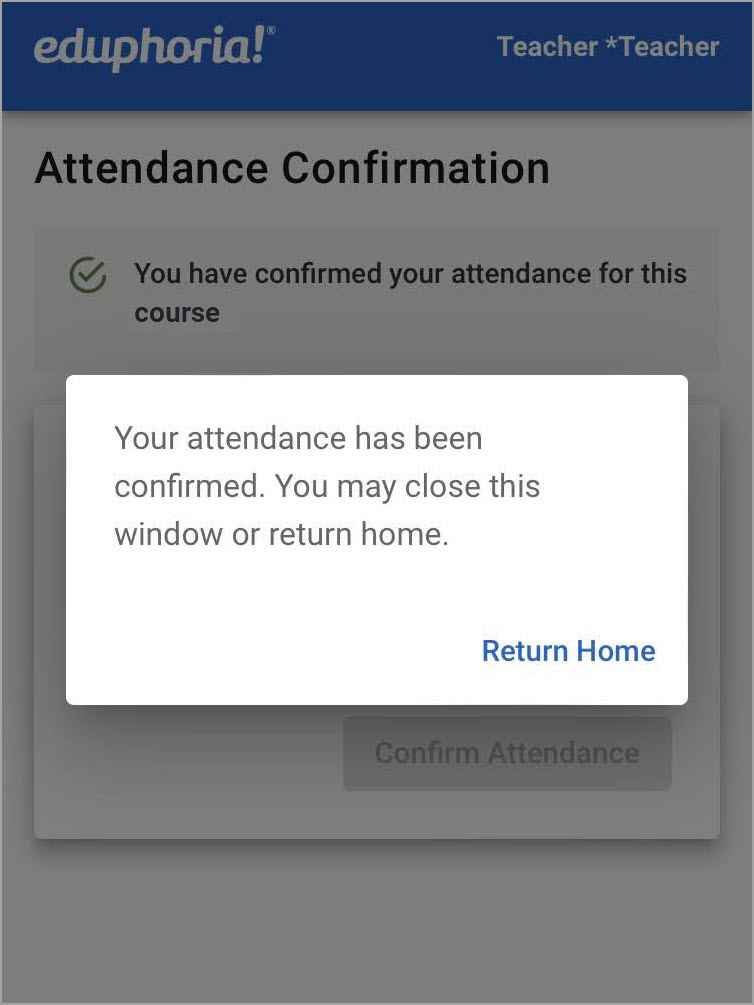
Attendee View
Upon scanning the QR code, attendees can sign in and confirm their attendance for the course. QR code links are active 15 minutes before the course starts and 15 minutes after the course ends.