Conference managers and contributors can add multiple sessions at multiple locations throughout the length of the conference. Sessions can take place in person or in virtual meeting areas.
Adding Sessions
To add Sessions, select + Add Session or select a time block on the calendar or location view.
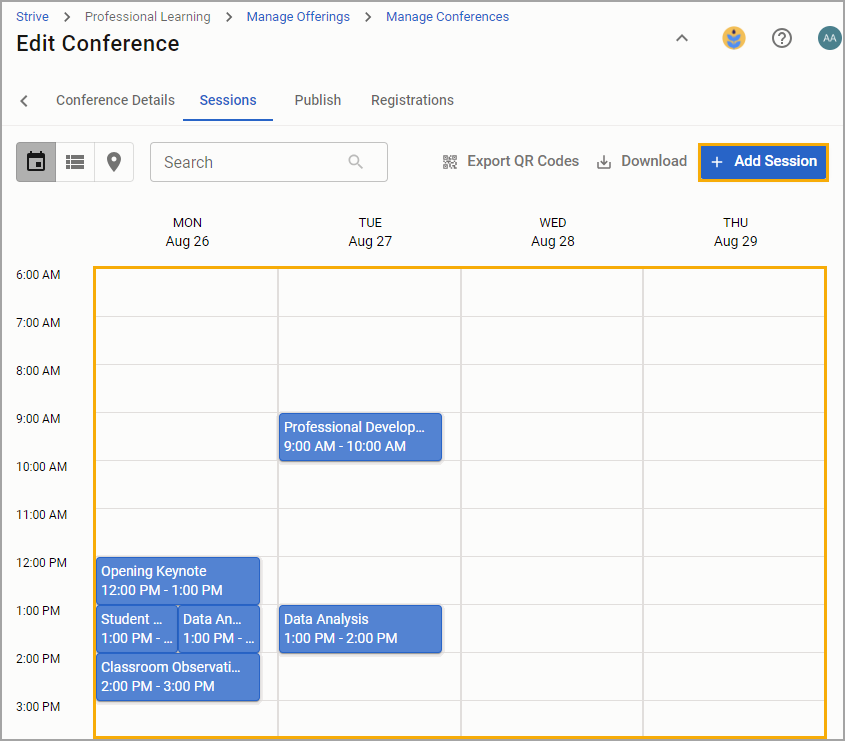
Session Details displays the following information:
Title
Description
Session Date
Start Time
End Time
Digital Sign-in
Virtual Session Link
Room Location
Max Attendees
Professional Learning Credits
Learning Tracks
Instructors
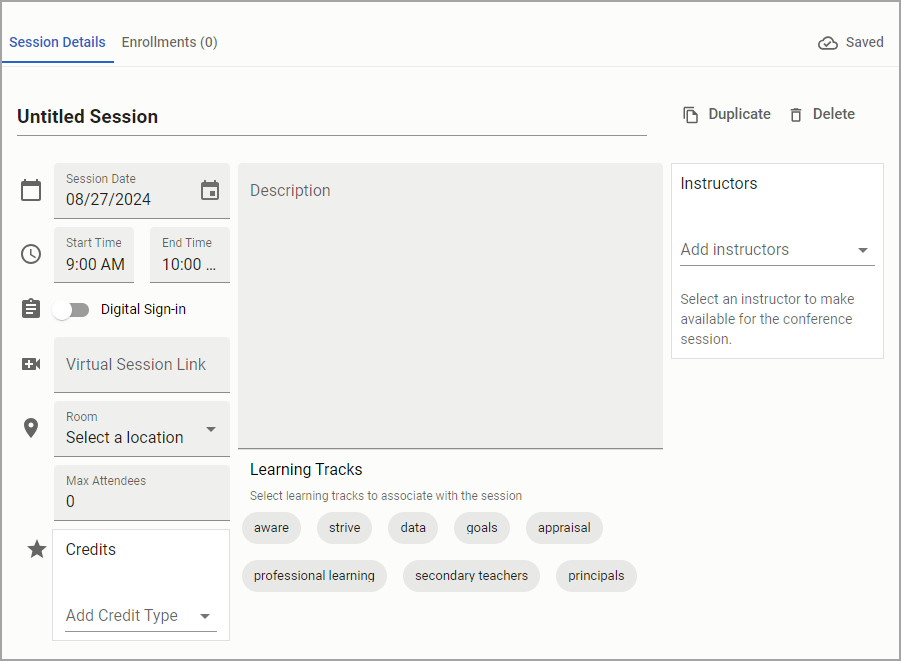
Conference managers and contributors can also duplicate and delete a session.
Digital Sign-in
Conference managers and contributors can toggle on Digital Sign-in, which generates a QR code for attendees to scan and sign in to the session.
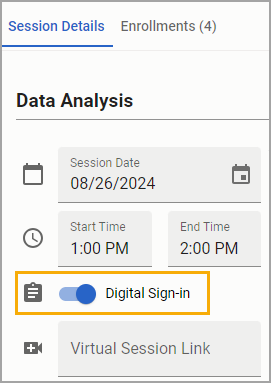
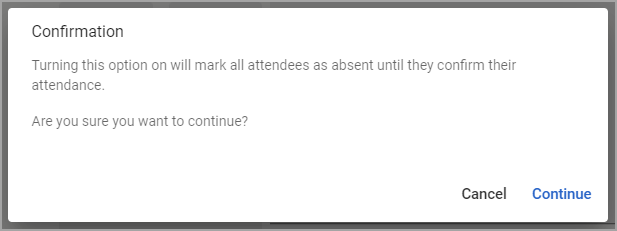
If attendees have already registered for the session, a warning message states that Digital Sign-in automatically marks attendees as absent until they sign in with the QR code to record their attendance.
The QR code appears under the Enrollments tab.
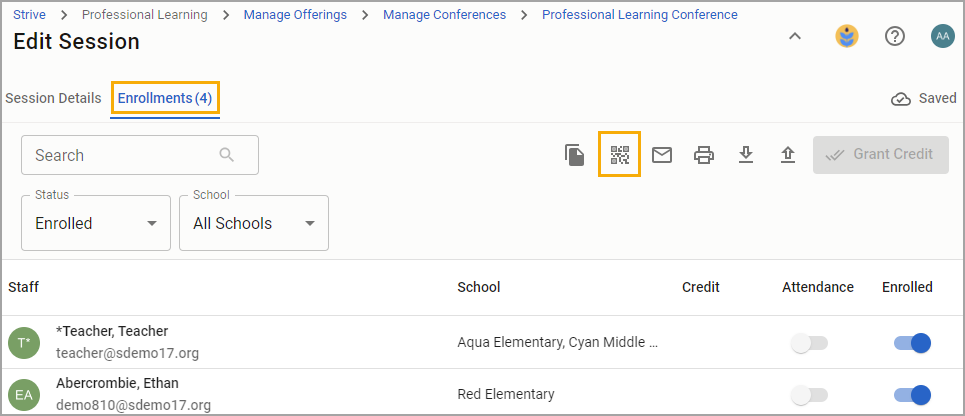
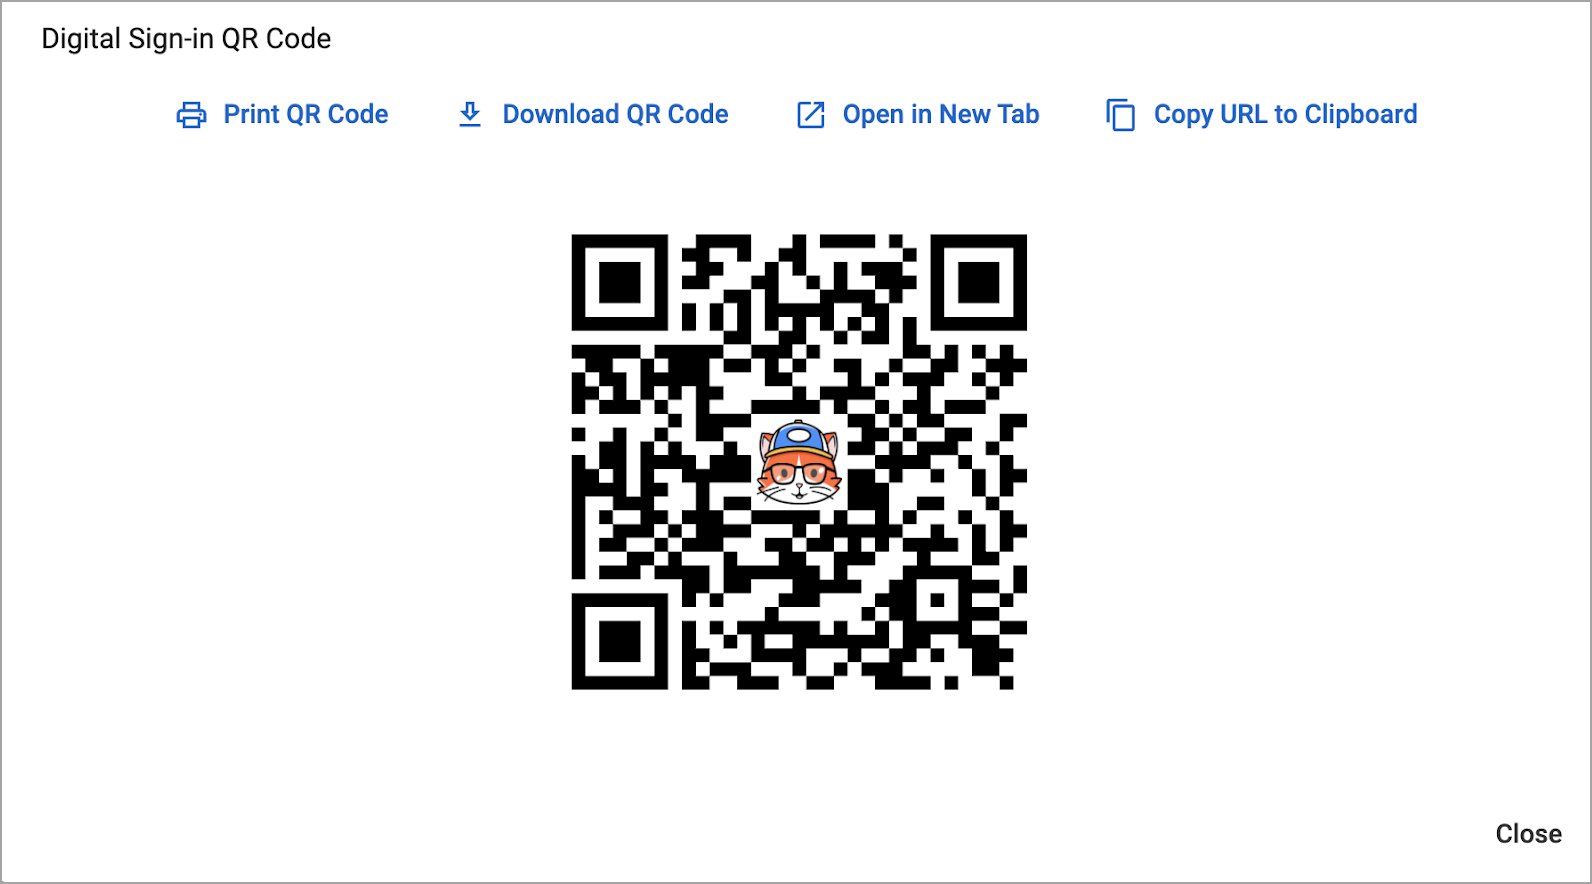
Select the View Digital Sign-in QR Code icon to scan the QR code or access the following options for distribution to attendees:
Print QR Code
Download QR Code
Open in New Tab
Copy URL to Clipboard
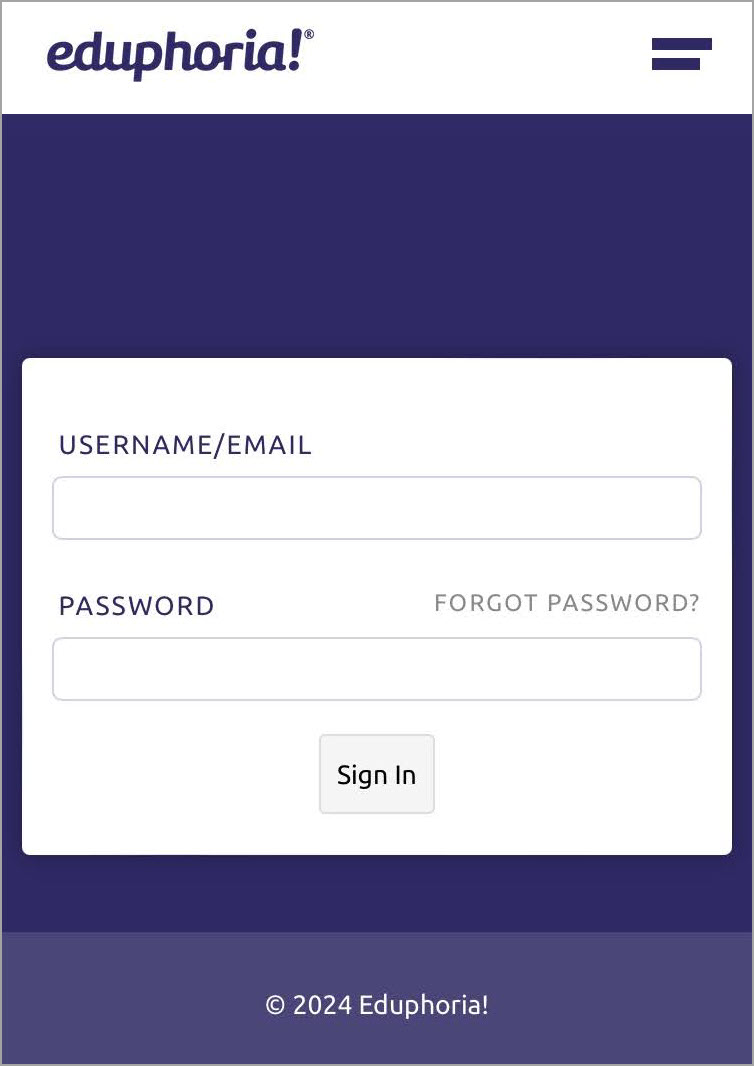
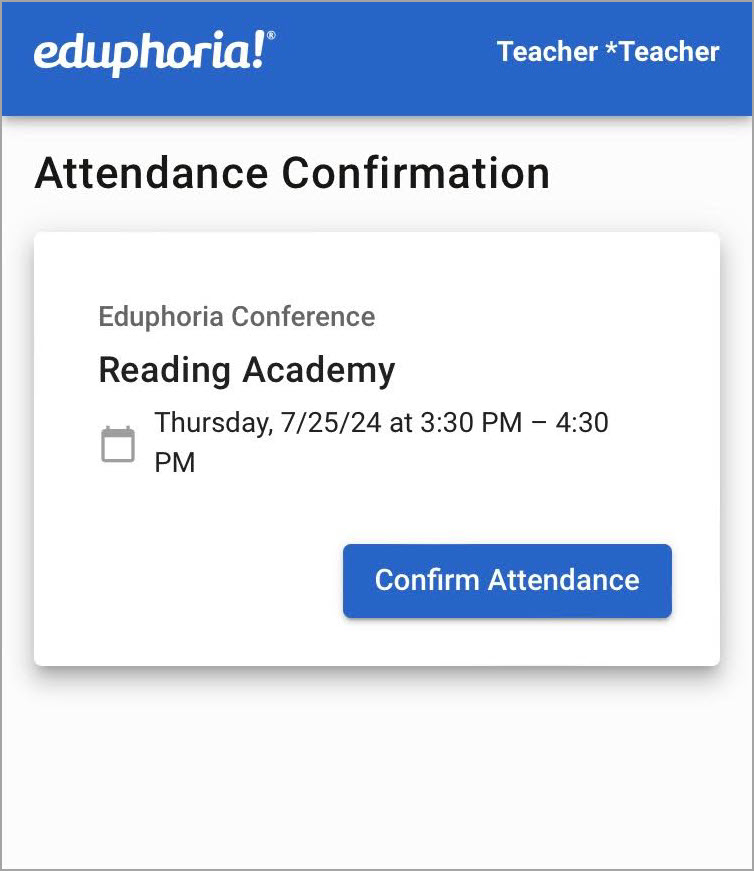
Attendee View
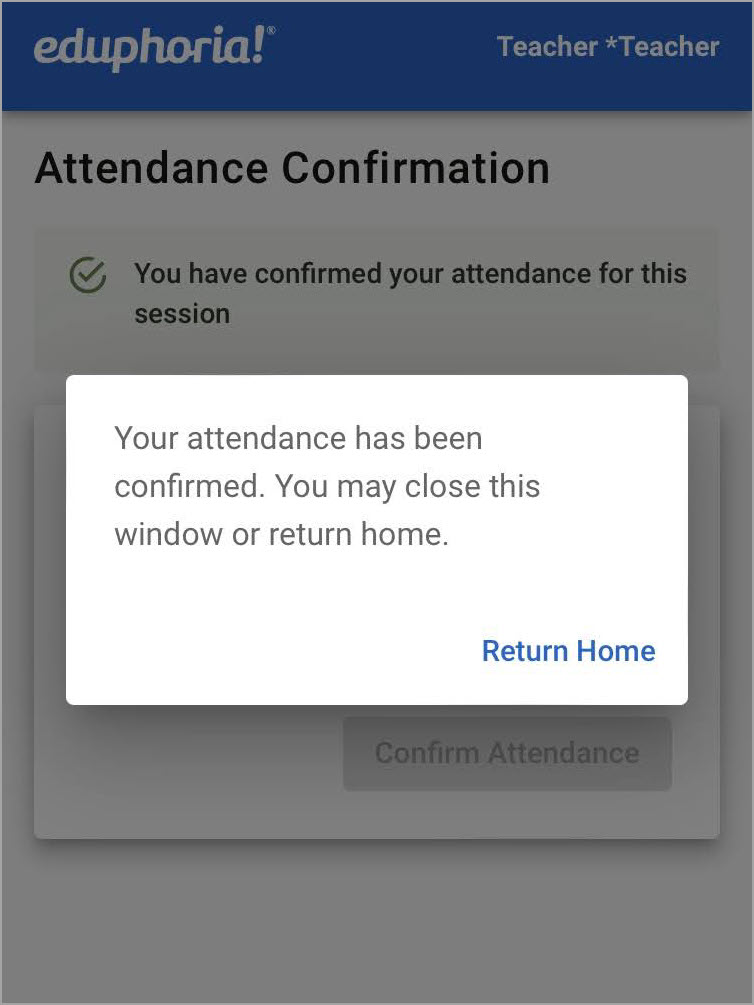
Upon scanning the QR code, attendees can sign in and confirm their attendance for the session. QR code links are active 15 minutes before the session starts and 15 minutes after the session ends.
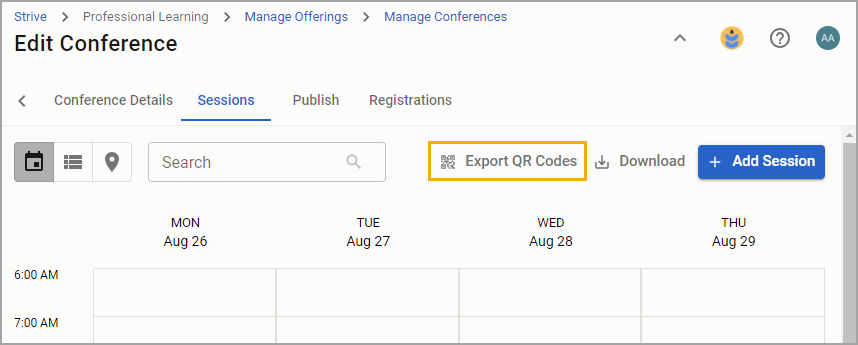
Export QR Codes
Under Sessions, locate Export QR Codes to open printable pages of session QR codes for distribution.
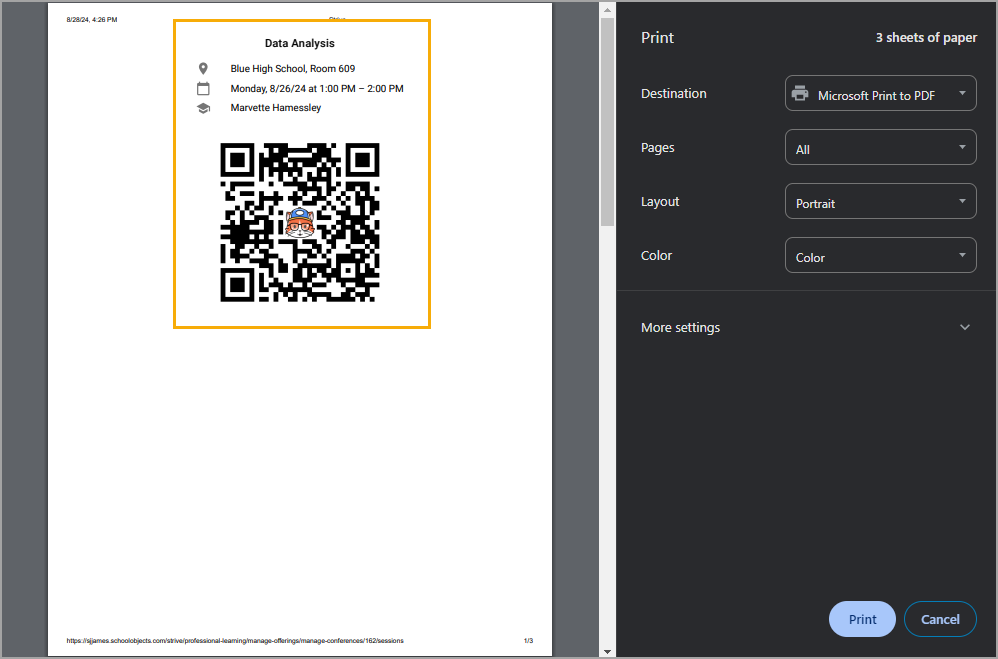
In addition to the QR code, the printout contains the following session details:
Session Name
Location
Date and Time
Instructor Names
Rules for Digital Sign-in
Digital Sign-in follows certain rules for when users can and cannot perform certain actions.
The ability to confirm attendance might be grayed out for the following reasons:
A user has toggled off Digital Sign-in after sharing the QR code link.
The session took place in the past and participants have already been marked attended.
A participant receives the link but isn’t enrolled in the session.
The registration window is closed.
The session has ended.
In addition, conference managers can only toggle on Digital Sign-in so long as the session hasn’t begun. The system prevents changes to the setting after a session’s start time. If Digital Sign-in isn’t toggled on, the QR code icon does not appear under the Enrollments tab.
Conference Views
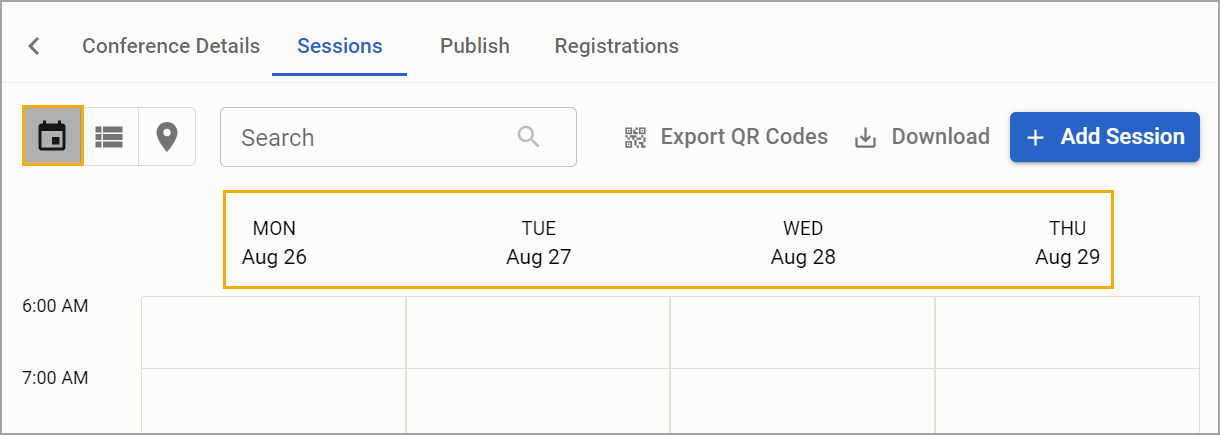
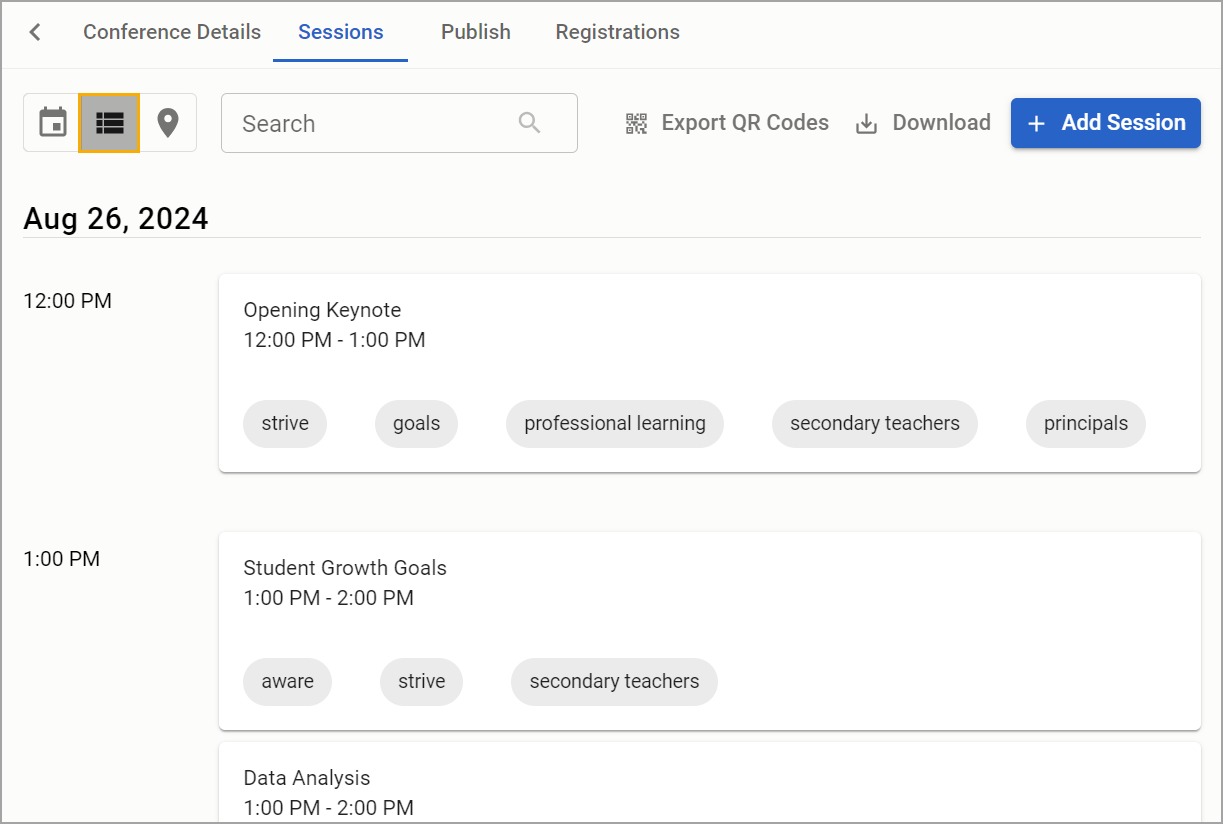
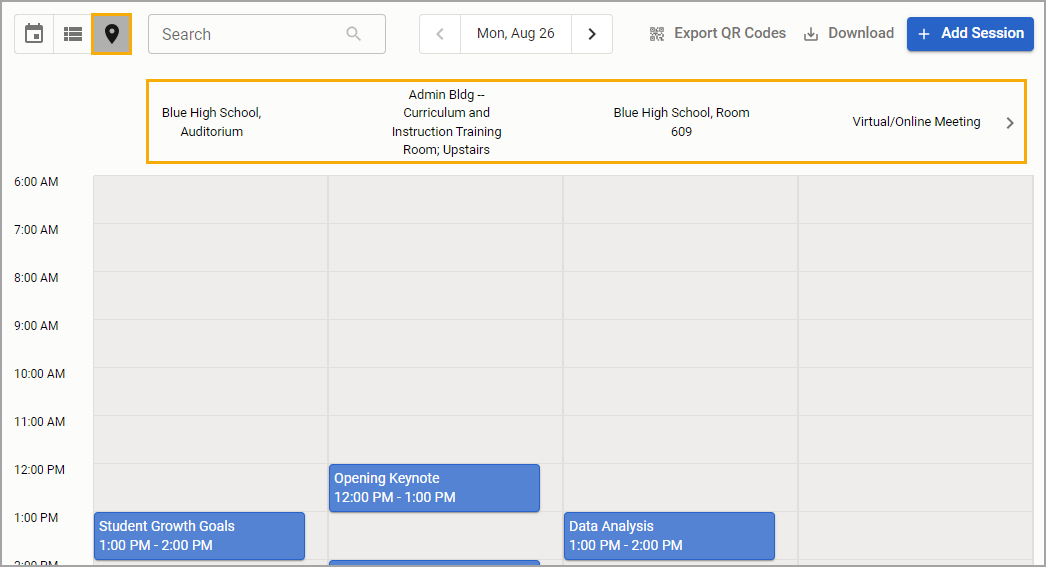
There are multiple views for session planning with the time blocks: Calendar View, List View, and Location View.
Calendar View provides the time blocks by dates set in Conference Details.
List View provides a list of all sessions by time.
Location View provides the time blocks by locations selected in the Conference Details.
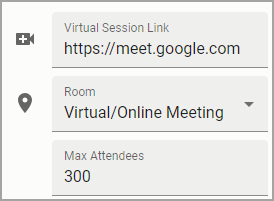
Virtual Session Link
A session can include a link to a virtual meeting space such as GoogleMeet, Zoom, or another video conference option. Links appear on the conference scheduler for registered attendees.
Districts can create a Training Location in Workshop Settings for virtual meetings or conferences. Training locations can be added to a conference session, in addition to the Virtual Session Link, to help participants reference the link as a virtual meeting space instead of a building or room.

Room Location
Room Location includes only the rooms selected in Conference Details. Select a Room from the list for each session. Max Attendees corresponds to the settings for the room under Settings > Professional Learning Setup > Training Locations. A warning message appears if the number exceeds the Max Attendees value attached to the location.

Adding Professional Learning Credits to a Session
Follow these steps to add professional learning credits to a session:
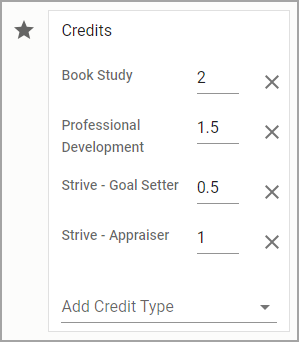
Click on Add Credit Type to select from the Credit Types available under Settings > Professional Learning Setup > Credit Types.
Select credit types or enter terms on the search line to find a specific credit type.
Click Credit Type to add it to the Credits for the session.
Provide a value for the Credit Type awarded by entering a number or using the arrows to increase/decrease the value.
Note: To enter decimal values for credits, enter a numeric value before the decimal. For example, enter half credits as 0.5, 1.5, 2.5, etc.
Selecting Learning Tracks
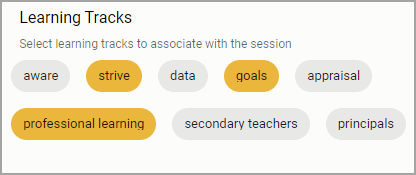
Click on Learning Tracks to add descriptors to the session, which will allow users to filter and sort by the associated track. The Learning Tracks list must be created in Conference Details.
Selected Learning Tracks will change color. Unselected Learning Tracks remain grey.
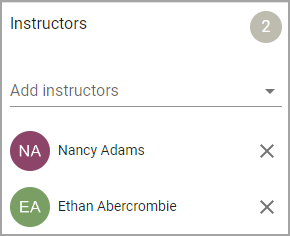
Adding Instructors
To add one or more instructors, follow these steps:
Click Add Instructor to select from the Instructors available under Settings > Professional Learning Setup > Instructors.
Scroll through the list of Instructors or enter a name in the search bar to find the instructor to add to the session.
Select an Instructor by clicking on a name. Multiple Instructors can be added to Sessions.
