Users can create a custom resource for a local item bank in a few simple steps. Find more information about creating and managing local item bank questions.
Creating a Local Item Bank Resource
Quick Guide
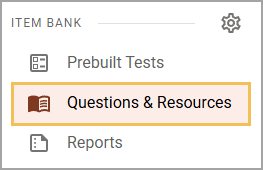
Select Questions & Resources under the Item Bank section of the main menu.
Select My Items ().
Select the My Resources tab.
Select Add Local Item.
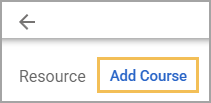
Select Add Course.
In the Curriculum Courses window, find and select a course with which the resource will be associated.
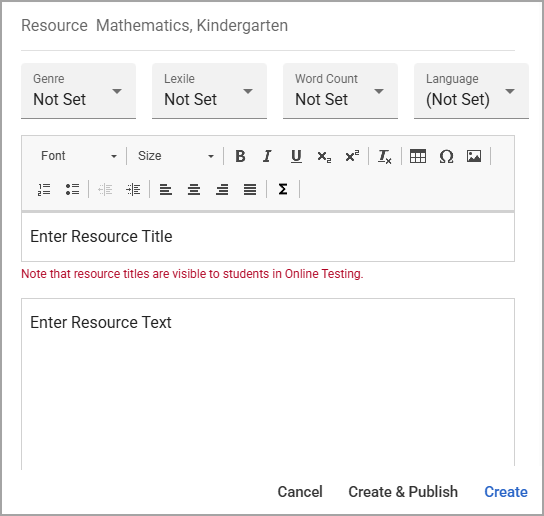
Use the resource editor to enter optional Genre, Lexile, Word Count, or Language preferences. Then, enter the Resource Title and Resource Text and select Create.
Illustrated Guide
Step 1: Select Questions & Resources under the Item Bank section of the main menu.
Step 2: Select My Items ().

Step 3: Select the My Resources tab.

Step 4: Select Add Local Item.

Step 5: Select Add Course.
Step 6: In the Curriculum Courses window, expand the sections () or use the search bar () to locate and select the course you want to associate with the question.
Caution: The question is permanently linked to the selected course. Once the question is created, there is no way to edit the subject or grade level.
.png)
Step 7: Use the resource editor to enter optional Genre, Lexile, Word Count, or Language preferences. Then, type a title for the resource in the Enter Resource Title field. In the Enter Resource Text box, type or copy and paste the body text for the resource. Click Create when finished.
Managing Keywords and Security Settings
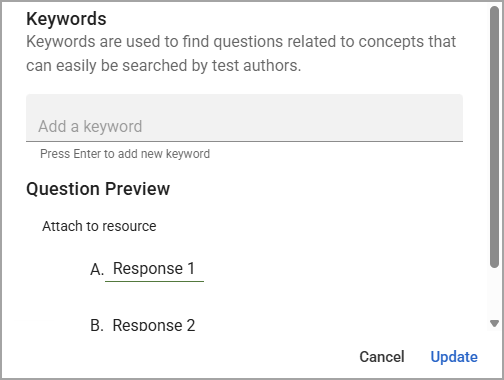
You can select the Keywords tab when editing a question or resource to add searchable keyword tags. Adding keywords helps test authors search for items related to certain topics.
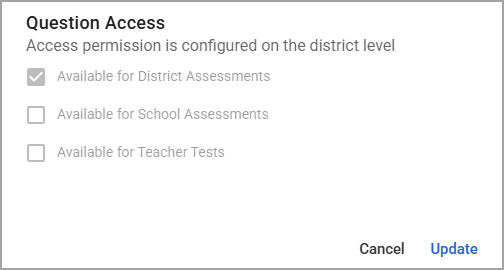
District Item Bank Managers can select the Security tab when editing a question or resource to modify security settings for question access. Learn more about item bank security.