Resources are supplemental or reference materials, such as videos, images, documents, or web links, that you can link to courses, units, or lessons.
Note: The instructions below walk you through adding a curriculum component from Courses. You can also add a resource by selecting the New button in Resources. When added from Resources, the resource is not automatically linked to other curriculum components.
Quick Guide
Open the component to which you want to attach the resource.
In the Relationships panel, select the Add icon next to Resources.
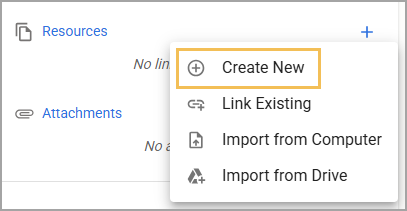
Select Create New.
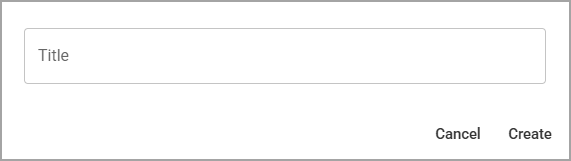
Enter a Title.
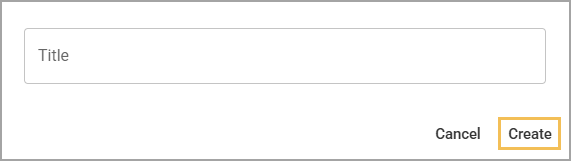
Select Create.
Illustrated Guide
Step 1: Open the course, unit, or lesson to which you want to attach the resource.
Step 2: In the Resources section of the Relationships panel, select Add.
.png)
Step 3: From the resulting drop-down menu, select Create New.
Step 4: In the Title field, enter a name for the resource.
Step 5: Select Create.
The Editor for your resource opens. You can now begin adding, linking, or importing content to your resource. If a template exists, you can use the Plus sign and select Templates from the menu to select a template from which to build your resource.
.png)