For a detailed account of roles and rights in Facilities&Events and other applications, click here to view our online spreadsheet. Use the tabs at the bottom to navigate by application.
For Facilities&Events only, there are no settings for user roles and rights located in Management. All roles and rights for Facilities&Events are assigned within the application.
All users will have access to make reservations. Roles and rights for Facilities&Events determine who will manage settings, create inventories, determine reservation workflows, and manage public calendars.
Quick Guide
Select the Manage tab.
Under the Users and Guests section, select Manage Users.
Search for the user.
Select the user to open the user profile.
On the Roles tab, select the checkbox for each role you want to assign to the user.
On the Rights tab, select the checkbox for each right you want to assign to the user.
On the Assets tab, determine which assets the user can manage.
On the Public Calendars tab, determine which calendars the user can manage.
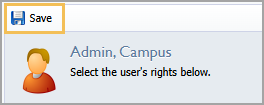
Select Save.
Illustrated Guide
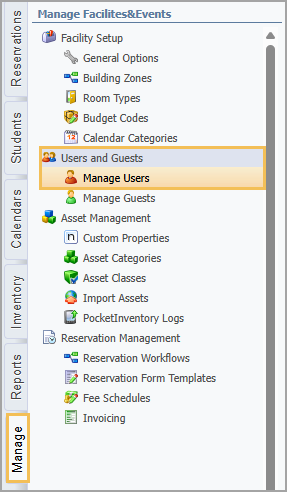
Step 1: In Facilities&Events, click the Manage tab.
Step 2: Under the Users and Guests section, select Manage Users.
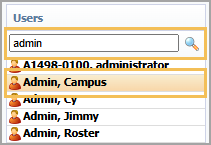
Step 3: Search for the user by entering all or part of their first or last name.
Step 4: Select the user to open the user profile.
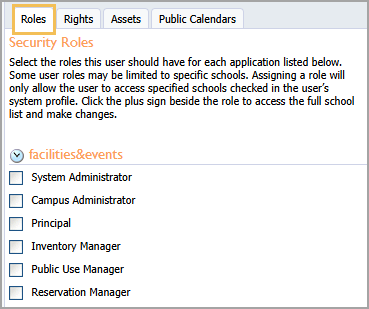
Step 5: On the Roles tab, select the checkbox for each role you want to assign to the user. Selecting a role automatically grants a set of rights that are typically required by a user of that access level. For example, a System Administrator will have more rights and therefore a higher level of access than a Principal, but the Principal might have some rights that the System Administrator does not have.
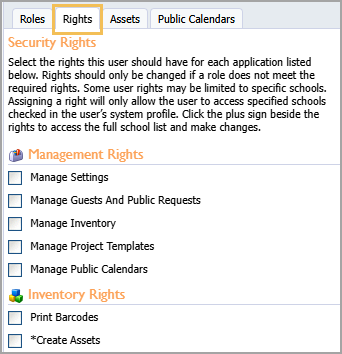
Step 6: On the Rights tab, select the checkbox for each right you want to assign to the user. After selecting a role, you can add or remove individual rights to further customize the user’s level of access.
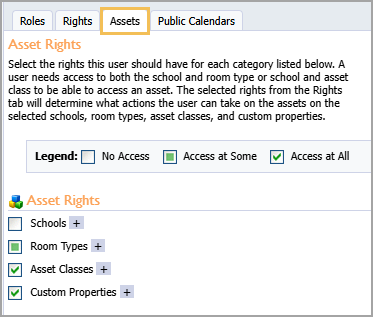
Step 7: On the Assets tab, determine which assets the user can manage in Facilities&Events. There are four categories:
Schools - User can manage all assets at the selected school.
Room Types - User can manage all assets for the selected room type.
Asset Classes - User can manage all assets of the selected item type.
Custom Properties - User can manage all assets that are assigned the selected custom property.
You can grant the user No Access, Access at Some, or Access at All for each category. To grant access to all options in the category, select the category checkbox OR select the Plus icon next to each category to select specific options within the category.
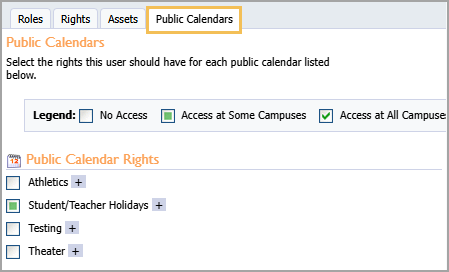
Step 8: On the Public Calendars tab, determine which calendars the user will manage.
You can grant the user No Access, Access at Some, or Access at All for each category. To grant access to all options in the category, select the category checkbox OR select the Plus icon next to each category to select specific options within the category.
Step 9: Select Save at the top of the user profile when finished.