Districts can use checklists to provide a list of trackable items for teachers to check off when creating lessons. You can create multiple checklists to track things like technology, strategies, instructional tools, lesson structure, or other items used in the lesson. Both teachers and administrators can run reports on these checklists to determine what is being used often, what is being overlooked, and so on.
To access the checklists, on the Manage tab, select Forethought Options and then select the Lesson Checklists tab..png)
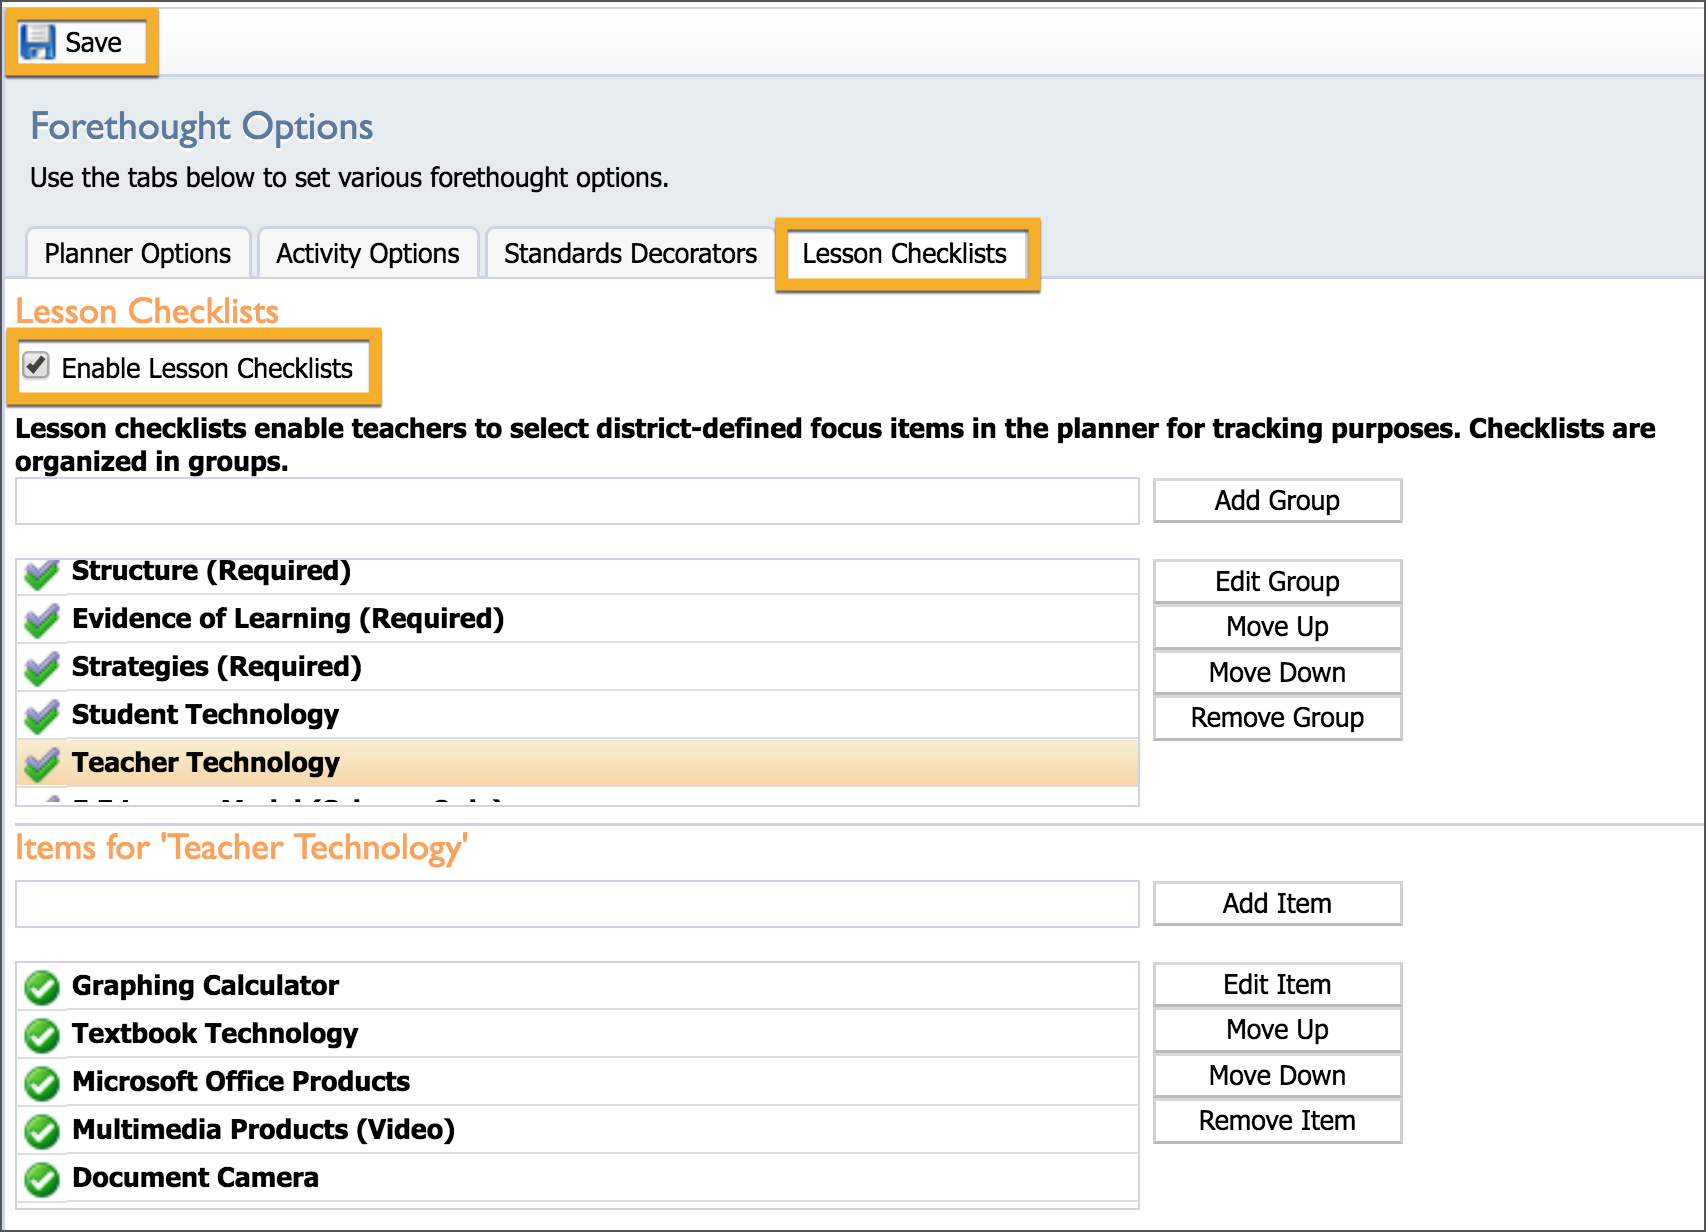
Lesson Checklists Tab
To manage checklists, navigate to the Forethought Options interface. Activate the feature by checking Enable Lesson Checklists.
Create Checklist Groups
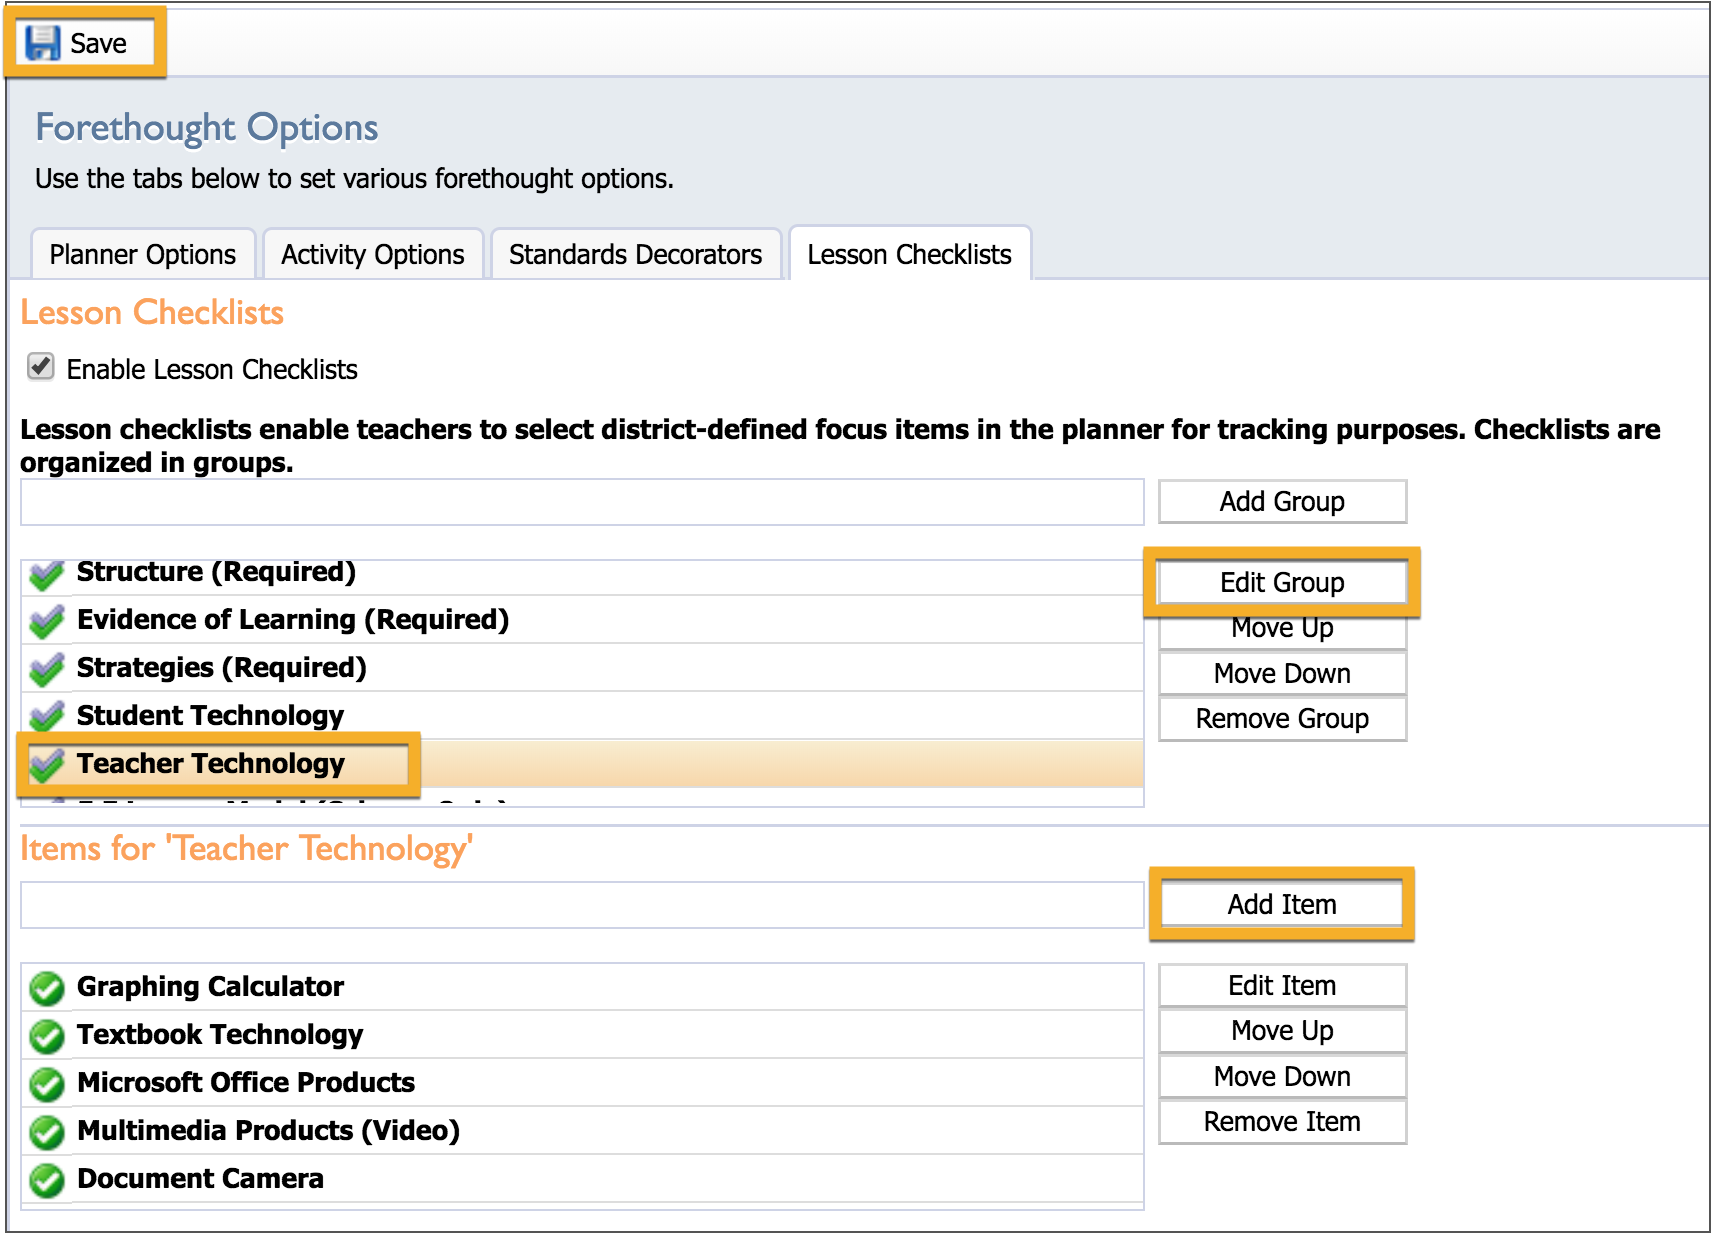
Type in the name of the group in the top text box.
Click the Add Group button.
You can use the Edit Group button to change the name of an existing group.
Move Up and Move Down will reorganize your existing groups.
Remove Group will help you remove unwanted groups.
Create Checklist Items
Select a checklist group.
Type in the new item in the text box below.
Click Add Item.
Repeat the process for additional items.
As with groups, you can use Edit Item, Move Up, Move Down, and Remove Item to manage your list of items.
Items are immediately available to teachers upon creation. No extra publishing is required.
Run a Checklist Usage Report
You can generate a report of district-wide checklist usage from the Reports tab. This report shows the number of times each item was used within a given month.
Open the Reports tab.
Select the Checklist Usage Report.
Choose the start date and school.
Click Submit Report to open or save a PDF File.
