Helpdesk allows for multiple departments to function side-by-side in the same system. Each department functions independently with different technicians, request types, auto-assignment, and so on.
Note: Only System Administrators can create Departments in Helpdesk.
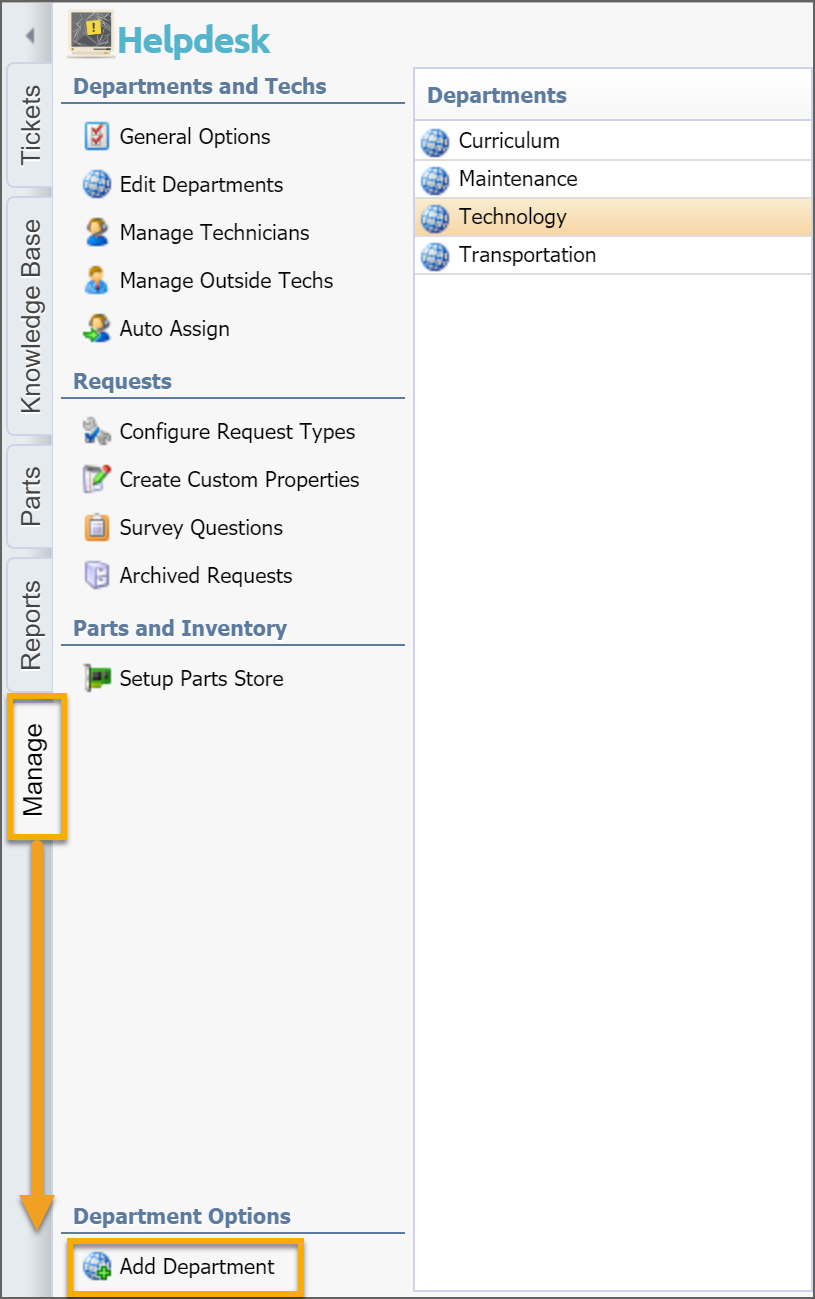
Creating a Department
Click on the Manage tab.
Click on Add Department.
Enter the name of the new department.
Modifying Department Settings
Select a department from the list to access settings and conditions for the overall department. As you make changes to department settings tabs, use the Save button at the top of each tab to save any new setting changes. The Delete icon deletes the entire department, so be careful selecting that option.
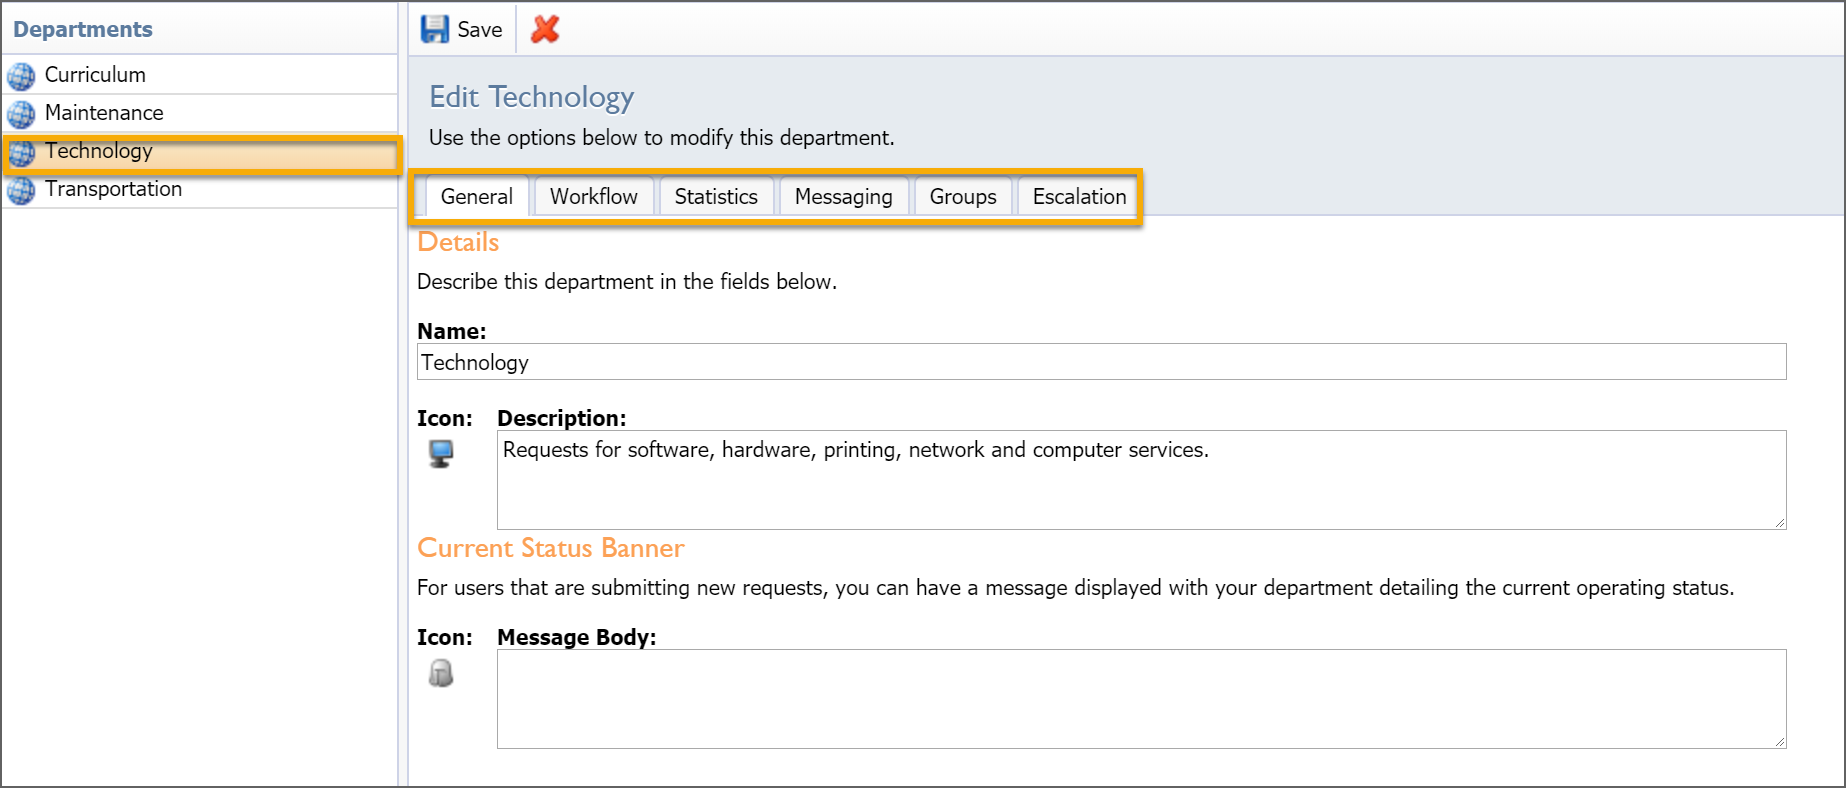
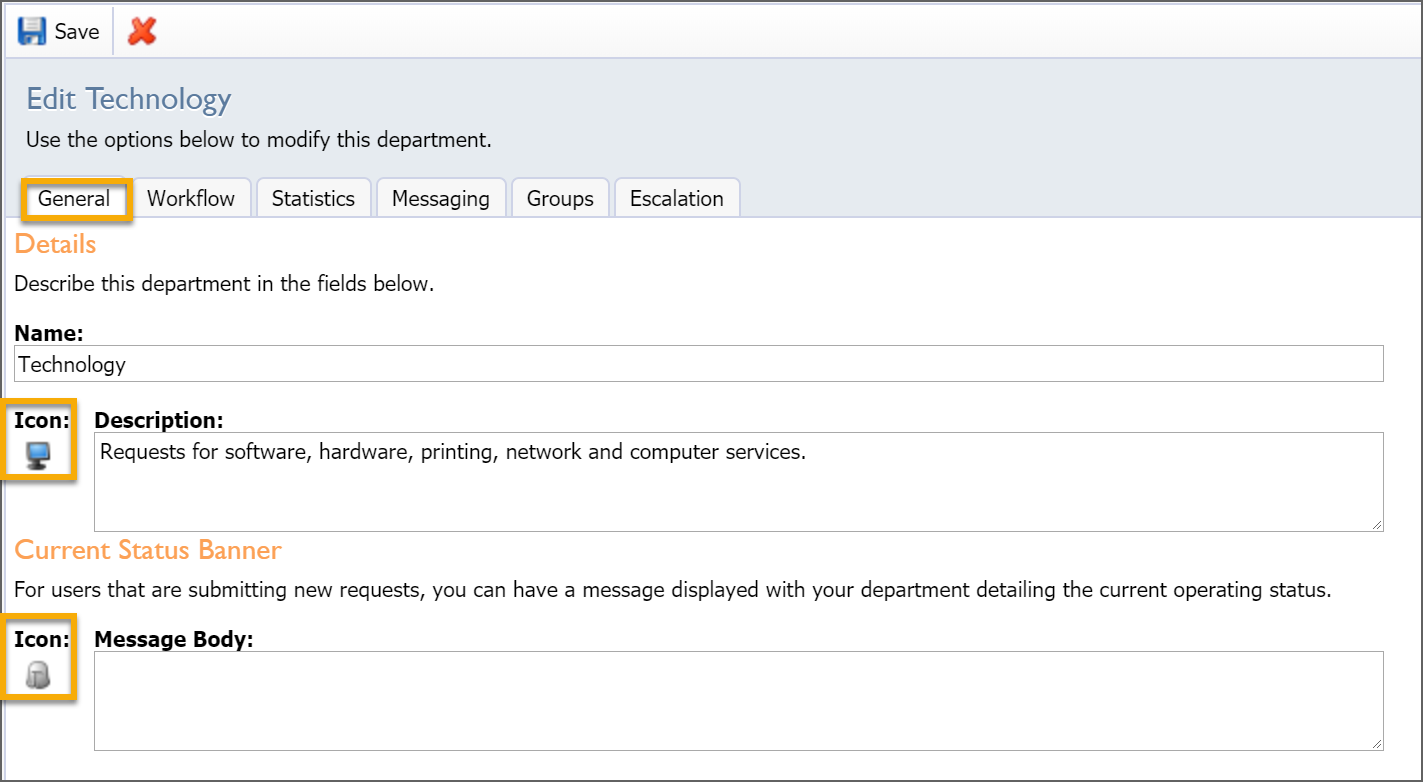
General Tab
Name – Edit the name of the department.
Icon – Select an icon from the library to represent the department.
Description – Add or edit the information that appears below the department screen to help users determine the ticket path.
Current Status Banner – Display an icon and a status banner across the screen for users who are entering requests. This might be a reminder or quick note, such as the average time to resolve a ticket or a number to call for faster resolution.
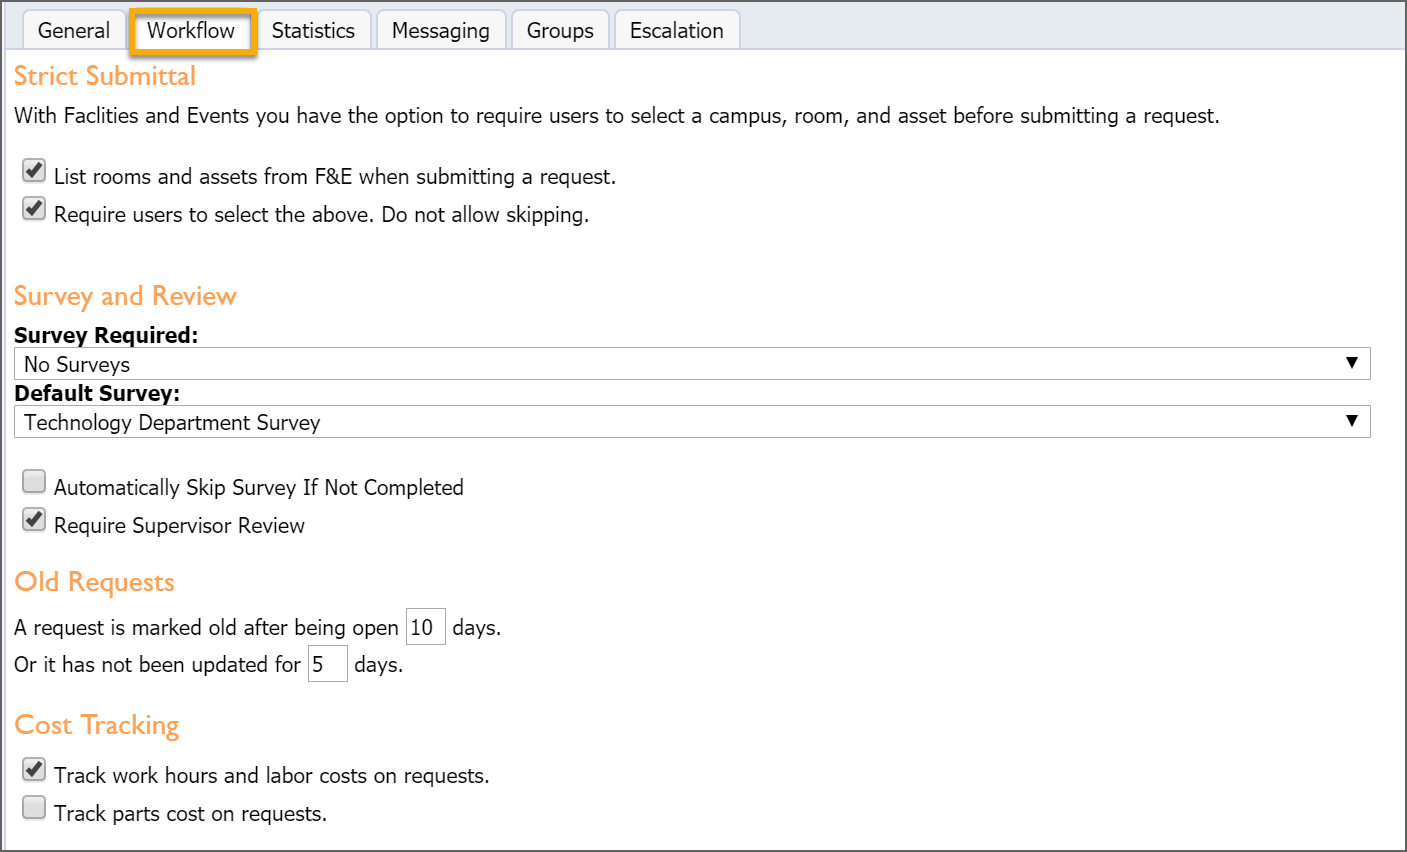
Workflow Tab
Strict Submittal Options – Enabling this option requires users to select a campus, room, and asset before submitting a request. Options include the rooms and assets from Facilities & Events.
Survey and Review – Optional settings for surveys, including:
No Surveys – Users are never prompted to complete a survey.
Enable Surveys – Surveys are optional.
Survey Random Requests – Every 6th completed ticket prompts the user to complete a survey.
Require/Force – Users must complete surveys before they can create additional tickets.
Old Requests – Sets time frame for determining how requests age.
Cost Tracking – Sets options for tracking labor and parts cost.
Priority – Setting for determining who can set priority of tickets.
Printing – Setting for what information is included in printing paper tickets.
Statistics Tab
Statistical Year – Sets month for the beginning of your reporting year.
Hours of Operation – Important for reports on average resolution time.
Default Average Resolution Time – Important for establishing values for reporting.
Open Statistics – Determines what users see when entering a ticket.

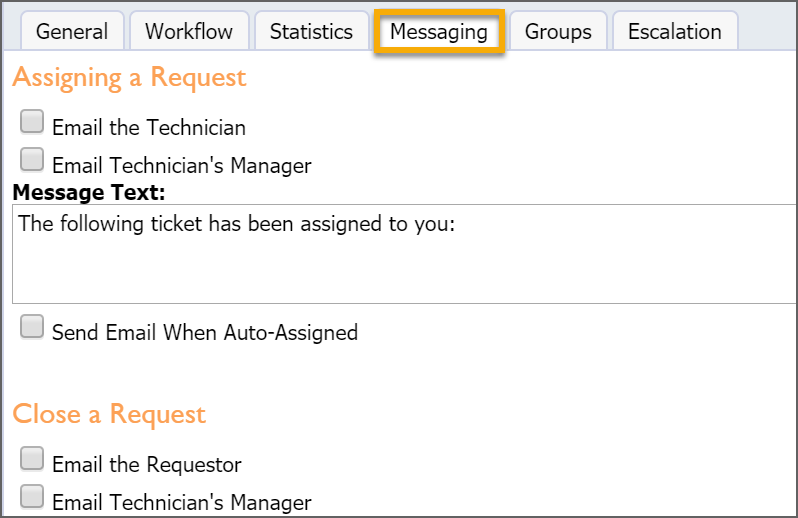
Messaging Tab
This section determines how the department communicates. For each department, the details of the ticket are automatically included. The settings listed here determine further notifications determined to extend messaging beyond notifying the assigned technician.
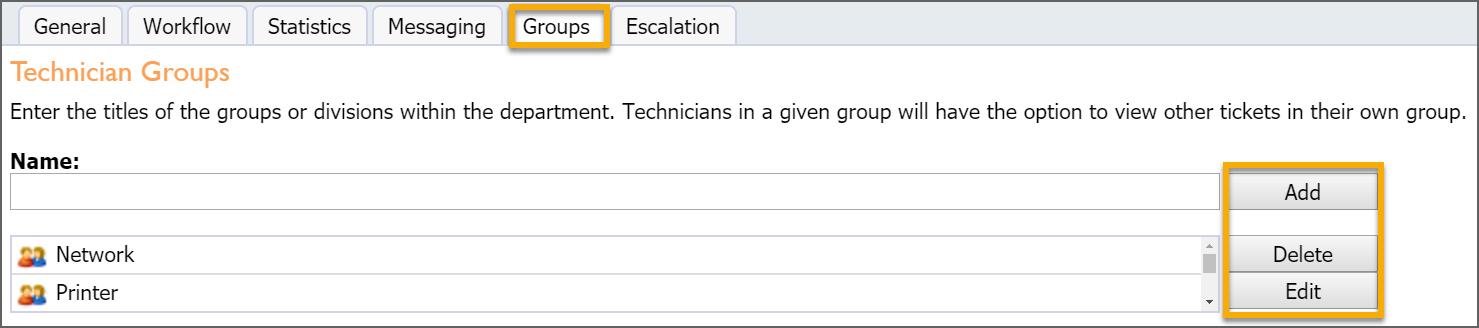
Groups Tab
This section allows departments to define technician teams or divisions and assign staff into specific groups. Ticket lists and other information can be organized by group, and technicians in the group can easily view the tickets assigned to other group members.
Use the Add, Delete, and Edit buttons to manage the groups list.
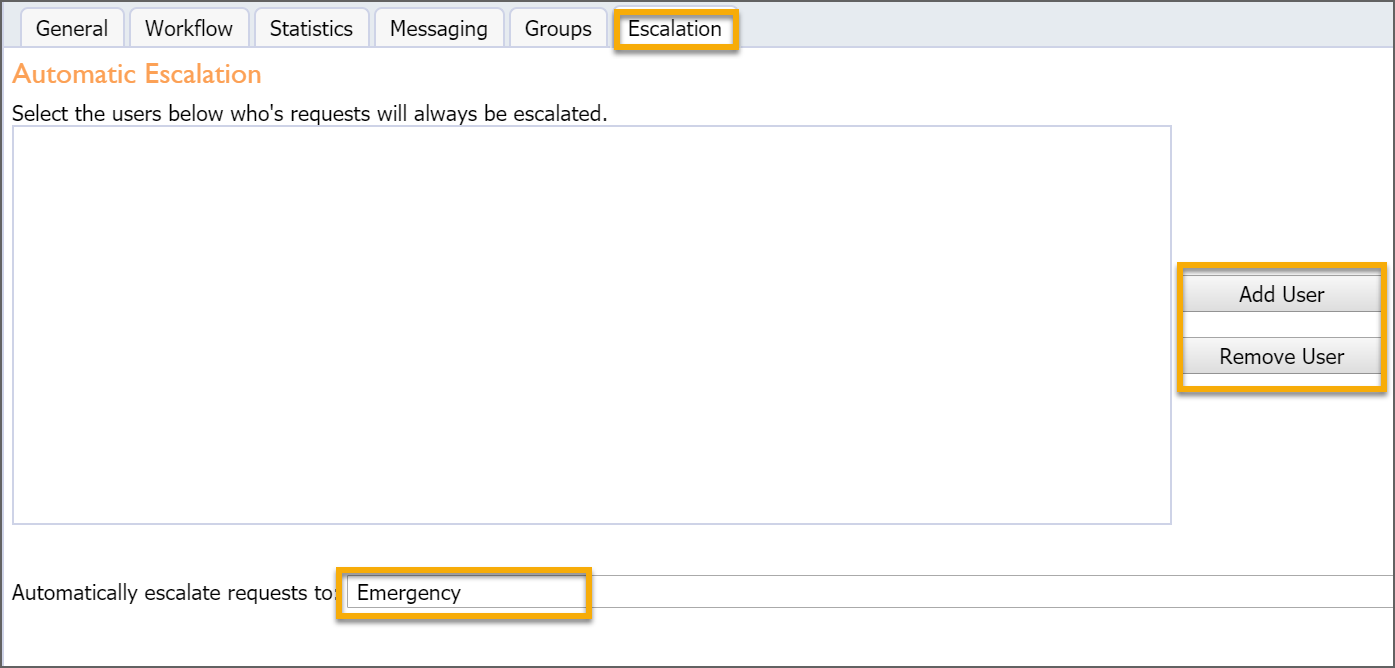
Escalation Tab
This section allows you to select specific users to automatically assign to tickets that are flagged as emergency or high priority. When using the High Priority option, we recommend you disable the end-user ability to select priority to better distinguish between escalation users and end-users who are selecting this option.