A unit is an instructional guide to teaching concepts and skills aligned with the broader course objectives. For example, in the 11th Grade English Language Arts course, you might have a unit titled “Unit 1: The Power of Persuasion” that teaches students about rhetoric. In this unit, students learn key terms, identify rhetorical techniques, and explore examples of persuasive texts.
Quick Guide
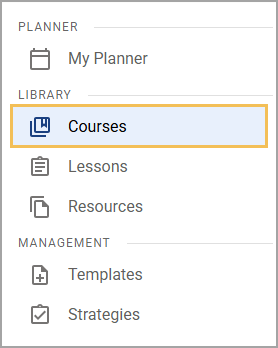
Select Courses.
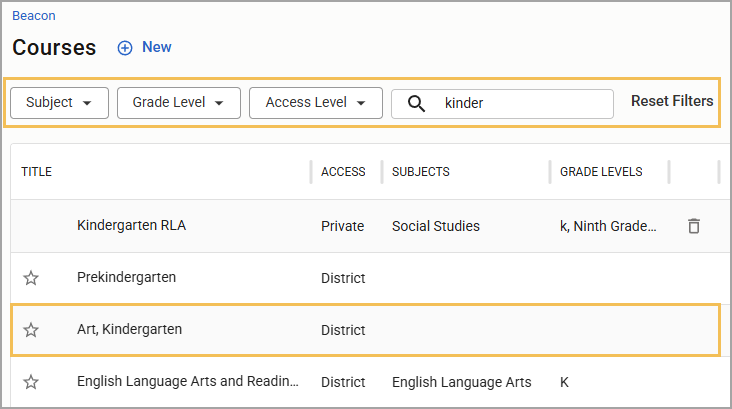
From the Courses list, select the course to which you want to add the unit.
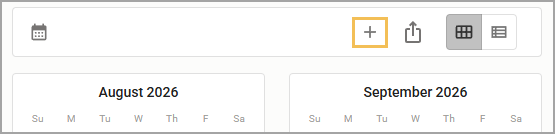
In the toolbar above the calendar or list view, select Add ().
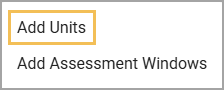
From the resulting drop-down menu, select Add Units.
Enter a Unit Title.
Select a Unit Date Range using the calendar selector.
The Duration field automatically updates to match the number of days in the selected date range. If you adjust the number in the Duration field, the end date in the Unit Date Range also changes.
(Optional) Add Attachments by selecting either Upload from Computer or Import from Google Drive.
(Optional) To add more units, select Add Another Unit. Complete the fields and repeat as needed.
Select Done.
Illustrated Guide
Step 1: Select Courses from the main menu.
Step 2: From the Courses list, select the course to which you want to add the unit. Use the search and filter options to narrow down your search.
Step 3: In the toolbar above the calendar or list view, select Add ().
Step 4: From the resulting drop-down menu, select Add Units. The Add Units window appears.
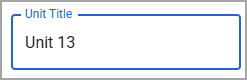
Step 5: Enter a Unit Title.
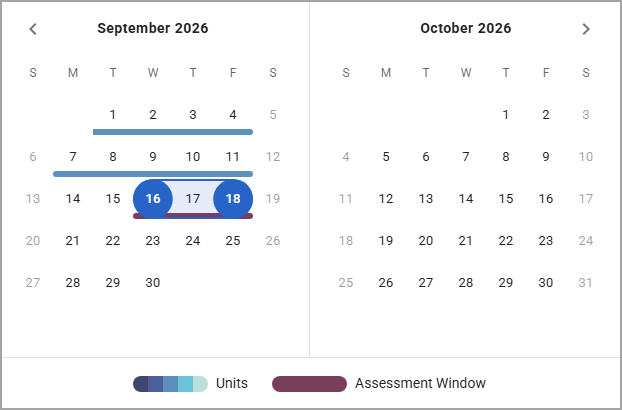
Step 6: Select the Unit Date Range field to open a calendar selector. Choose the start and end date for the unit to create a date range.
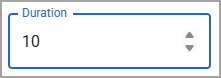
Step 7: The Duration field automatically updates to match the number of days in the selected date range. If you choose to adjust the number in the Duration field, the end date in the Unit Date Range also changes.
Step 8: (Optional) Select Add Files to expand the Attachments section and attach existing files to the unit.
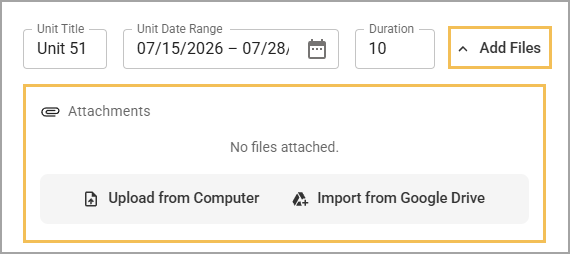
You can attach files from your device by selecting Upload from Computer or from Google Drive by selecting Import from Google Drive. Expand a section below to learn how to locate and select files using each option.
Upload from Computer
Select Upload from Computer.
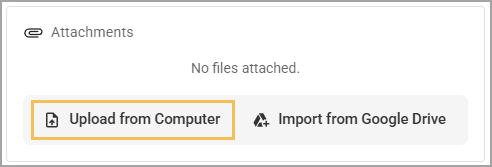
Using the file manager window that appears, locate and select one or more files to import.
Caution: Beacon displays file names as they appear at the time of upload. Make sure the file name in your file manager matches how you want it to appear in Beacon so that you do not need to rename it later.
Upon selecting your file(s), an Import Attachment window appears. Confirm the name of each file and then select Import.
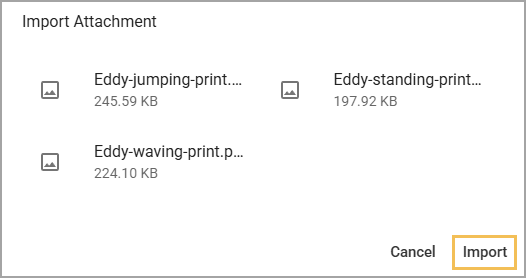
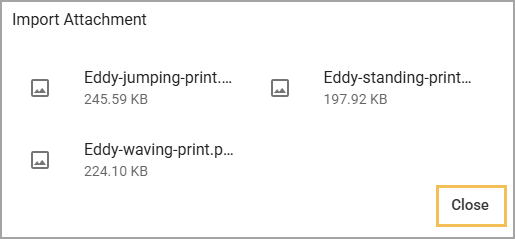
A checkmark appears next to each file name to confirm a successful import. Select Close to return to the Add Units window.
Import from Google Drive
Select Import from Google Drive.
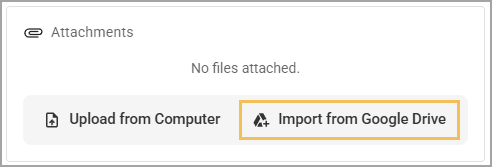
If this is your first time using Google Drive with Beacon, the system prompts you to connect an account. Follow the prompts to Authorize Google Drive Access. This grants Beacon access to files in your Google Drive only for the purpose of uploading them into Beacon. Once uploaded, your files can only be seen by you and the people that you share them with inside Beacon.
Privacy Notice: Eduphoria does not collect or process Sensitive Personal Information. For more information, review our Privacy Policy.
Once connected, the Select a file window appears. Drill down into your Drive folders or use the search bar to find and select the file(s) you want to import. To import multiple files, hold the Ctrl key and click each file to import. Click the Select button to confirm the selected file(s).
Caution: Beacon displays file names as they appear at the time of upload. Make sure the file name in your file manager matches how you want it to appear in Beacon so that you do not need to rename it later.
.png)
Upon selecting your file(s), an Import Attachment window appears. Confirm the name of each file and then select Import.
A checkmark appears next to each file name to confirm a successful import. Select Close to return to the Add Units window.
Step 9: (Optional) To add more units, select Add Another Unit. Enter the Unit Title, Unit Date Range, and Duration. Attach files as needed. Repeat until you have added all of the units that you want to create.
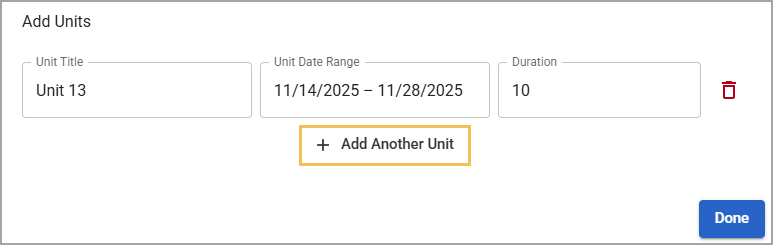
If you added too many rows, select the Delete icon to remove a row.

Step 10: Select Done to create the units.
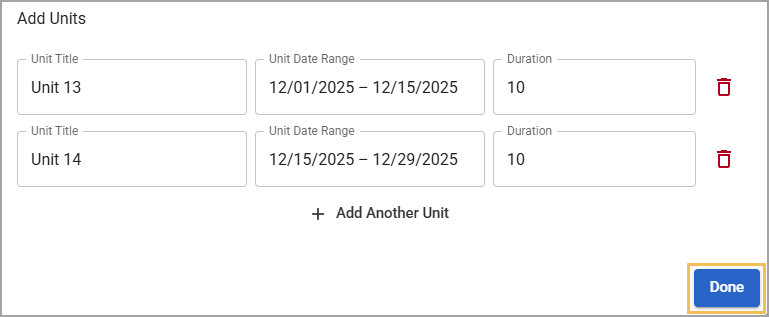
You can now view the new units in the schedule and edit them as needed.