You can make changes to an existing custom role on the Custom Roles screen in Management. Here, you can change the name, description, whether rights apply at the school- or district-level, and add or remove rights.
Note: When you add a right to a custom role for which the Limit Role setting is set to Limit to user’s schools, users with the custom role gain access to that right only for the schools to which they are assigned. If a user needs access to district-wide data, do one of the following:
Grant the right to the individual user account from the Users screen.
Change the Limit Role setting on the existing custom role to District level. Do this only if all users with this role require district-level access for all rights applied to the role.
Create a new custom role for specific to district-level users.
Quick Guide
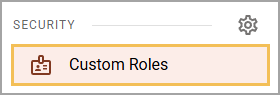
Select Custom Roles from the main menu.
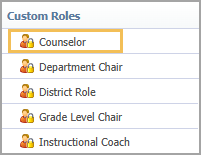
From the Custom Roles list, select the role you want to edit.
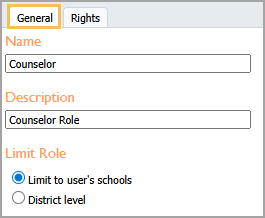
On the General tab, you can edit the Name, Description, or the Limit Role setting.
Add or remove rights on the Rights tab.
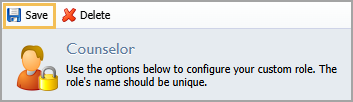
Select Save.
Illustrated Guide
Step 1: Select Custom Roles from the Security section of the main menu.
Step 2: From the Custom Roles list, select the role you want to edit.
Step 3: On the General tab, you can edit the Name, Description, or the Limit Role setting.
Step 4: Then, add or remove rights assigned to the custom role on the Rights tab.

Step 5: Select Save to save your changes.