Appraisal administrators can edit processes, but should be mindful of data fidelity for active processes, since editing a process also updates it for every staff member currently using it.
Note: Unless a change to the process requires a user confirmation to authorize, all edits to a process are automatically saved as you work.
Quick Guide
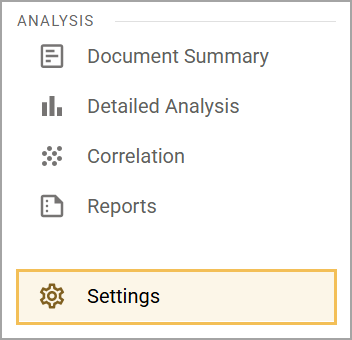
Select Settings () from Strive’s navigation menu.
Select Process Management.
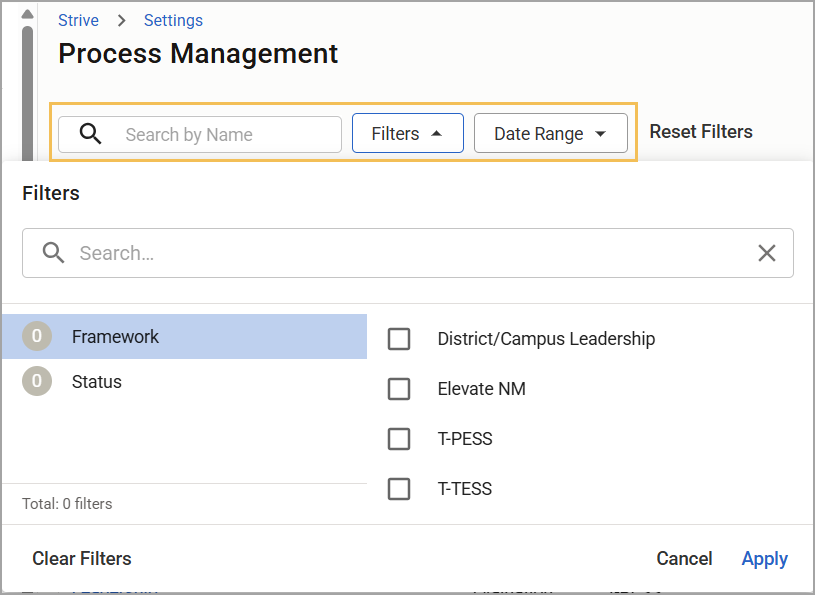
Search by name or use the filters for Framework, Status, and Date Range to locate the process you want to edit within the table.
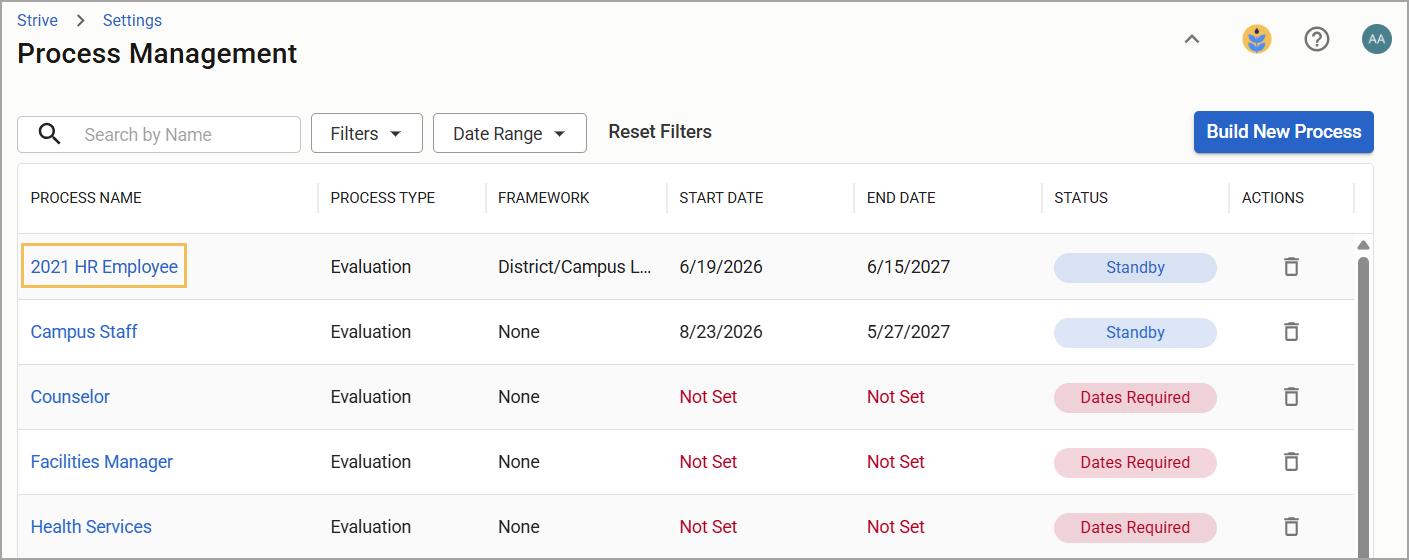
Select the process name to open it.
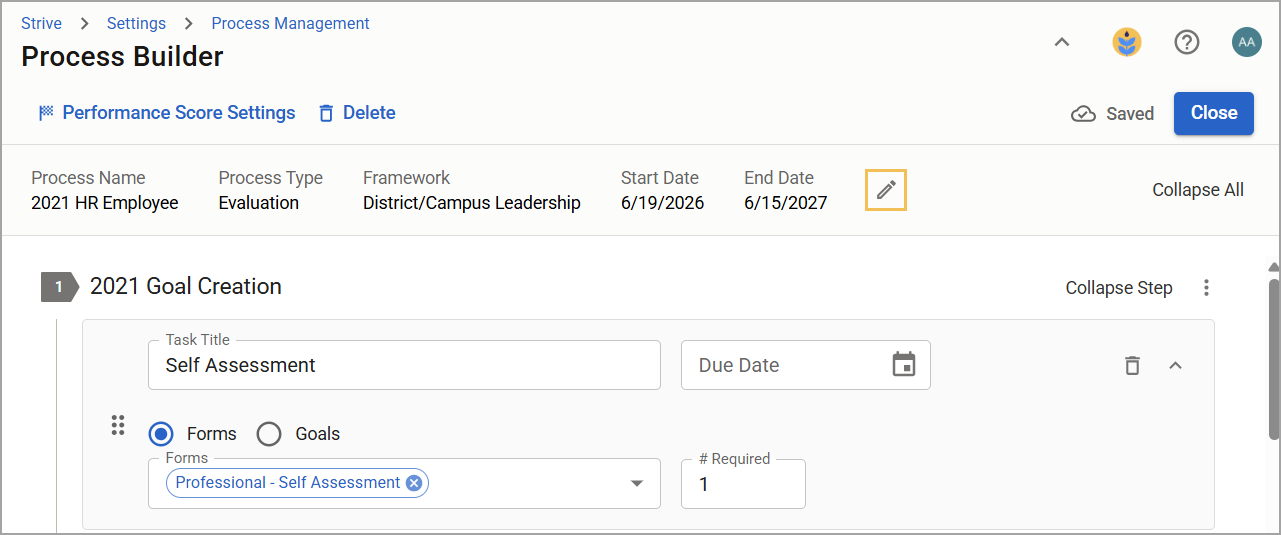
Select the Edit icon () to update information for the Process Name, Process Type, Framework, Start Date, and End Date.
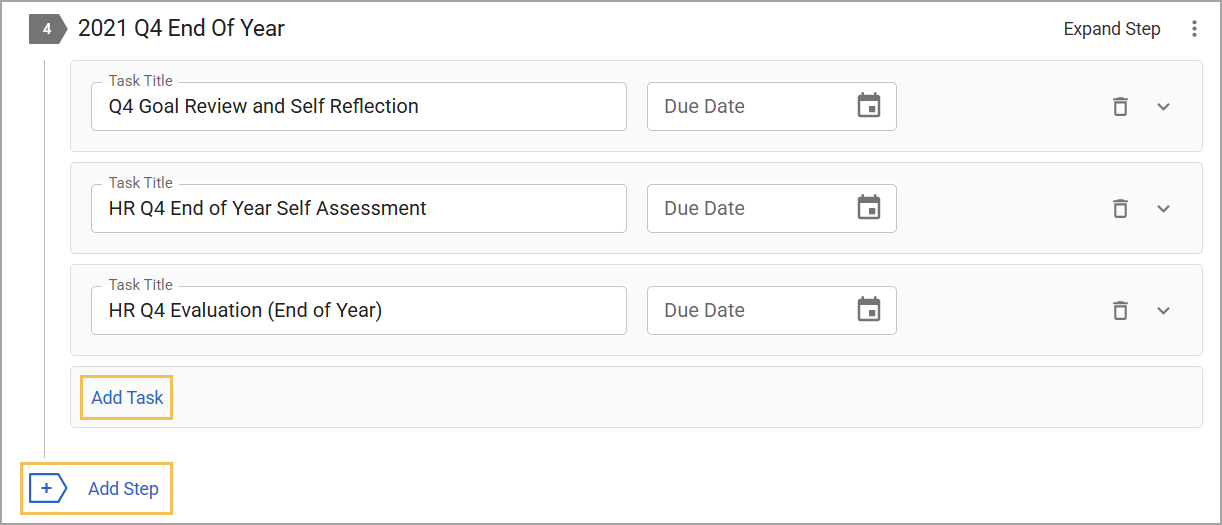
Add more steps and tasks to the process by selecting Add Step and Add Task, respectively.
Edit the step titles and any task titles, due dates, forms, goals, and number required as needed. Select the Drag and Drop icon () to rearrange tasks within a step. To remove a form from the process, select Proceed to confirm the removal or Cancel to return to the process.
Permanently remove a task from a step by selecting the Delete icon () on the right side of the task. Select Delete again to confirm the action or select Cancel to return to the process.
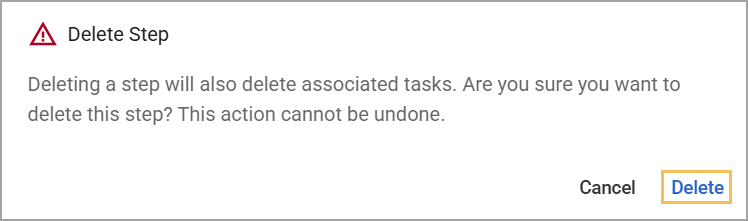
Permanently remove a step and all its tasks by selecting the three vertical dots () and Delete Step (). Select Delete again to confirm the action or select Cancel to return to the process.
Illustrated Guide
Step 1: Select Settings () from Strive’s navigation menu.
Step 2: Select Process Management.
.png)
Step 3: Search by name or use the filters for Framework, Status, and Date Range to locate the process you want to edit within the table.
Step 4: Select the process name to open it.
Step 5: Select the Edit icon () to update information for the Process Name, Process Type, Framework, Start Date, and End Date. Any changes automatically save.
Step 6: You can add more steps and tasks to the process by selecting Add Step and Add Task, respectively.
Step 7: Edit the step titles and any task titles, due dates, forms, goals, and number required as needed. Select the Drag and Drop icon () to rearrange tasks within a step. Steps cannot be rearranged.
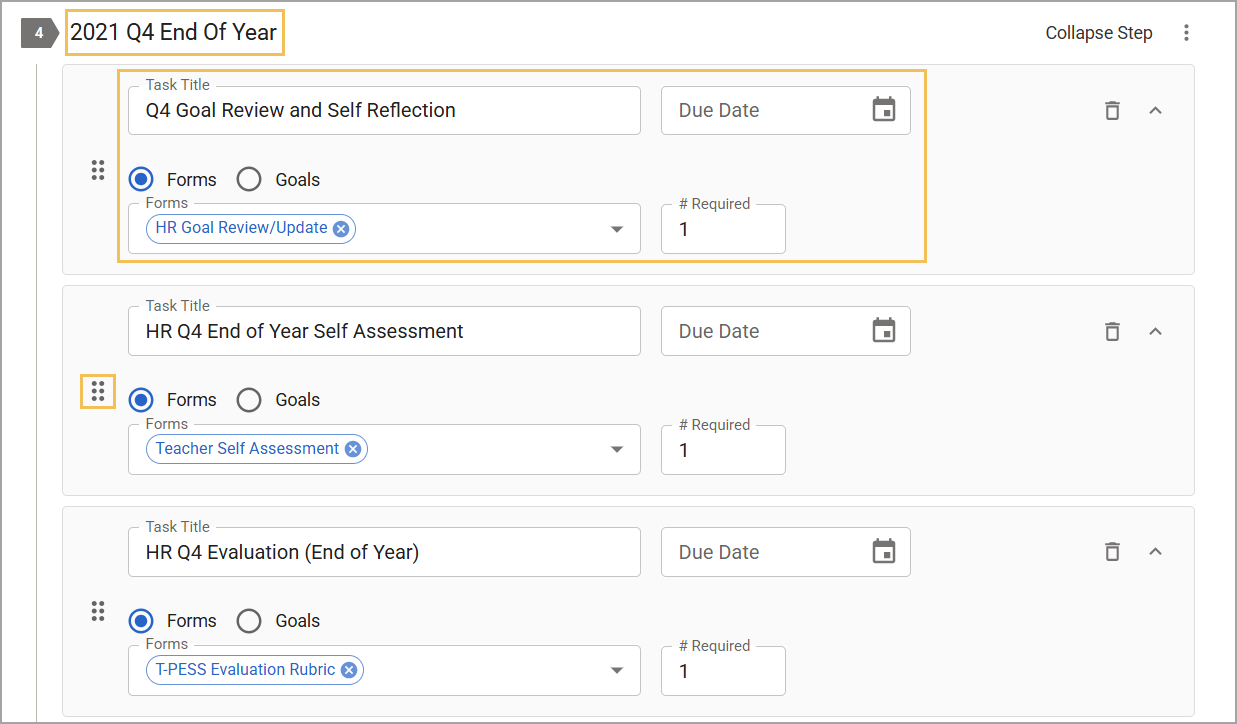
Removing a form prompts the user to acknowledge that it won’t be used further for the task and that existing documents will remain unaffected. If you agree, select Proceed to remove the form or Cancel to return to the process.
.png)
Step 8: You can permanently remove a task from a step by selecting the Delete icon () on the right side of the task.
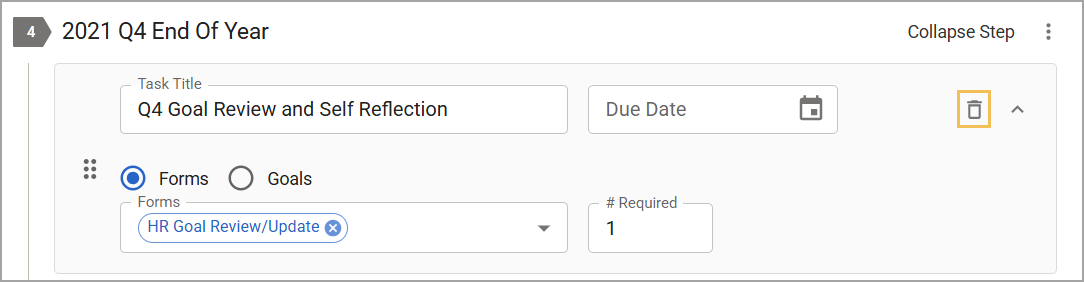
Select Delete again to confirm the action or select Cancel to return to the process.
.png)
Step 9: Finally, you can permanently remove a step and all its tasks by selecting the three vertical dots () and Delete Step ().
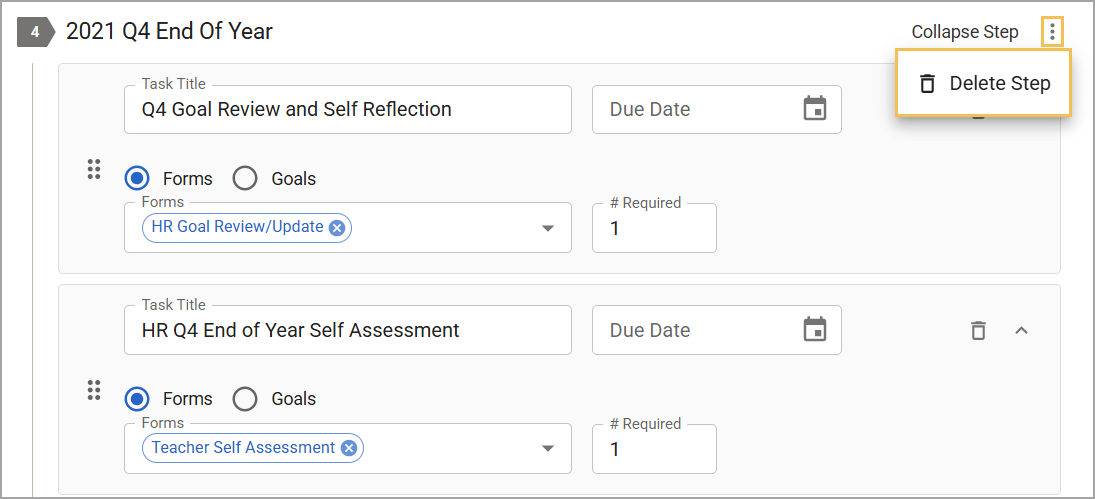
Select Delete again to confirm the action or select Cancel to return to the process.