Student access lists created by non-rostered personnel must be approved by an administrator at the school where the students on the list are housed. Access to data for analysis is available once the list has been approved. We strongly recommend that student access list approval be managed at the school level. Individuals with the Approve Student Access Lists right can approve student access lists. You can learn more about assigning rights.
Managing Student Access Lists
Approved users can create, edit, and delete student access lists.
Quick Guide
Navigate to the Students Settings gear () in Aware.
Click on the settings gear to view the Student Access Lists options. Click Manage My Student Access Lists.
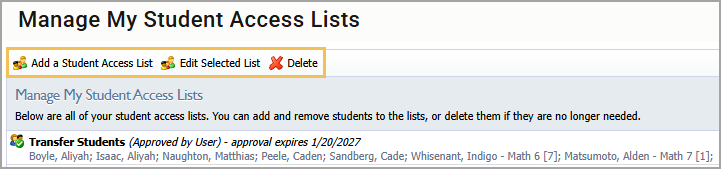
Select a list and add, edit, or delete the list using the buttons on the toolbar.
Illustrated Guide
Step 1: Navigate to the Students Settings gear () in Aware.
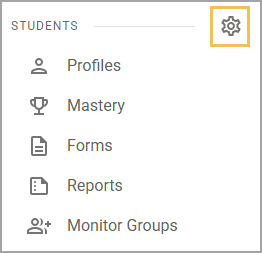
Step 2: Click on the settings gear to view the Student Access Lists options. Click Manage My Student Access Lists.
.png)
Step 3: Select a list and add, edit, or delete the list using the buttons on the toolbar.
Viewing a Student Access List in Quick Views
Approved users can view individual student profiles on a student access list.
Quick Guide
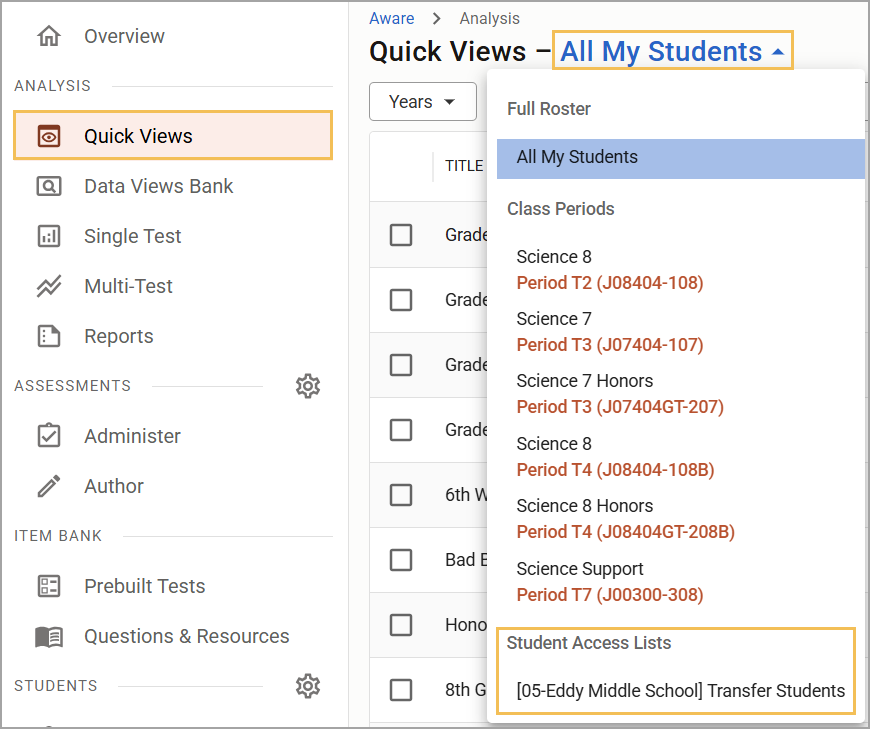
Navigate to Quick Views () and select the All My Students drop-down menu. Select the desired list under Student Access Lists.
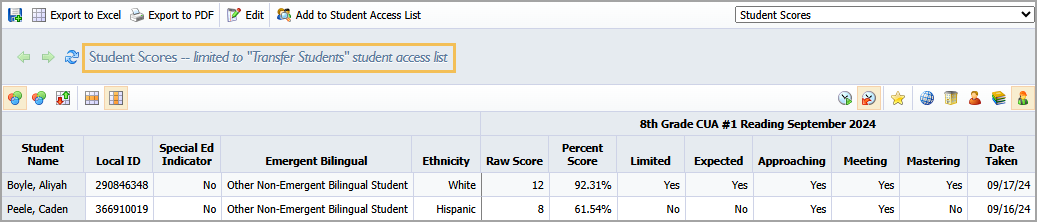
Click on the desired assessment(s). Select a template from the drop-down menu and click Apply.
Click on the information in the table to view student data.
Illustrated Guide
Step 1: Navigate to Quick Views () and select the All My Students drop-down menu. Select the desired list under Student Access Lists.
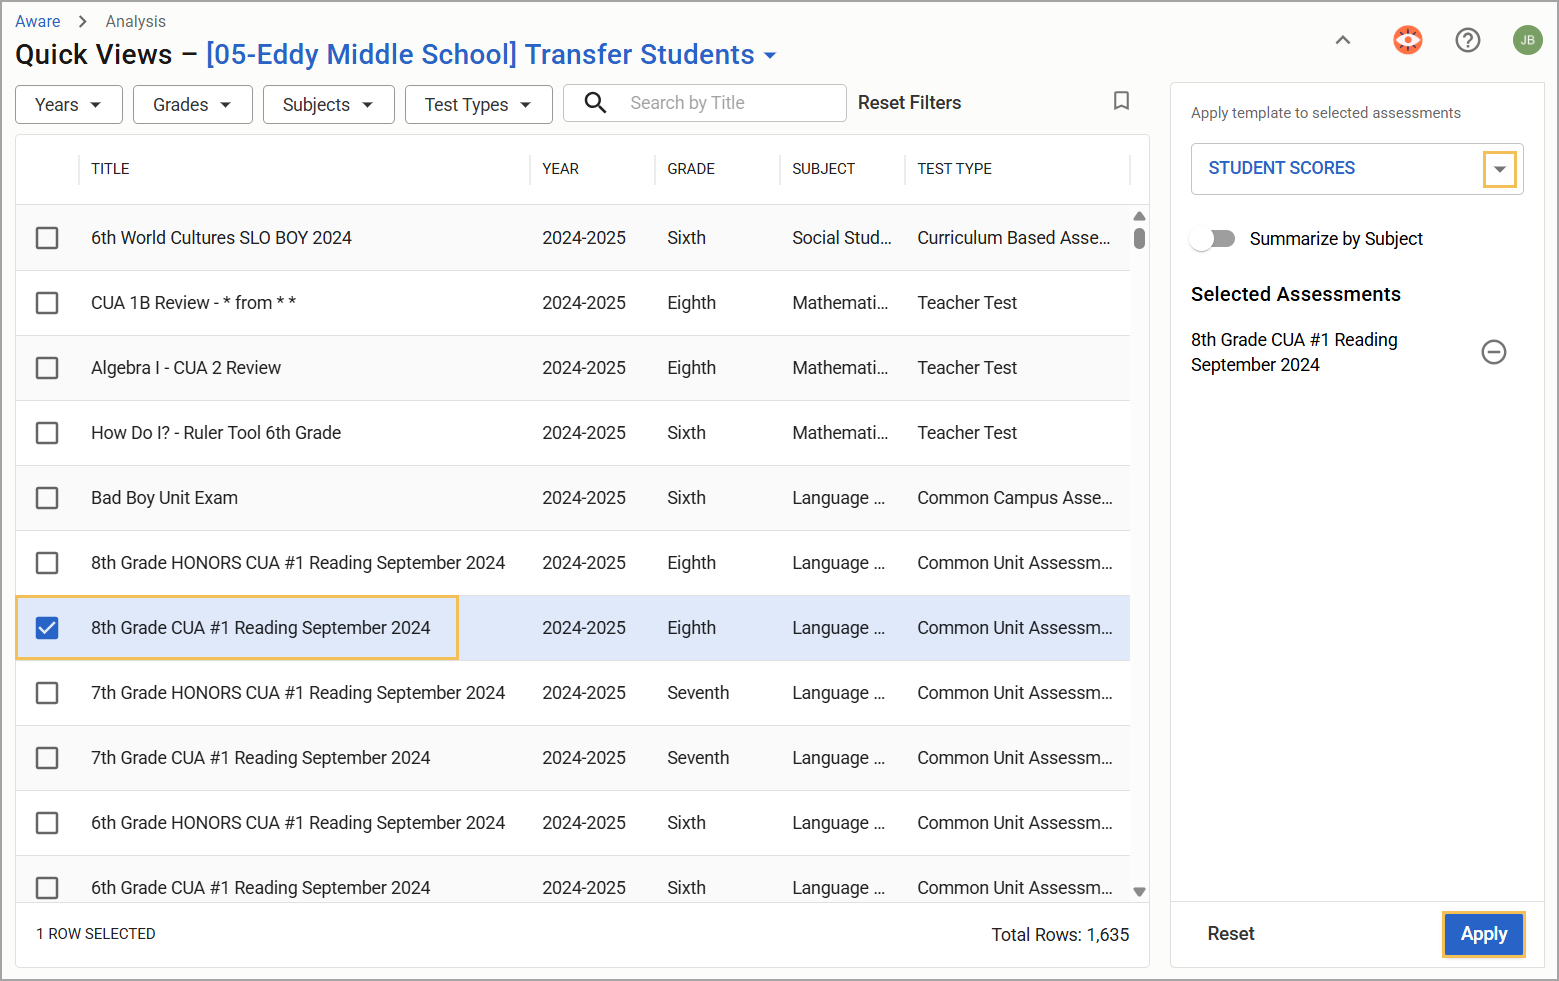
Step 2: Click on the desired assessment(s). Select a template from the drop-down menu and click Apply.
Step 3: Click on the information in the table to view student data.