The next step to managing a mobile lab is to create a reservation workflow.
Step 1: Within the Inventory tab, select the new room you created in Step 2: Add the Lab to a School.
Step 2: Select the Reservations & Assignments tab.
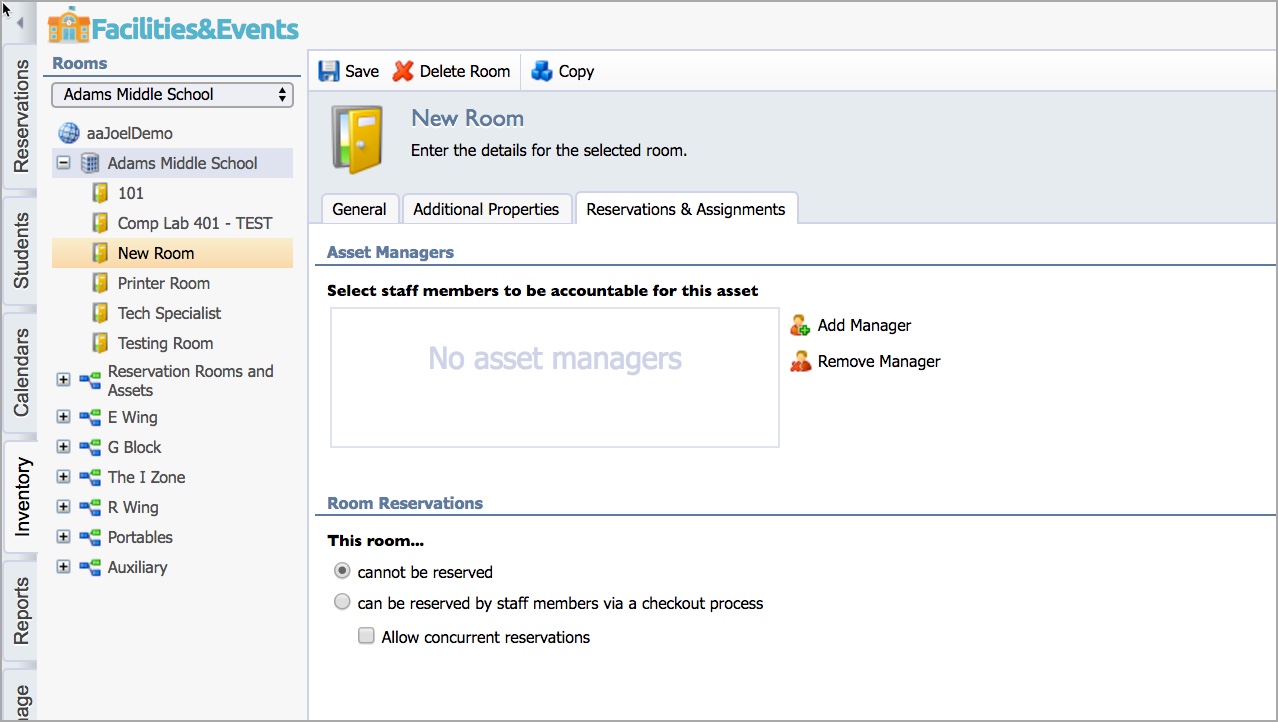
Step 3: Under Asset Managers, add the person who is responsible for checking in and out this cart. You can add multiple managers in this space.
Step 4: Under Room Reservations, select can be reserved by staff members via a checkout process.
Note: The Allow concurrent reservations option is something to consider with a mobile cart. This allows overlap to occur if multiple staff members need to access the cart during the course of a day. By allowing concurrent reservations, the manager can work with those staff to make sure they share the cart during passing periods.
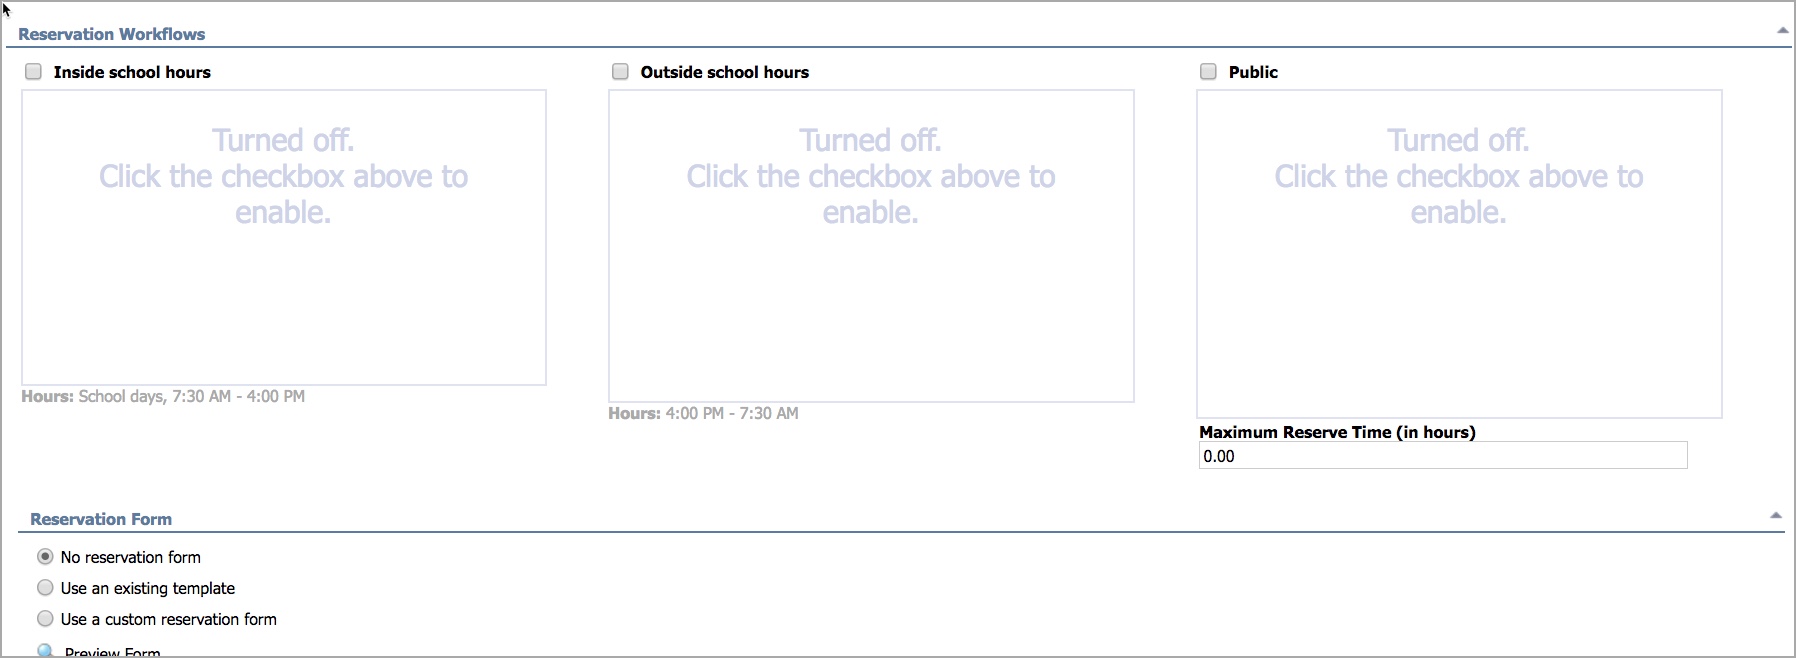
Step 5: Under Reservation Workflows, check the box for Inside school hours. This will populate with other Reservation Workflows for your school or district. You might need to create your own workflow for the mobile carts to show up in this list.
Caution: If the Hours under each schedule box do not match actual school hours, you will need to reset those school hours. It is important in the reservation workflow to use corrected hours.
Step 6: Scroll to the very bottom of the screen to select Manage Workflows.
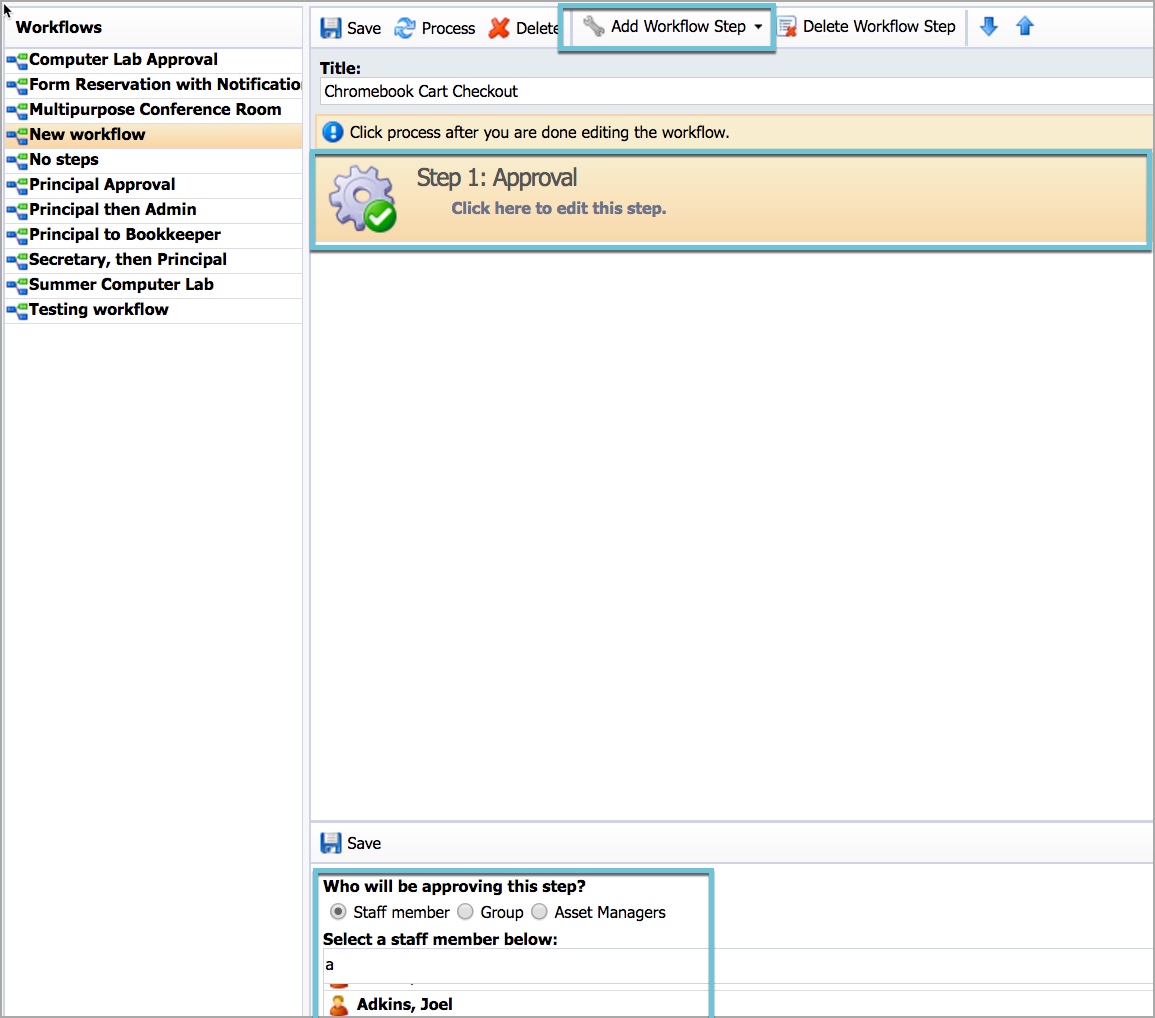
Step 7: Click the button at the bottom of this pop-up window for Add New Workflow.
Step 8: Name your workflow.
Note: If you will be using this same workflow for other mobile carts, you can reuse the same one over and over. If you expect different people to manage different carts, it is recommended you name the workflow to correspond to the cart.
Step 9: Select Add Workflow Step.
Step 10: Search for a staff member to approve or deny cart reservation requests. Optionally, select a staff member to be notified that a request has been approved.
Step 11: Click Save and exit the pop-up window.
Note: If you are interested in creating Group workflows or making reservation workflows to apply to multiple schools, you can explore Setting up Reservation Properties and Workflows.
Step 12: Return to the Reservations & Assignments tab from the previous window. Uncheck Inside school hours and then recheck it to refresh and bring in the new reservation workflow you created.
Step 13: Scroll down to Reservation Form and select from the following options:
No reservation form – Requires staff to complete basic system requirements in the checkout procedures.
Use an existing template – Access templates from your reservation forms.
Use a custom reservation form – Allows you to customize a form for people to complete in addition to the basic system requirements. When choosing this option, also select Edit Custom Reservation Form.
Note: A custom reservation form for a mobile cart checkout process allows the administrator to add common questions associated with reservations (e.g.., "Do you need printing with this cart?", "Will you be able to charge the cart during your off period?", etc.).
Step 14: Once you have all the workflows completed with reservation forms set, click Save.