In order to use Facilities&Events to track inventory, the first step requires adding all the rooms to a building. Once rooms have been added, assets can be created and tracked inside a room. Assets can be added individually and copied, or they can be imported. To import assets, refer to this article about Importing Assets.
Adding an Asset
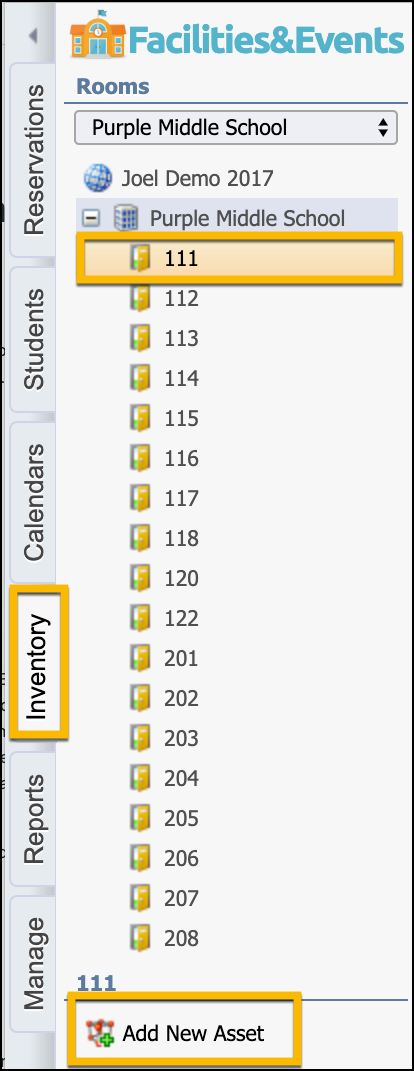
Step 1: Select the room where the new asset will be added.
Step 2: Click Add New Asset.
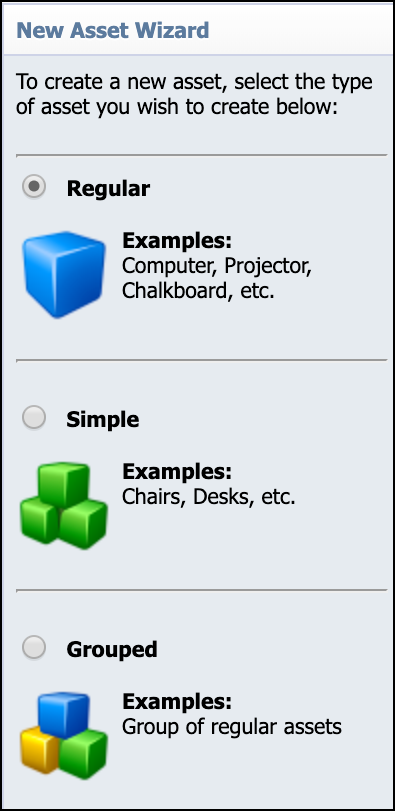
Step 3: Choose the type of asset and click Next.
There are three types of assets you can create:
Regular – Assets that may require a barcode, such as a computer, laptop, idevice, projector, printer, etc.
Simple – Assets that do not have a barcode, such as chairs, desks, filing cabinets, etc.
Grouped – Groups of regular assets, such as a device cart, media carts, presentation carts, etc.
Step 4: Choose the Asset Category and Class that the asset belongs. Asset Categories and Classes are defined by your System Manager of F&E in the Manage tab.
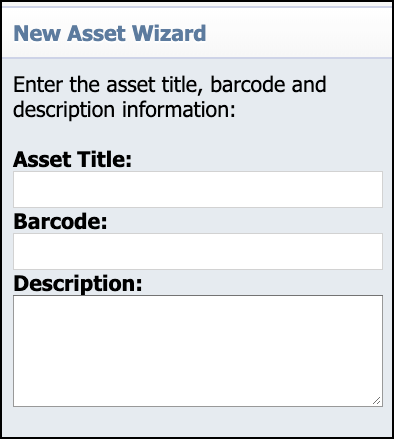
Step 5: Enter the asset title, barcode (optional), and description (optional).
Step 6: Click Next and Finish.
Once the asset is created, it will appear in the Inventory grid and you can begin entering the information about the asset.
Edit Asset Details
To edit the asset details, click on the asset from the Inventory grid. Below is an explanation of each tab:

The General tab contains basic information about the asset such as title, manufacturer, model, barcode, serial number, description, and a photo.
The Finance tab contains financial information about the asset such as budget code, purchase order number, purchase cost, replacement cost, purchase date, and replacement date.
The Additional Properties tab stores any custom property information about the asset.
The Reservations & Assignments tab allows you to select a staff member to be accountable for the asset and choose how the asset will be reserved or assigned. Refer to the Reservations & Assignments section for more information about reserving and assigning assets.
The Tickets tab is only visible if your district has the Helpdesk application and it is linked to F&E. If you are a technician in Helpdesk, you will be able to view tickets on the assets and edit details or close the ticket.
The Journal tab allows you to enter any notes or upload attachments related to the asset. If the asset is reservable, the staff will be able to view the Journal tab and review the asset's history during the reservation process.
Move an Asset
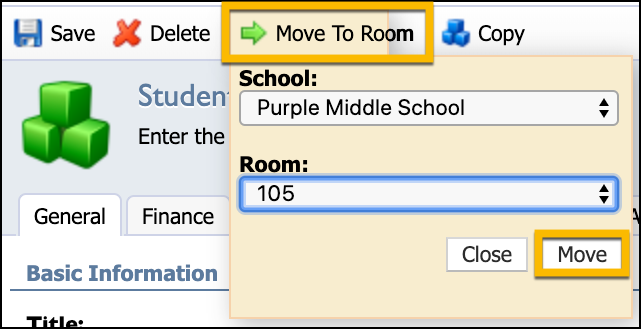
The option to move an asset is located on the Asset Details window.
Step 1: Select the asset.
Step 2: Click Move to Room on the menu bar.
Step 3: Select the School and Room from the drop-down lists.
Step 4: Click Move to finalize moving the asset to the new location.
Copy an Asset
Step 1: Select the asset.
Step 2: Click the Copy button.
Step 3: Enter the number of copies.
Step 4: Click Copy.
Duplicates of the asset, along with the details, will be copied and will appear in the Inventory grid.
Note: The barcode and serial numbers will not copy.

View Inventory Grid (Editing, Searching, Printing)
After selecting a room, a list of inventory items will appear in the Inventory grid on the right.
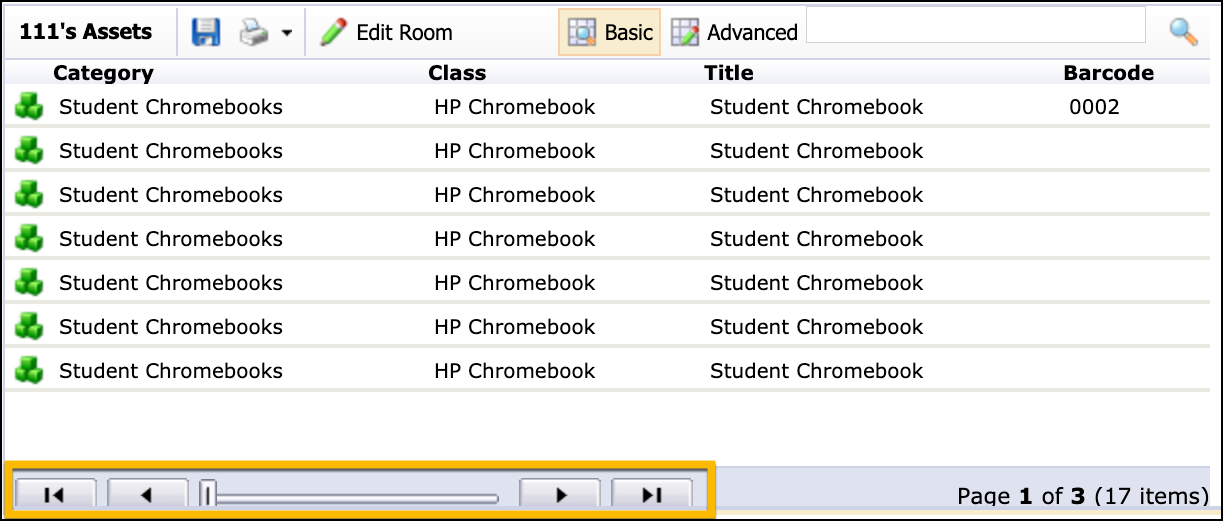
Scrolling: To scroll through the items, use the buttons to move page by page through the inventory for the room.
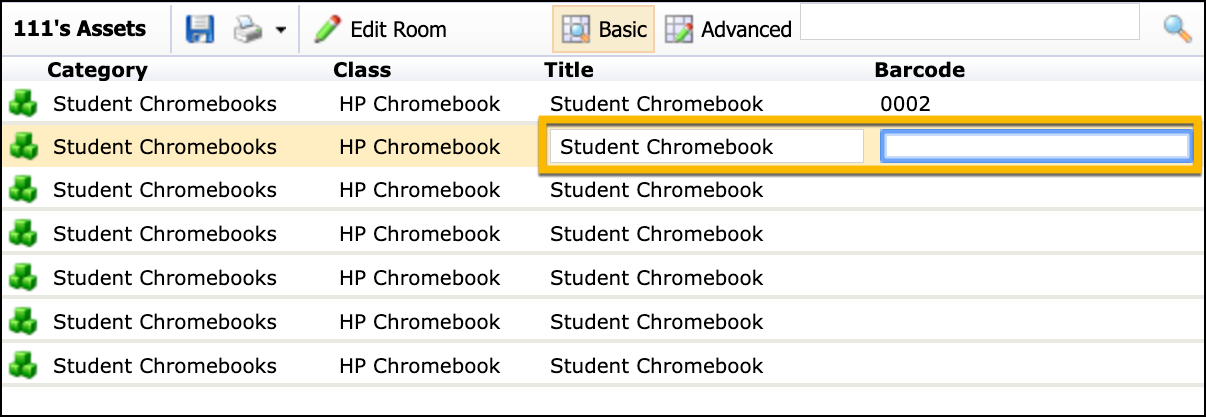
Editing from the grid: You can easily edit the title and barcode by double clicking on the asset, changing the information, and clicking the Save button or simply by clicking off the asset.
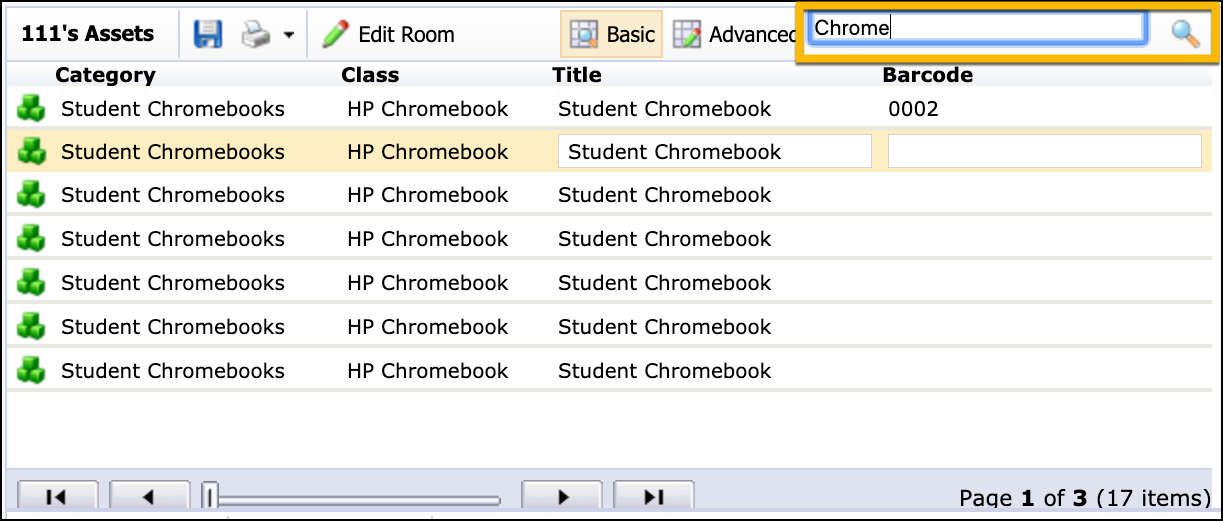
Searching: You can easily search for items in a room, campus, or district by entering the search criteria in the search box above the grid. First, select the room, campus, or district in the tree on the left. Then, click in the search box, enter the search information and hit enter or click the magnifying glass. In the example below, I am searching for all laptops in the integration lab.
Note: You can easily search by barcode to find a particular asset within the district.
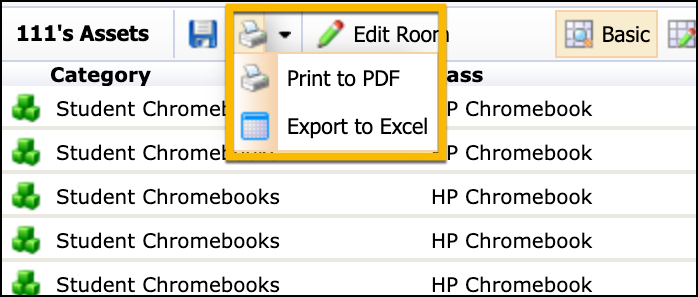
Printing: To print a list of assets in a room, select the room from the tree on the left. Then, click the Print or the Export to Excel buttons above the grid.
Mass Editing/Moving Assets
Step 1: Select the district, campus, zone, or room from the tree on the left.
Step 2: Click the Advanced button, located above the Inventory grid.

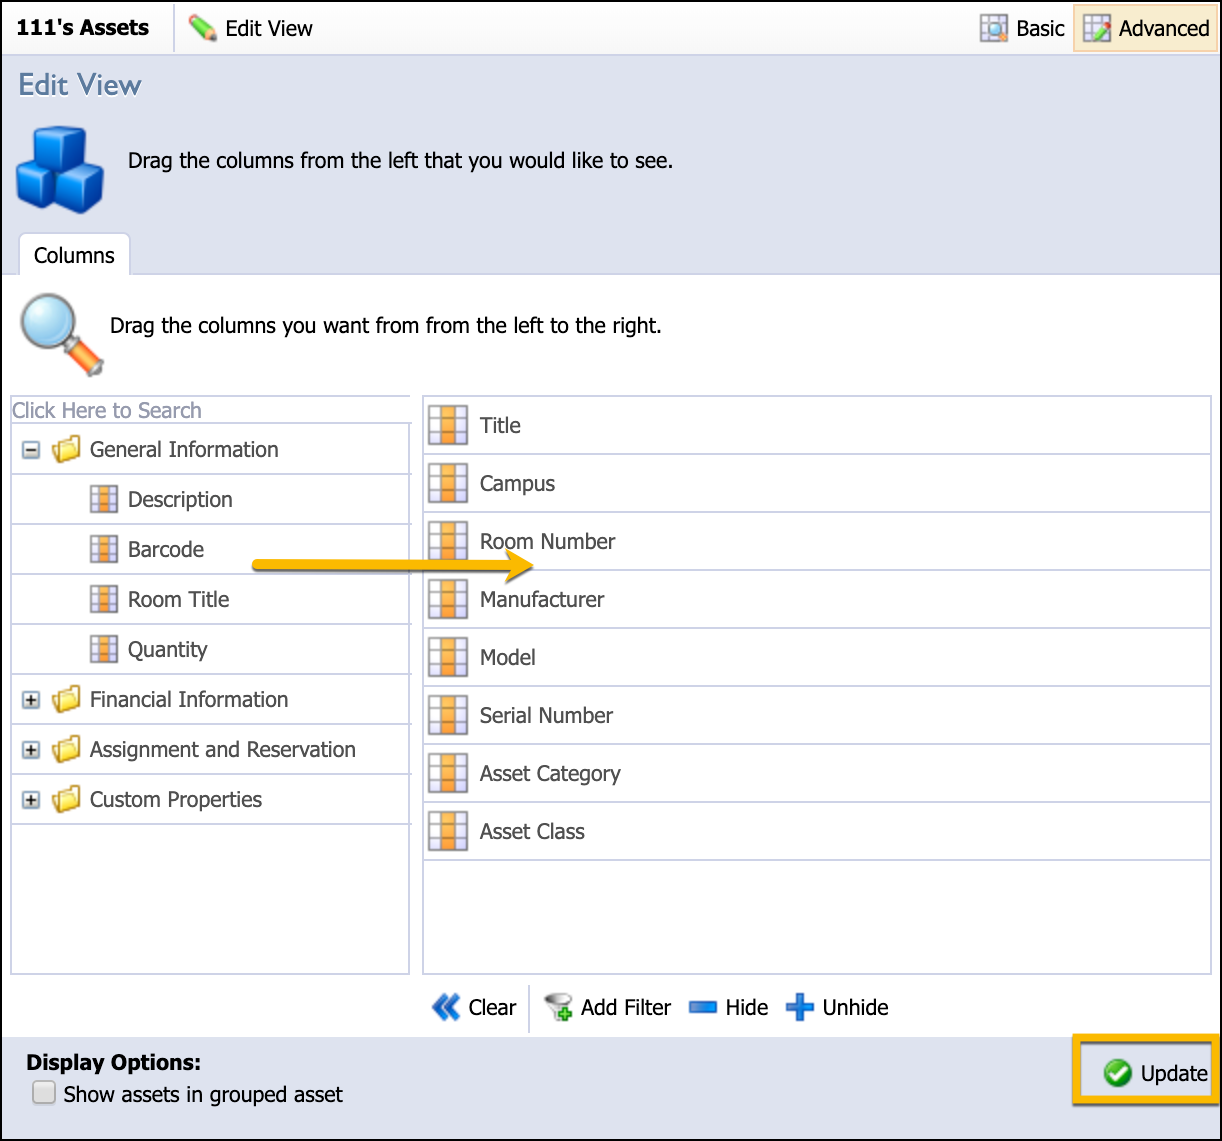
Step 3: Click the Edit View button, located above the Inventory grid.
Step 4: Drag the columns from the left to the right that you would like to see. If you want to narrow down a search, apply a filter by clicking the Add Filter button and entering the search criteria.
Step 5: Click Update to search for the items meeting the search criteria.
This list can be printed to Excel by clicking Export to Excel or PDF by clicking the Print button.

Mass Edit
Step 1: Hold down the CTRL/CMD key to select multiple items in the list.
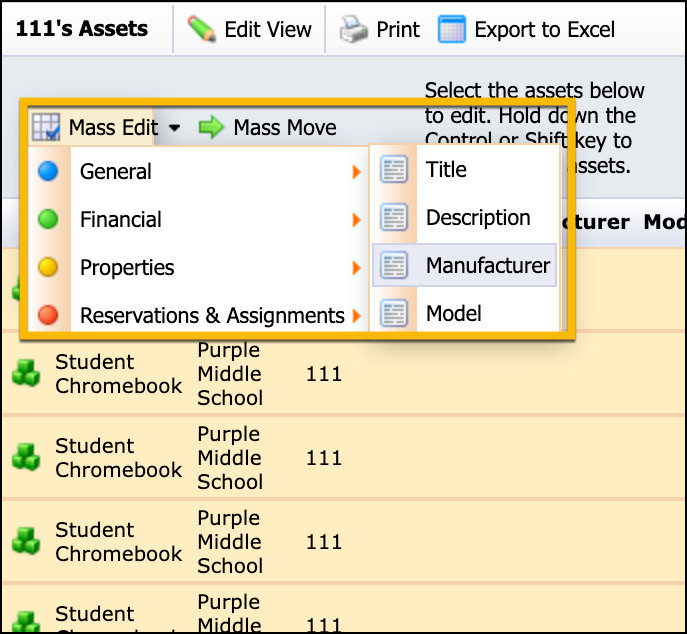
Step 2: Click Mass Edit.
Step 3: Select the property to be edited.
Step 4: Enter the correct information and click Update.
Repeat this process to mass edit any other information.
To return to the Advanced editing screen, click the Edit View button. To return to the basic Inventory grid, click the Basic button.