To create an interactive response question, begin by creating a new test in Aware or open an existing test to add new questions.
Note: Assessments with interactive response questions can be printed as test booklets only. Answer documents are not available for these question types. This test is not scannable, nor will it have student IDs, class numbers, or any other information. Teachers must use the Enter Answers feature to manually input student responses for students taking a paper version of the assessment.
Creating a Hot Spot Question
Hot spot questions allow students to choose the best answer from designated areas on an uploaded image file. TEA suggests using Hot Spot question types in math, science, and social studies assessments, but this feature is available for any assessment.
Quick Guide
When working on an assessment, go to the Questions tab and do the following:
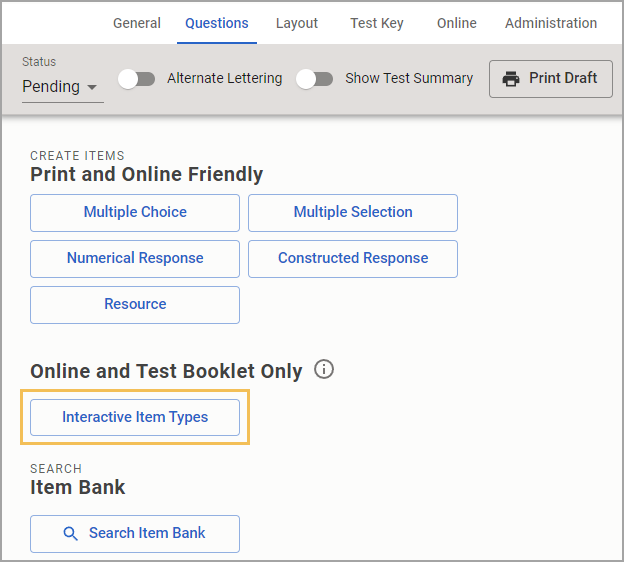
If this is the first time adding a question, select the Interactive Item Types button.
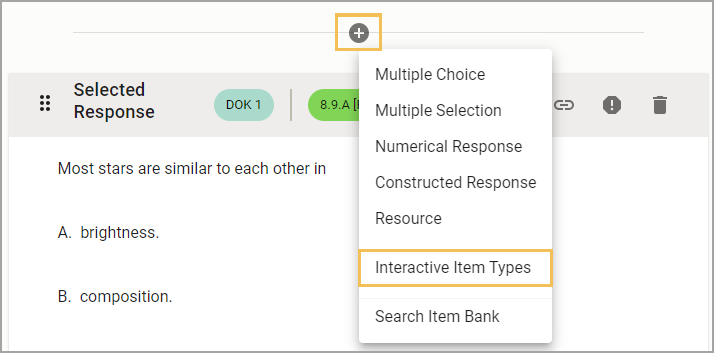
If adding more questions, select the Plus sign and choose Interactive Item Types from the drop-down menu.
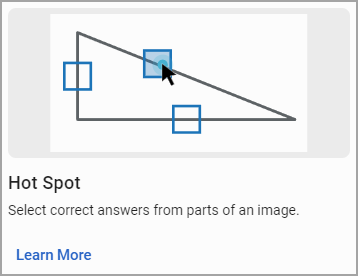
Select Hot Spot.
Use the text box and controls to enter the question prompt.
Upload and image file to use for hot spots.
Select Continue.
Use the rectangle or circle shape tools to draw hot spots on the image.
Determine which shapes are the correct answers, clone/delete hot spots, or include alt text.
Select whether the question has 1 Choice or Many Choices as correct answers. You can also set a minimum and maximum number of answers that students can select.
When complete, select Create / Update.
Illustrated Guide
Step 1: When creating or editing an assessment in Aware, navigate to the Questions tab and do the following:
If this is the first time adding a question to the assessment, select the Interactive Item Types button.
If you want to add more questions to an existing assessment, select the Plus sign above or below an existing question and choose Interactive Item Types from the drop-down menu.
Step 2: On the Choose your interaction type step, select Hot Spot from the available question types.
Step 3: On the Construct your question step, use the text box and controls to enter the prompt for the question.
Step 4: Select Choose File to locate and upload an image file from your device. If a file manager window is already open on your device, you can click and drag the file from the folder location to the upload space.
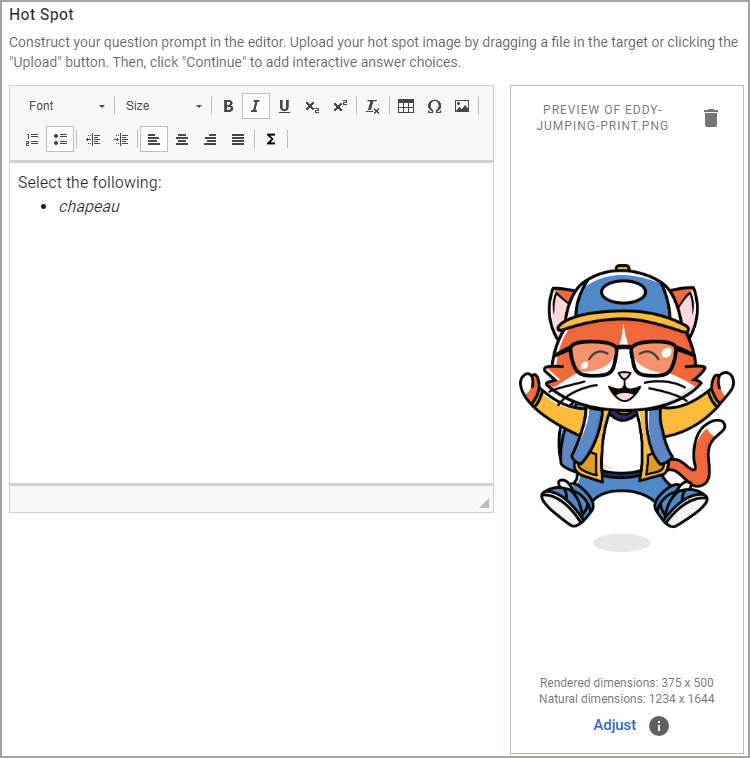
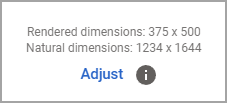
Note: The question builder automatically optimizes the size of the image upon upload, but these settings can be overridden. Use the Adjust button beneath the uploaded image to adjust to a specific size if required.
Step 5: Select the Continue button to move on to the next step.
Step 6: On the Add interactions to the question step, select either the rectangle or circle shape tool, then click and drag the shape over the area. You can move around the shapes as needed once you have drawn them.
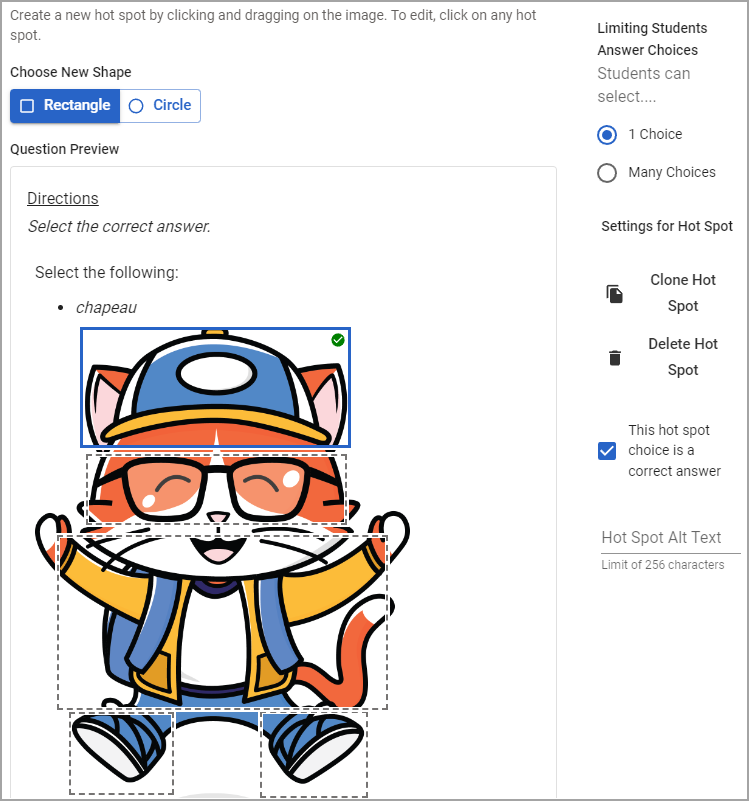
Step 7: Use the settings panel to determine which shapes are the correct answers, clone/delete hot spots, or include alt text.
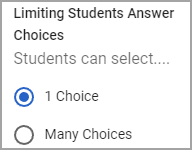
Step 8: Select whether the question has 1 Choice or Many Choices as correct answers. You can also set a minimum and maximum number of answers that students can select.
When a minimum is set, students see a warning during online testing letting them know they have not selected the minimum number of answer choices. This does not keep them from proceeding to the next question.
When a maximum is set, students see a warning during online testing if they attempt to select more than the maximum number of answers. A 0 in the Max choices section implies that the maximum number of selections a student can make is unlimited.
Step 9: Review the preview and then select Create or Update to save the assessment question.
Creating a Number Line
A number line can be created using the hot spot question type. Number lines can be created in PowerPoint or Google Slides and saved as images, or they can be found through many content resource providers. Upload the number line, then use the shape tool to create selectable areas on the image.

Student Experience
Students see the hot spot question during online testing. The dotted lines indicate the areas students can select, and the blue circle indicates the selected area(s).
Data Analysis
Viewing Responses in Quick Views
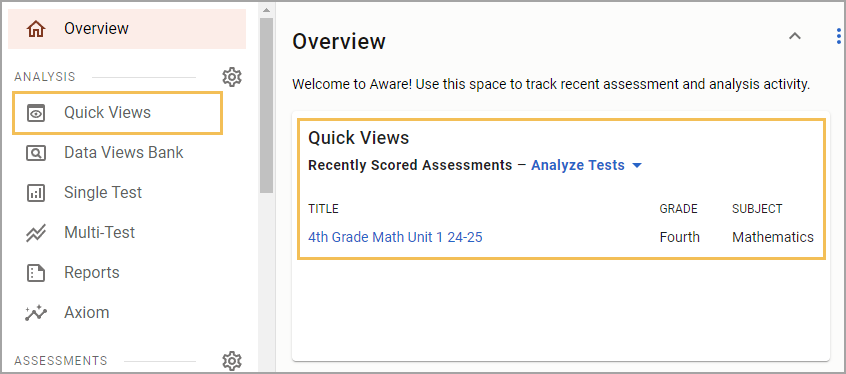
Question Type is available in Quick Views. Access Quick Views through the navigation bar or through the Quick Views card.
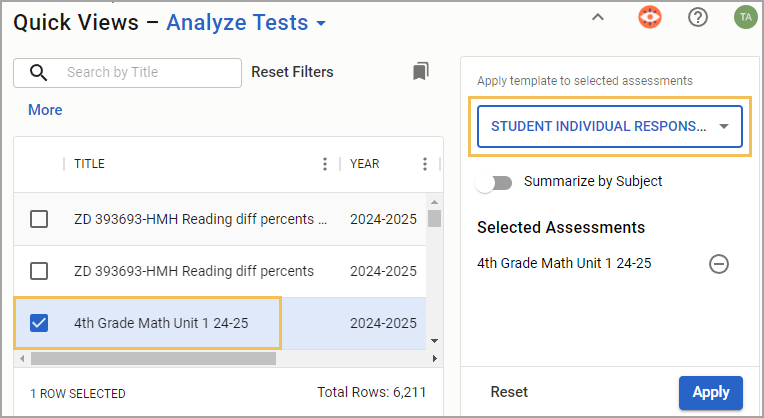
Once in Quick Views, use the search field to find and select the assessment(s) you want to analyze. Choose the Student Individual Responses template from the drop-down menu. Select Apply to continue.
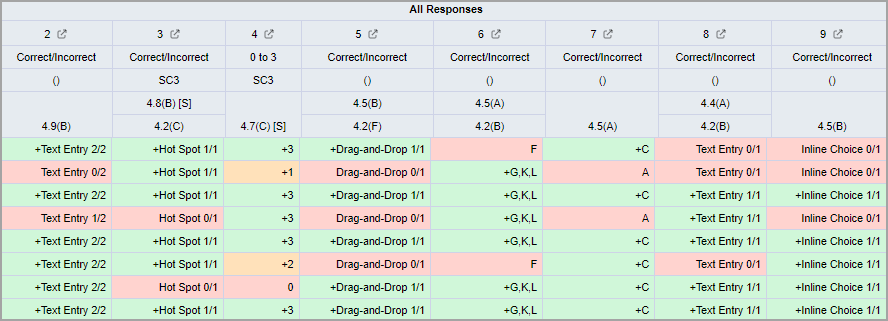
In data analysis, interactive items will be indicated next to the scores for each question. Teachers can view the exact question asked on the Enter Answers screen and modify student answers if needed.
Show or Hide the Question Type Column
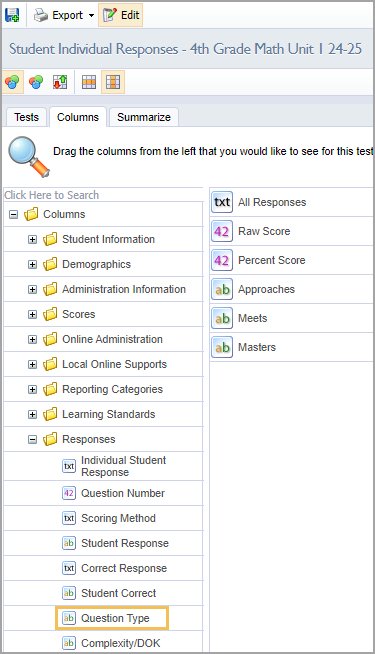
If the table does not display the type of question, you can customize which columns appear or do not appear from the Edit menu. Select the Columns tab, and then expand the Responses folder. Drag the Question Type option to the empty space on the right side of the screen. Then, select Update to apply your changes. For more information, see Editing Data Views as a Teacher.
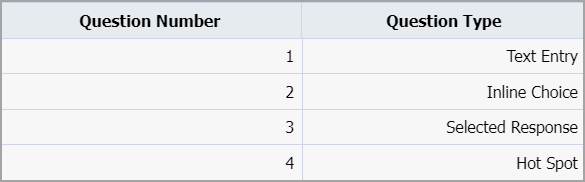
The Question Type column shows the type of question asked and the corresponding question number.
Allowing Teachers to Answer and Score Assessment Questions
For district- and school-level tests, the Questions teachers can answer and score option must be set to All Questions to enable editing privileges. Locate this setting in Administration > Collection > General Settings when authoring or editing an assessment in Aware.

Additional Information
Visit the Interactive Item Types FAQ for more information.