Preps are specific to the classes you teach and are often linked to a course and roster section. If you teach multiple classes, you create a separate prep for each class. You can then add plans to your preps, tailoring lessons, activities, and resources to meet the needs of each class.
After you create a prep, you can edit it from your Planner.
Quick Guide
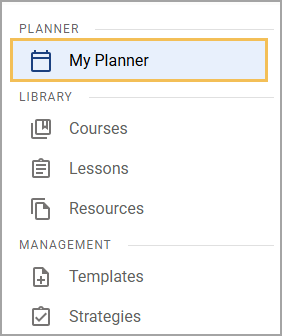
Select My Planner from the main menu.
Locate the prep you want to edit and select the Edit icon.
(Optional) In the Prep Name field, edit the name of the prep.
(Optional) From the Link Course drop-down, select a course to link to the prep.
(Optional) From the Roster Sections drop-down, select a roster section to link to the prep.
(Optional) From the Plan Templates drop-down, select a template to use.
Select Save.
Illustrated Guide
Step 1: Select My Planner from the main menu.

Step 2: Locate the prep you want to edit and select the Edit icon.
.png)
Step 3: (Optional) In the Prep Name field, edit the name of the prep. This usually corresponds to the name of the class you teach. For example, you might create a prep called “Math, Grade 4” or “Chemistry, 3rd Period”.
Step 4: (Optional) From the Link Course drop-down, select a course to link to the prep. Linking a prep to a course allows you to easily connect standards or curriculum components from the course to the prep. Connecting a prep to a course also allows district leaders to view plans in the prep when conducting an analysis.
Step 5: (Optional) From the Roster Sections drop-down, select a roster section to link students to the prep.
Step 6: (Optional) From the Plan Templates drop-down, select one or more templates to provide a basis for creating your prep, if the appropriate template is available.
The selected template(s) appear in the planning area for your prep along with the Blank Plan and More Templates… options. When you select a template, the plan populates with the template’s content blocks, allowing you to create plans more quickly and with less manual work.
Step 7: Select Save.
.png)
Your changes are reflected in your Planner. You can now add plans to your prep or adjust the share settings.