Appraisal administrators can build new forms and use them in the evaluation process. Form Management houses these templates and categorizes them into the following form types:
Evaluation
Intervention
Observation
Reflection
Summative
Walkthrough
Created forms are active until an appraisal administrator deactivates them.
Building a New Form
This article covers how to build a new form for the evaluation process.
Quick View
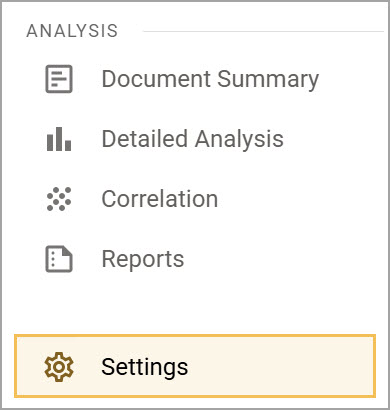
Select Settings () from the main menu.
Select Form Management.
Select Build New Form.
Title the form, select the form type, and establish the framework. Check the boxes to make optional fields, such as grade level, subject, or Student Growth Scores, a requirement for staff members to fill out before submitting the form. Then, select Next.
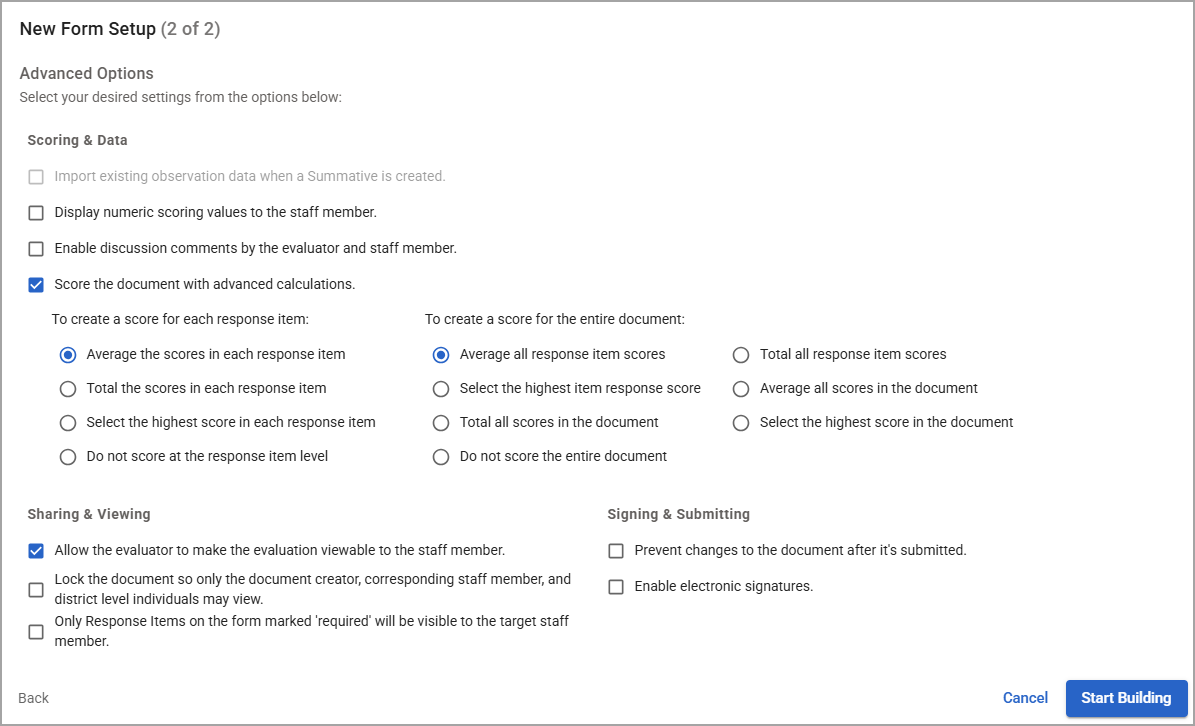
Select the appropriate Advanced Options, including scoring, sharing, and submitting options.
Select Start Building.
Drag and drop informational items and response items into the form and organize them in any way you like. The form automatically saves your changes.
Select the Preview icon () to view how the form appears for those who will use it.
Illustrated View
Step 1: Select Settings () from the main menu.
Step 2: Select Form Management.
.png)
Step 3: Select Build New Form.
.png)
Step 4: Under the Form Header Details, title the form, select the form type, and establish the framework.
You can also check the boxes to make any of the following Optional Fields a requirement to fill out for staff members to submit the form:
Start and End Time
Default Duration (Minutes)
Grade Level
Subject
Additional Information Text Box
When you’re ready, select Next.
.png)
Step 5: Select from various Advanced Options to apply settings for scoring and data, sharing and viewing, and signing and submitting the form. Here is where you can apply settings such as enabling discussion comments between evaluators and their staff members, scoring with advanced calculations, locking the form, and enabling electronic signatures.
Note: Only Summative forms have the option to select Import existing evaluation data when Summative is created.
Step 6: When you’re ready, select Start Building.
Step 7: Select Add to form () or drag and drop informational items and response items into the form. You can organize and build out these items however you like. The form automatically saves your changes.
.png)
Step 8: You can select the Preview icon () to see how the form appears to those who will use it. In the Preview modal, select Print to print the form.
Otherwise, you can select the Delete icon () to delete the form, provided it is not tied to a current evaluation process.
